DIY Pillows, Boho-Inspired
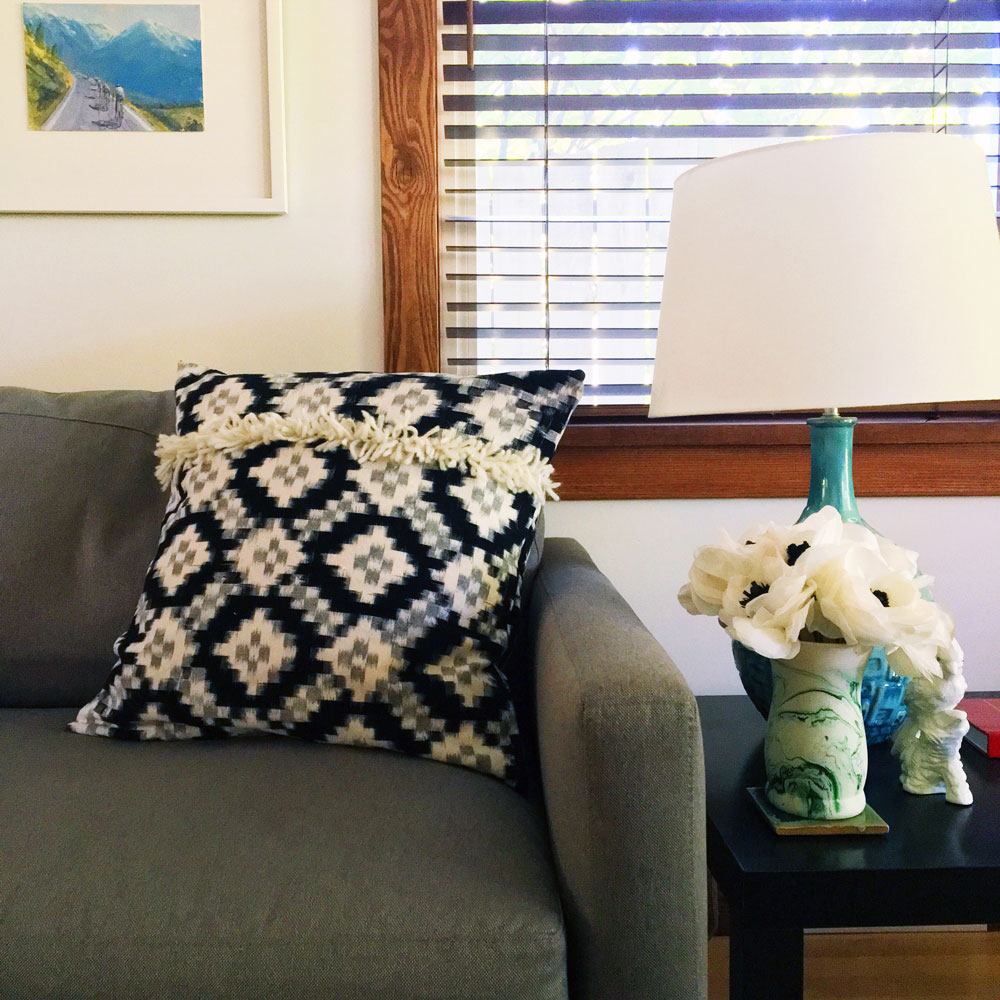
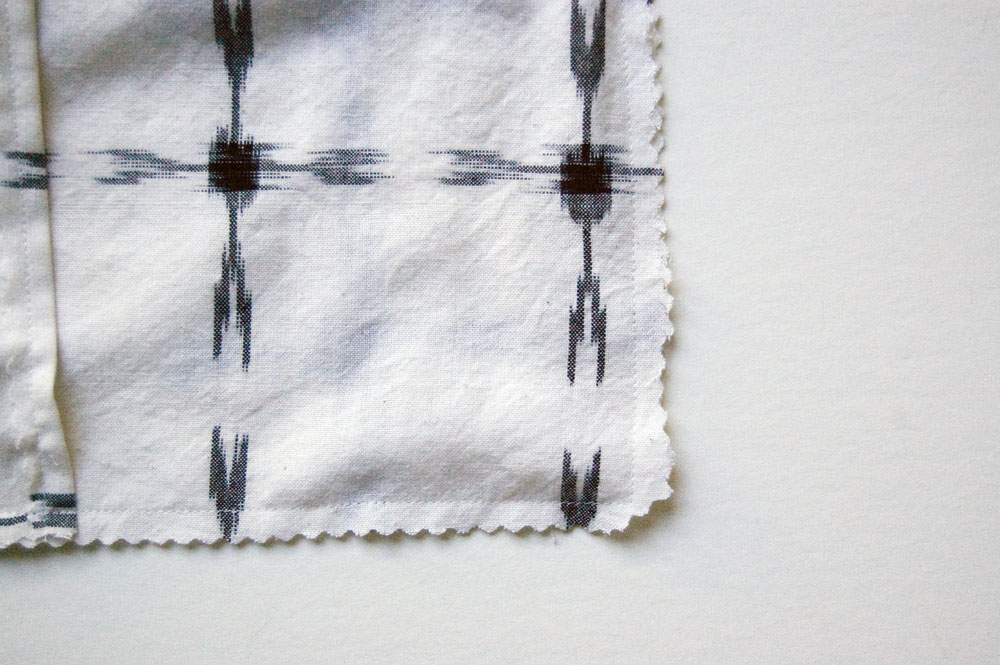
I decided to make summery pillows after finding a couple of pretty woven Ikat fabrics recently- Pacific Fabrics at Northgate for those who are local, and a reader pointed out a selection available online at Stone Mountain Fabrics. I’ve not really been into the whole Ikat trend, but this felt like an easy way to try it out and brighten up our neutral living room.
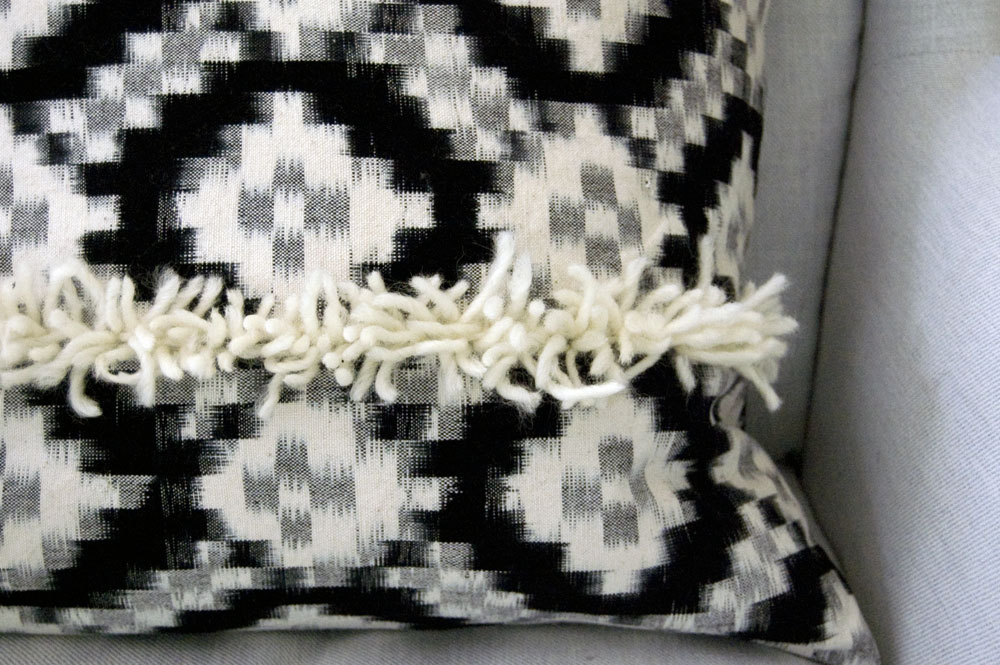
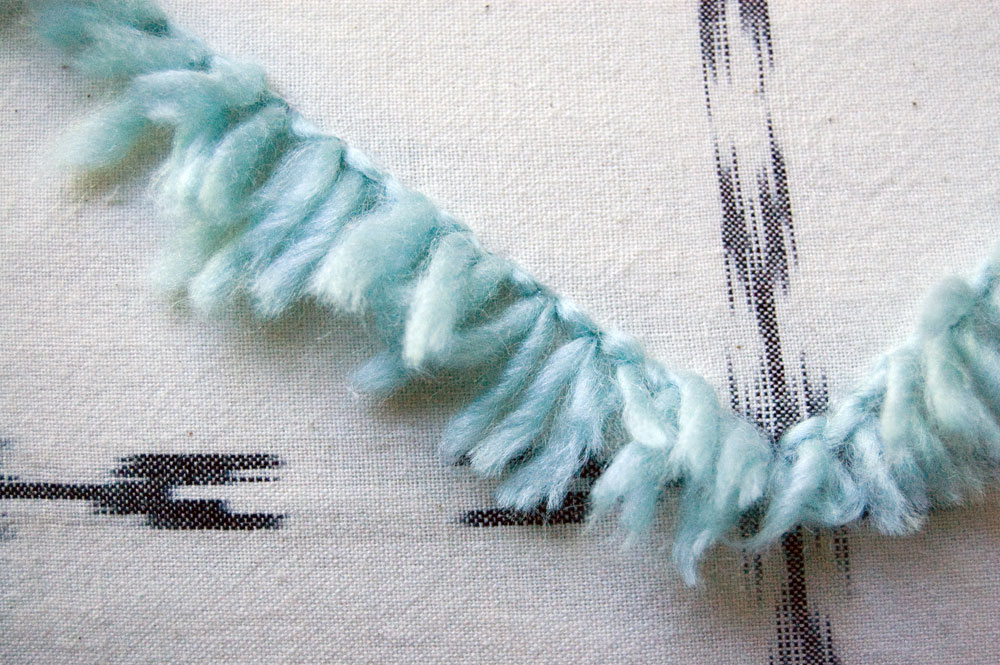
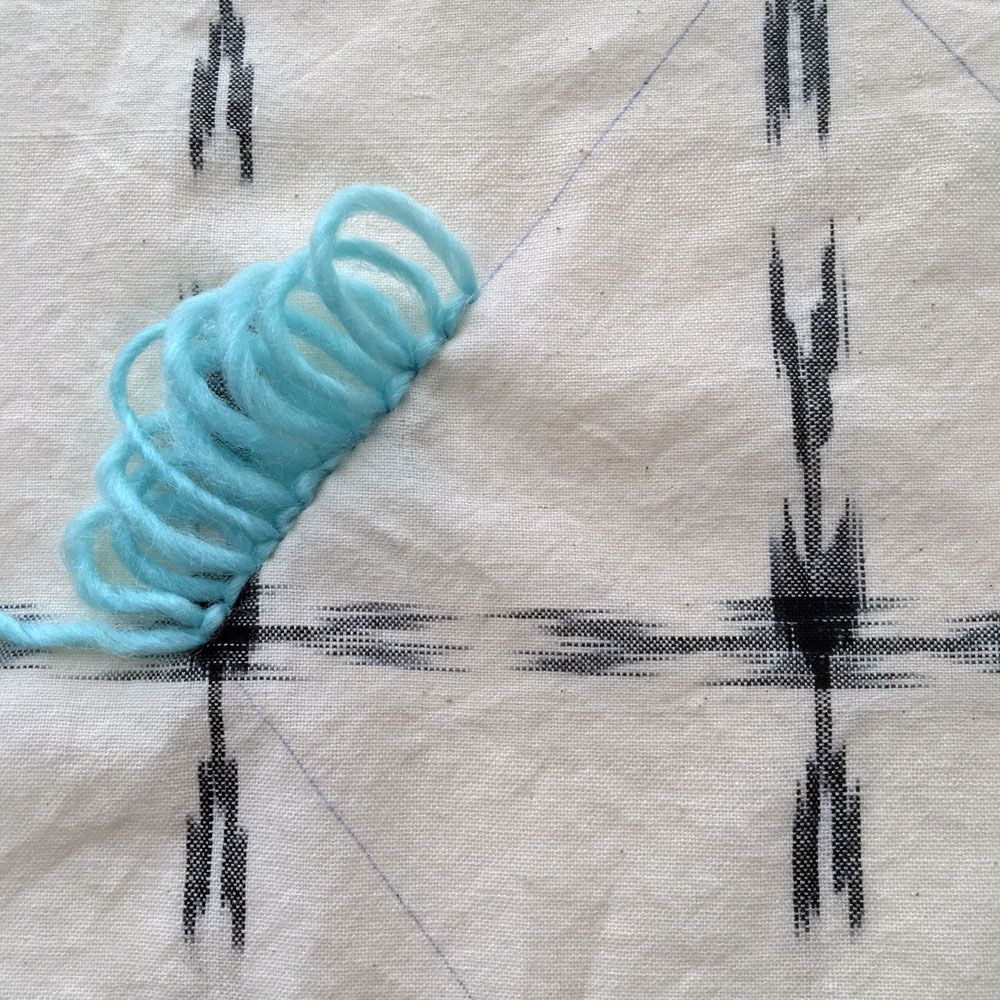
After looking at Anthropologie’s current pillow assortment and noticing a distinct trend of surface texture, I thought it might be fun to add texture to these. Turkey work is a textured embroidery stitch that can add a bit of fringe to the surface of the fabric. The more densely you stitch, and the more rows you add, the more texture you have. Not a difficult stitch, but it does take some concentration to get started. I found a YouTube video that does a nice job of breaking it down, which I suggest watching to get the hang of it.
Being a novice, I think unintentionally morphed her instructions into my own version of the stitch, but it still works.
I added a video of me stitching up my Turkey Work to my YouTube channel.
DIY Pillows
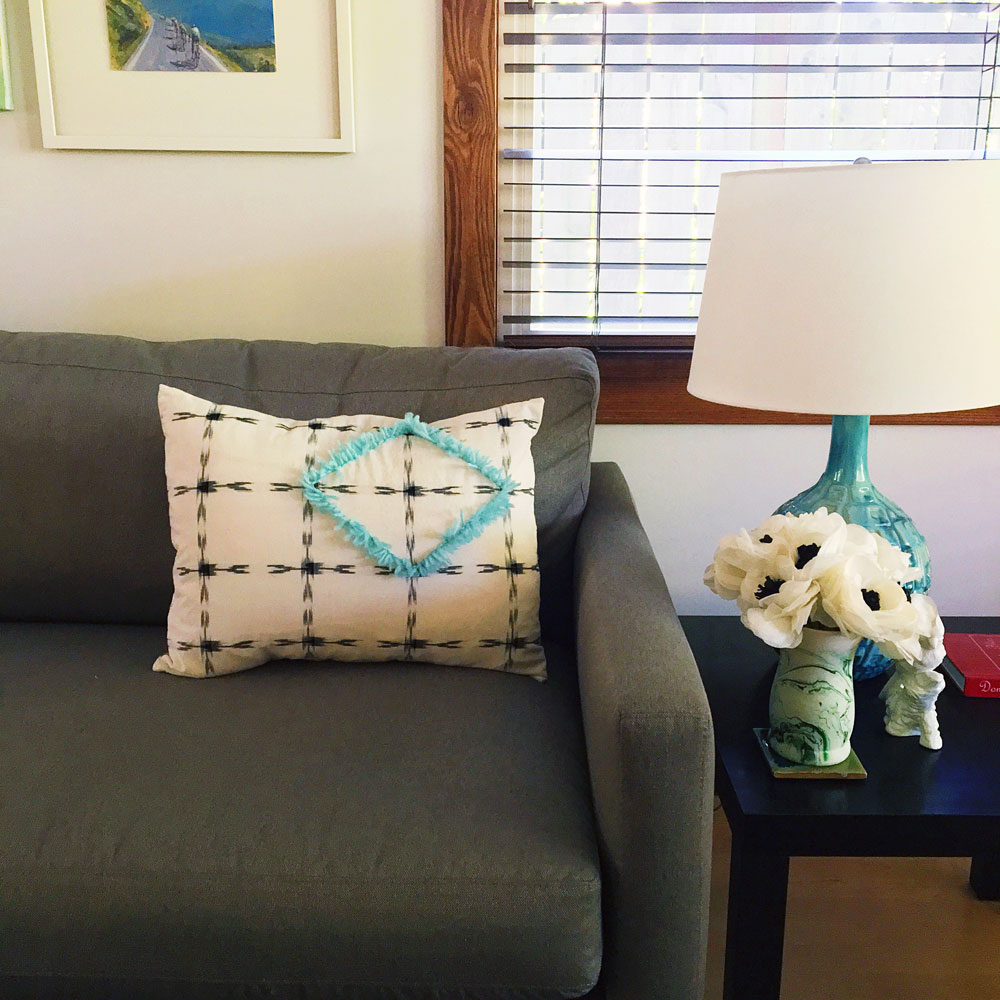
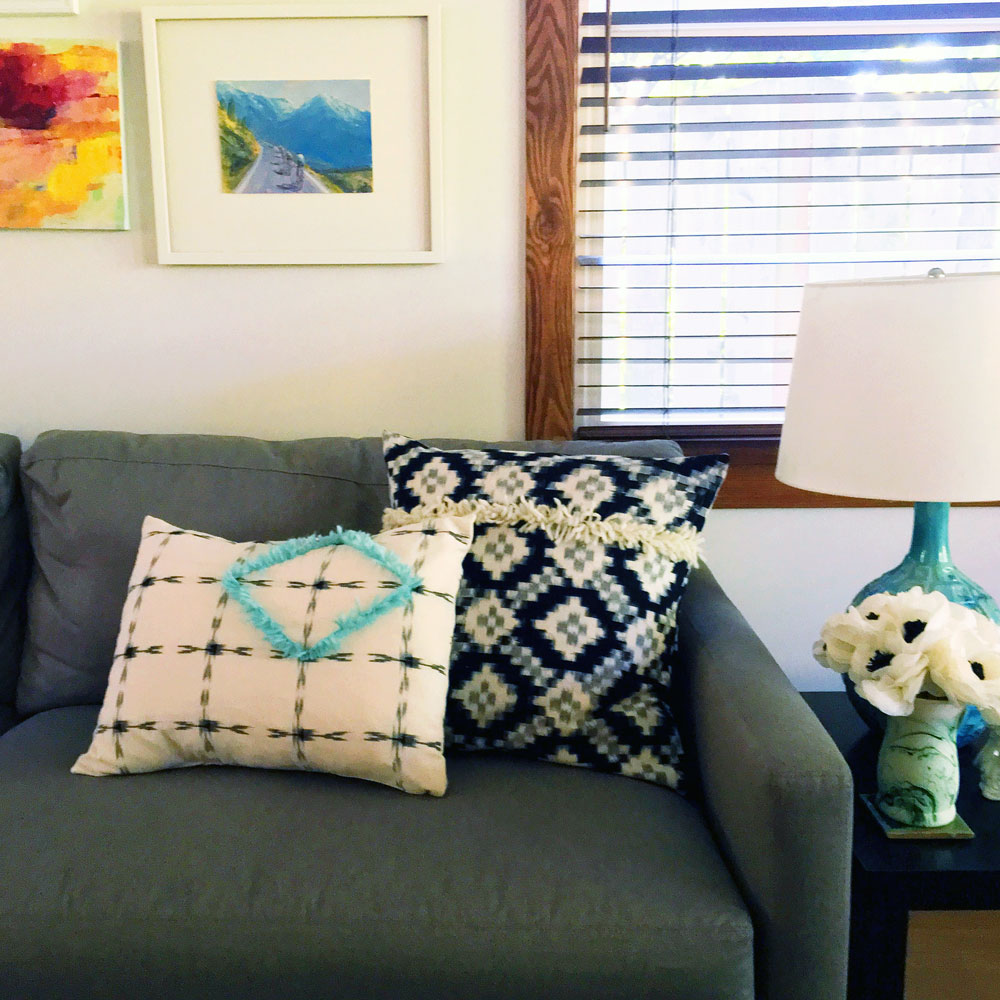
I made 2 pillows, one is a 20″ square, the other is a 16 x 20″ rectangle (both IKEA inserts). Both have an back envelope closure. To make a simple pillow like this-
1- Cut the front of the pillow the same size as the insert if you want a snug pillow cover. For example, I cut the 20″ square pillow’s front panel 20″ square. If you prefer a looser cover, add 1/4-1/2″ to the overall cut size.
2- Cut two panels for the envelope back. To figure the size, I divide the size of the pillow by 2, then add 2 1/2″ to that measurement. For the 20″ square pillow form, I cut 2 back panels measuring 12 1/2 x 20″.
3- With a disappearing marking pen, draw a guide line on the front side of the front pillow panel. This is what you’ll be stitching your turkey work stitches on. I did a straight line across one of the pillows, and an off-center diamond shape on the other. Embroider the front of the pillow using worsted weight wool yarn or some other thick textural yarn, following the linked videos above to help get you started.
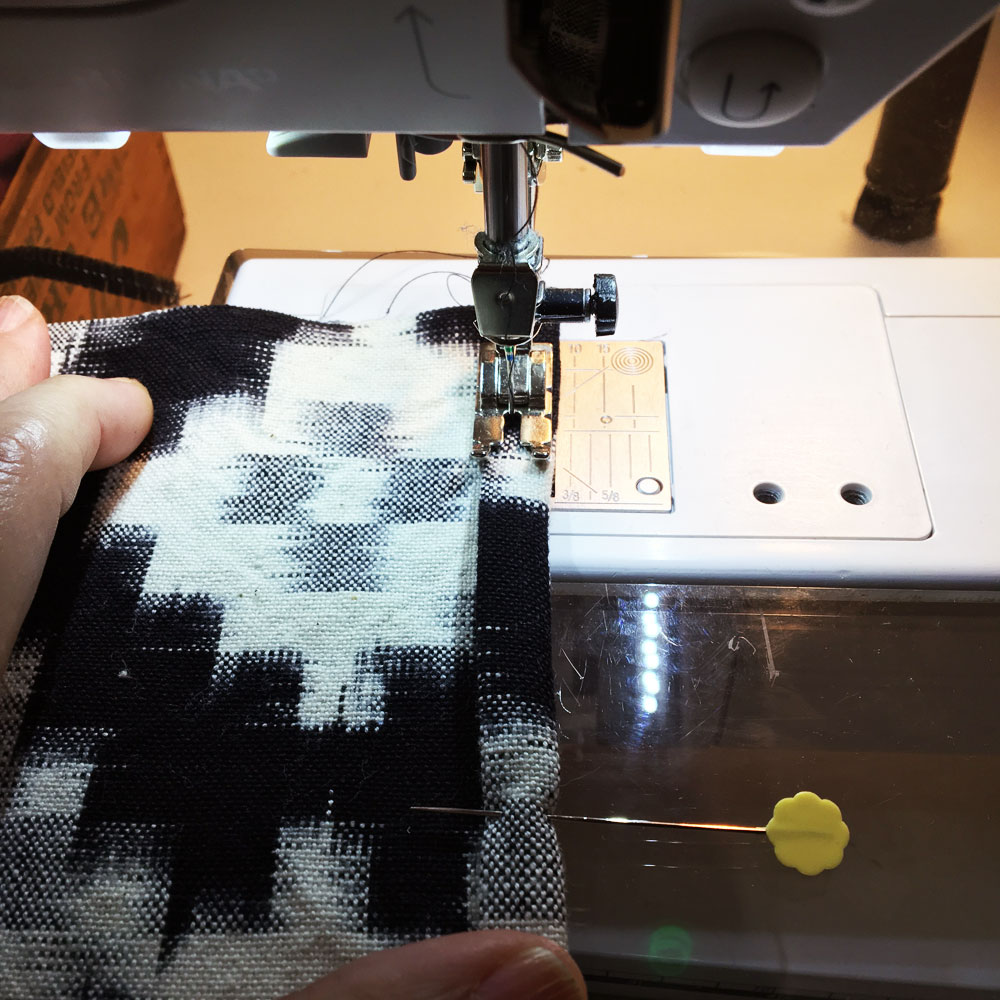
4- To hem one short end of each back pillow panel, turn back 1/4″ to the wrong side and press. Turn back another 1/4″ and press. Add a few pins to hold hem in place if needed.
5- Stitch a straight stitch across the folded edge (I position the panel with wrong side up to be sure I keep the stitch straight and catch the entire hem). Repeat with second back panel and press the hems.
6- Lay out the front and back panels on your work table in this order: front panel-right side up, one back panel- wrong side up, second back panel- wrong side up. The back panel’s hemmed edges should overlap in the center, and the other raw edges should line up with the edges of the front pillow panel. Pin to hold, and stitch around all four sides using a 1/4″ seam allowances.
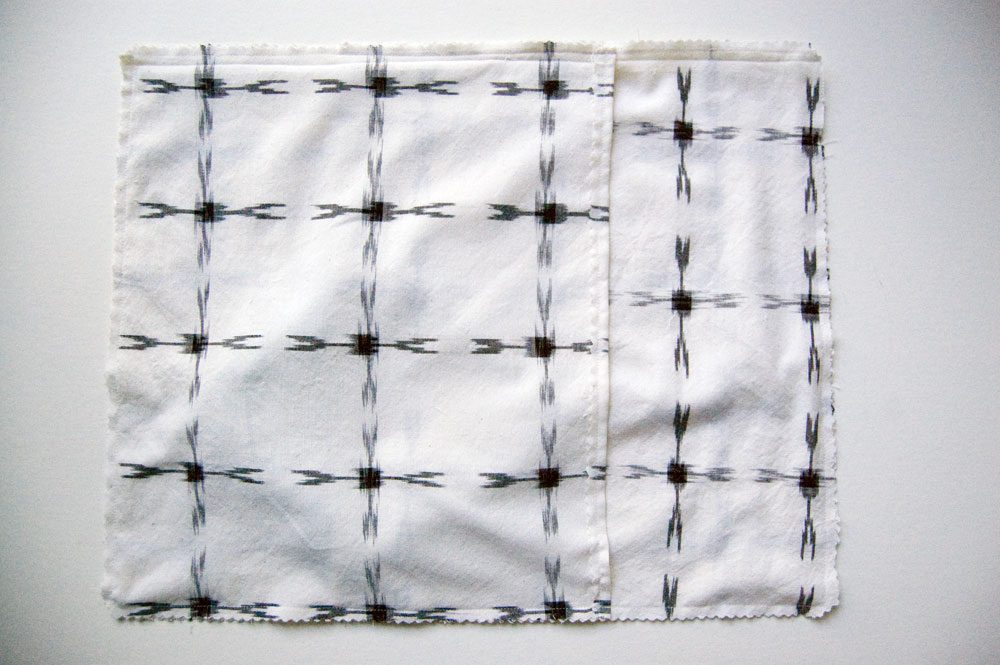
(Note: I “pinked” the edges of the pillow panels using a special blade for my rotary cutter, which I love and use often.)
7- Trim the corners and turn pillow right side out. While I used to use whatever I had handy to push out the corners, I recently bought a point turner and it works SO much better. Press, insert into the pillow form, and fluff!
Share on Instagram using hashtag #wisecrafthandmadediypillows so we can all see!