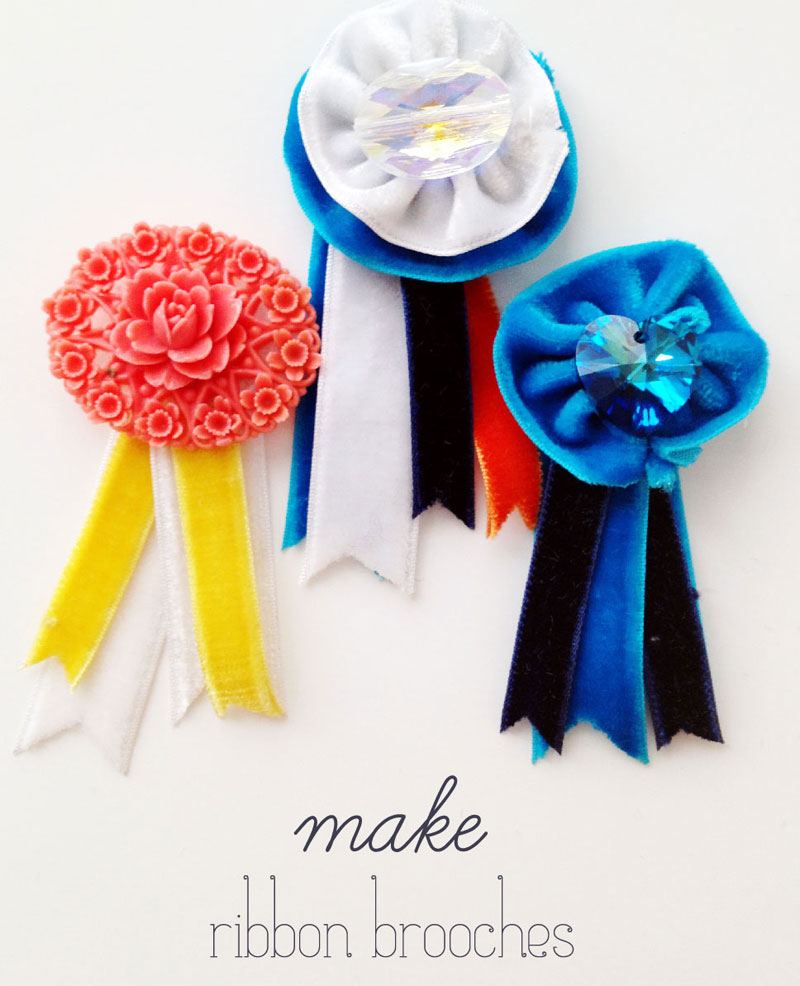
Make A Ribbon Brooch DIY
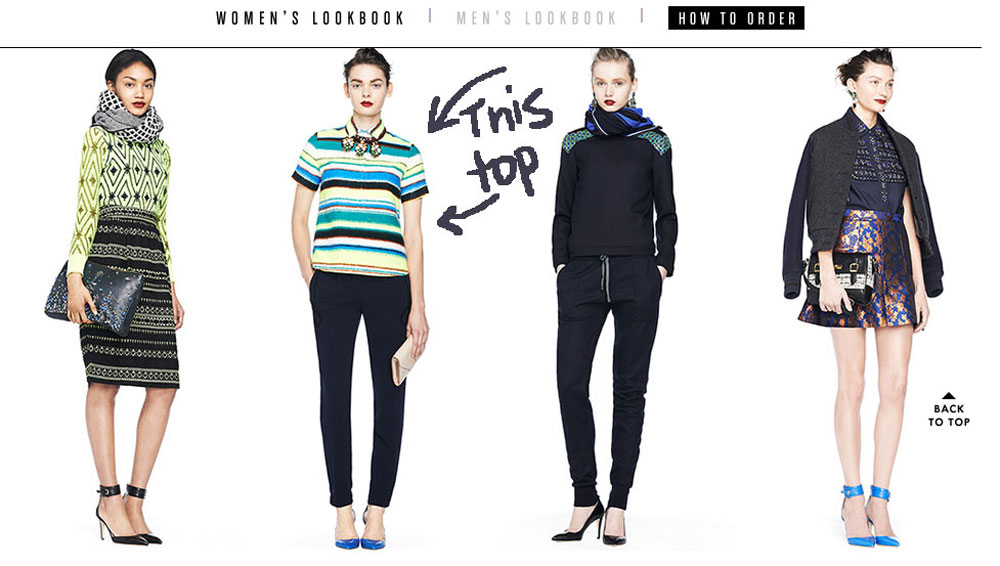
I recently received some gorgeous ribbon from Midori to use on some Fall projects. They carry so many gorgeous ribbons, but in particular I love their velvet ribbon. I had no idea which colors to choose (they have so many!) so I turned to the newest J Crew Women’s Lookbook to get some ideas. The colors of one of the tops caught my eye, so I pulled my choices from there. The folks at Midori sent an assortment of white, 2 blues, yellow, and a gorgeous persimmon for me to play with.
And since we’re all about back to school clothes shopping around here, and my favorite teenager tends to wear all black, I decided to do the opposite and have fun with some color. I love accessories and these pins are going to be fun to pin on the lapel of my coat or a sweater. Or even a bag! They are easy to make.
All of the brooches use some or all of the following Midori velvet ribbons:
1. The Cabochon Brooch-
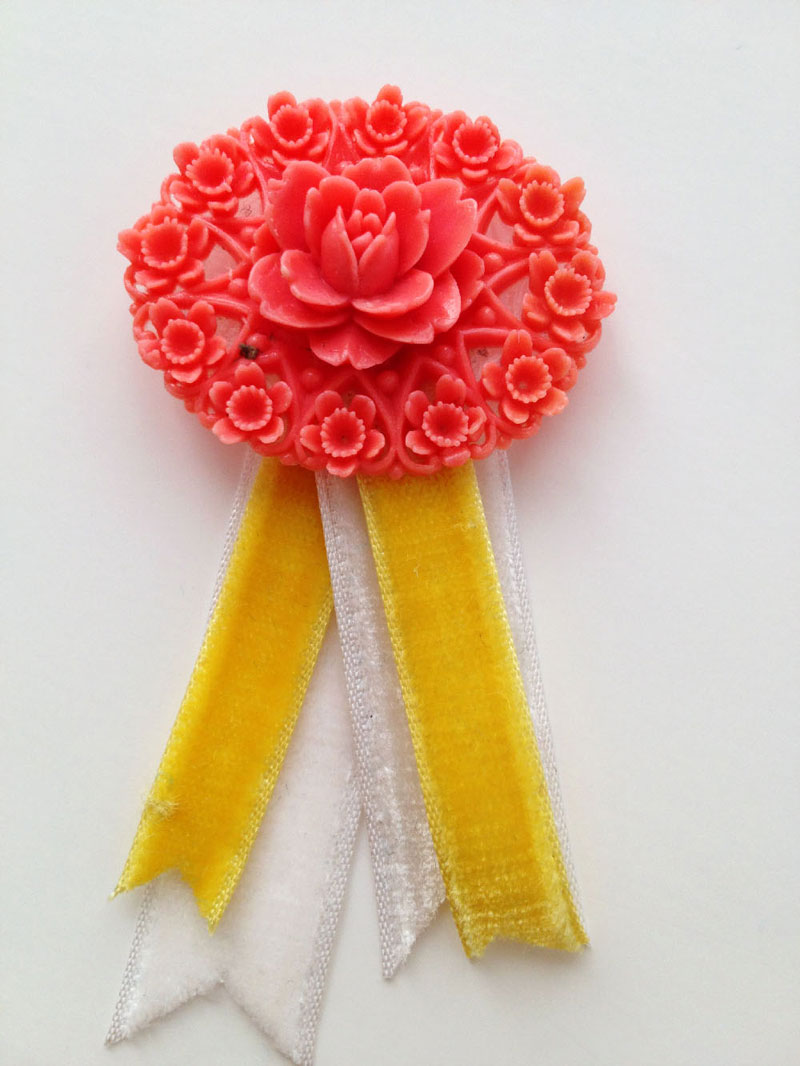
The one above uses a 5 1/2″ strip each of the White and Banana ribbons, both cut in half. Just glue them on top of each other at the top end (I used Fabric Tac glue), but have them fan at out the bottom. Trim the ends in points to keep them from fraying. Attach a cabochon or enameled piece of thrift store jewelry, and add a pin back on the back, all attached with the glue.
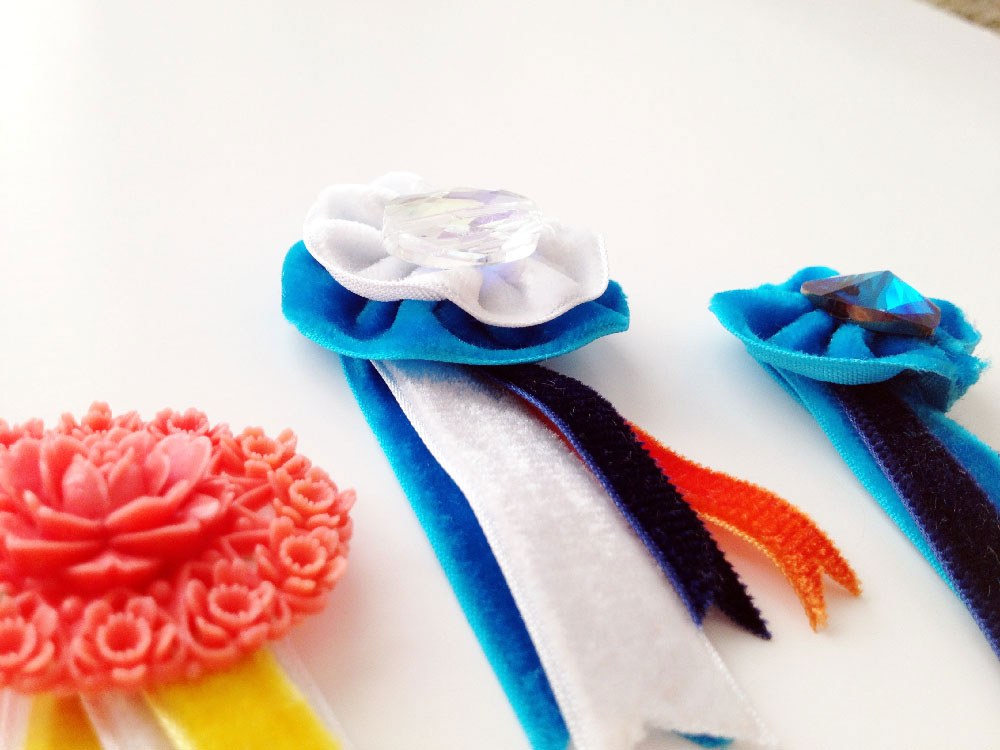
2. Blue Ribbon Rosette Brooch-
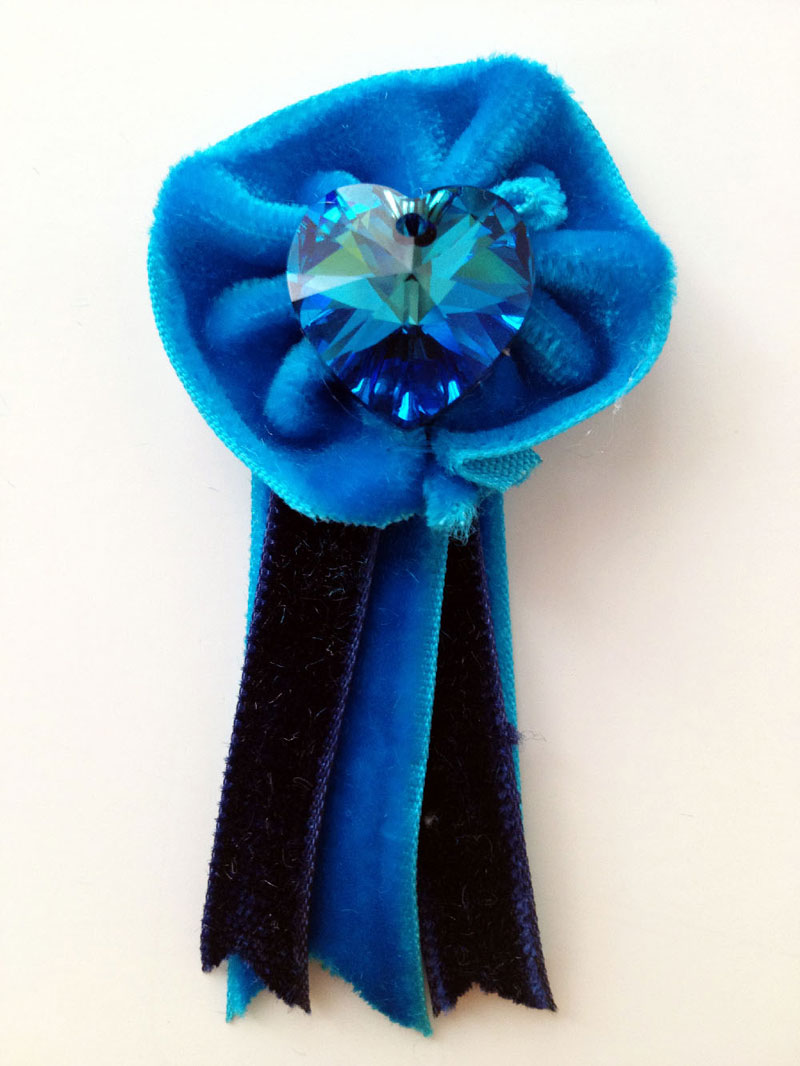
I love rosettes of all kinds, so I knew I wanted to make some sort of rosette brooch. This brooch uses the Ink and the Turquoise ribbons, a 5 1/2″ length of each, roughly cut in half (I like the look better when they aren’t so even at the bottom). Stack and glue the ribbon strips as above, with fabric glue. Cut another length of ribbon (mine is roughly 4 1/2″-5″). Using a hand sewing needle and a length of matching thread with a knot at one end, sew a large running or basting stitch across the length on one side of the ribbon. Pull the thread to gather the ribbon and shape it into a round rosette shape. Lastly, sew the ends of the rosette together to hold the shape, and glue a large bead, charm, or whatever you like, to the center of the rosette. Glue the rosette to the top of the strips, and trim the edges of the strips. Add a pin back and you’re done.
3. The Double Rosette Brooch-
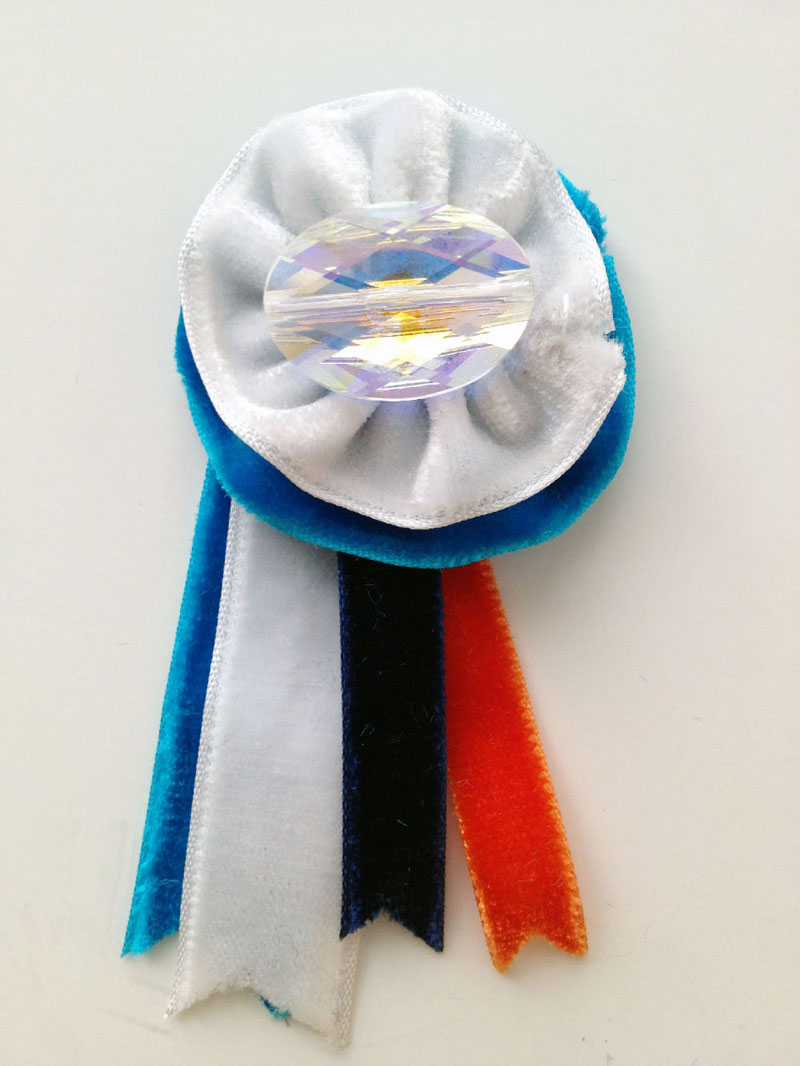
This one is the same as the single, with just an extra rosette, cut and gathered from a slightly longer length of ribbon.
Erin | house on hill road
September 2, 2013 at 7:19 amcute! the rosettes would be adorable on a headband or hair clip, too.
Carol Kohrs
September 2, 2013 at 10:18 amThose are very cute. I love a rosette as well. And I love their bags but holy cow, the prices…
Cyndi
September 6, 2013 at 8:47 amI love these! So cute. And such yummy good ribbons… I must investigate.
Nina
September 12, 2013 at 10:03 amMidori Ribbons are excellent love them so much. I just made for myself great rosettes and my hair looks gorgeous with the design. I love pink ribbon, blue, and red. They look good on blond hair. Yeaahhhhhhh