I do not like quilt basting- and I am referring to making the “quilt sandwich”. Which is basting the backing, batting, and quilt top layers smoothly together so that they can be quilted together without pleats or puckers on the front or back. Early on when I started quilting, I struggled with this process quite a bit. A pleat(s) would show up on the back of the quilt every single time I machine quilted any of my quilts by machine. This is why I hand quilted several of the early quilts I made. I always have my hand on the back of the work and could catch a pleat as soon as I feel one. I began to think maybe I just didn’t have the patience necessary to baste the layers thoroughly.
Beginning quilters, and even more experienced ones, can find this whole part of the process a bit daunting. Quilts are big projects, and multiplying that by 3 layers equals a lot of fabric to handle. After basting over 40 quilts using this method, I decided to write up this tutorial for it, for anyone who may be interested.
Some points to note-
- I don’t care for those quilting pins, which are those safety pins with a bend in them that are made for quilting. In my own experience, they make larger holes in the fabric than I’m comfortable with. This is just a personal preference, and if you like using them, you should.
- The table I baste my quilts on is the large table in my studio, which is actually two of these IKEA table tops bolted together underneath. I used the floor before that and this method has saved my knees and back. That combined with not feeling rushed to get my project off the floor and out of everyone’s way allows me plenty of time to baste the layers well. (To see this table in my studio, you can watch the video tour of my studio).
- If I plan to do alot of free motion quilting, the very best way I have found to secure the layers for that much quilting is to forego the pins and use 505 basting spray instead. But don’t feel you have to use spray adhesive, just know that I do use that in certain instances.
Basting Quilt Layers together
Materials:
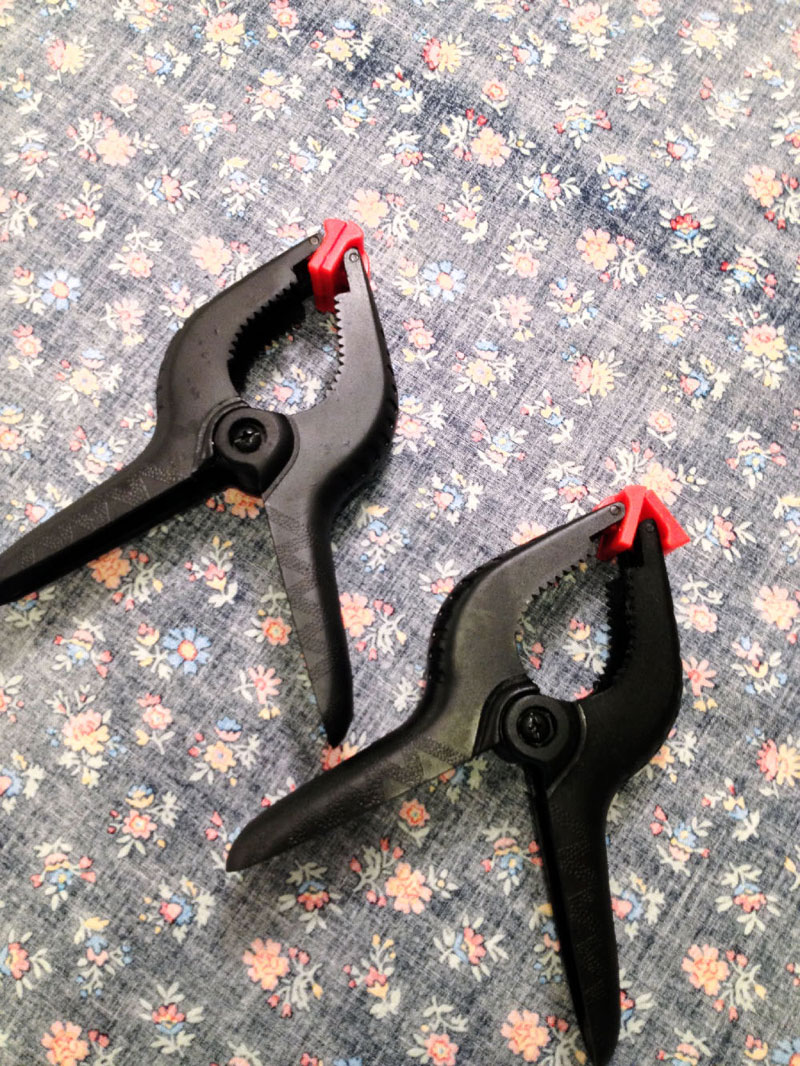
These clamps–
(You could also use these metal clamps)
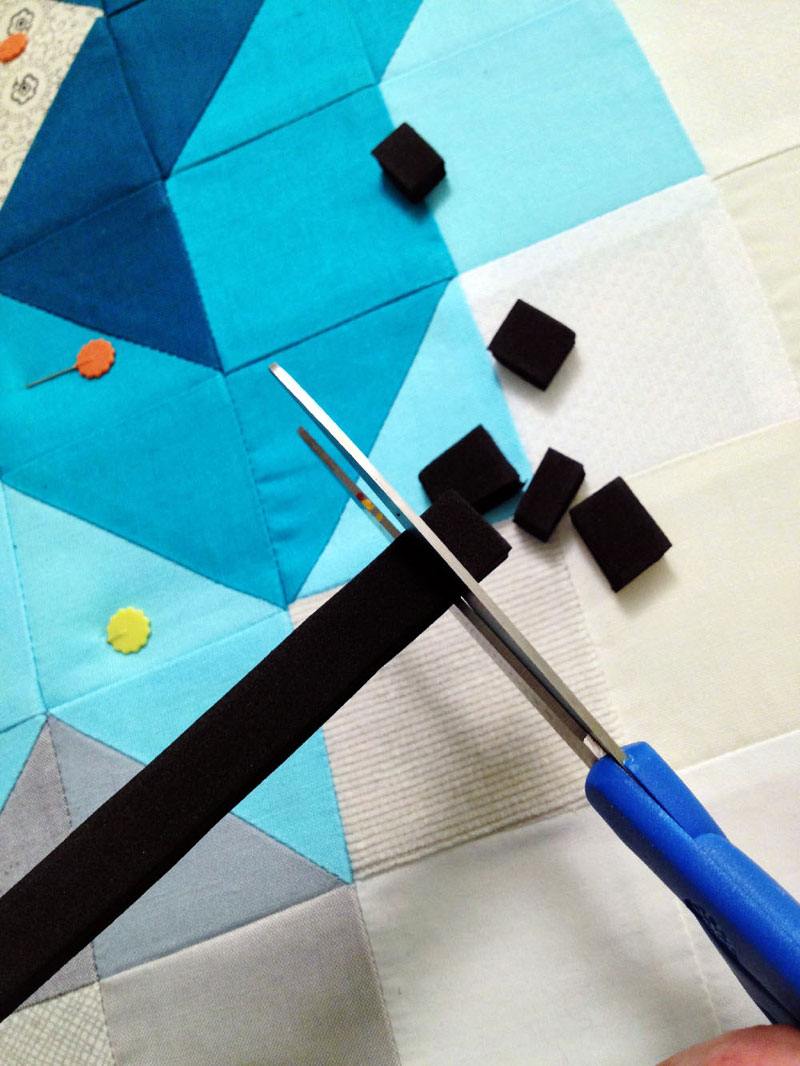
A few sheets of thick craft foam
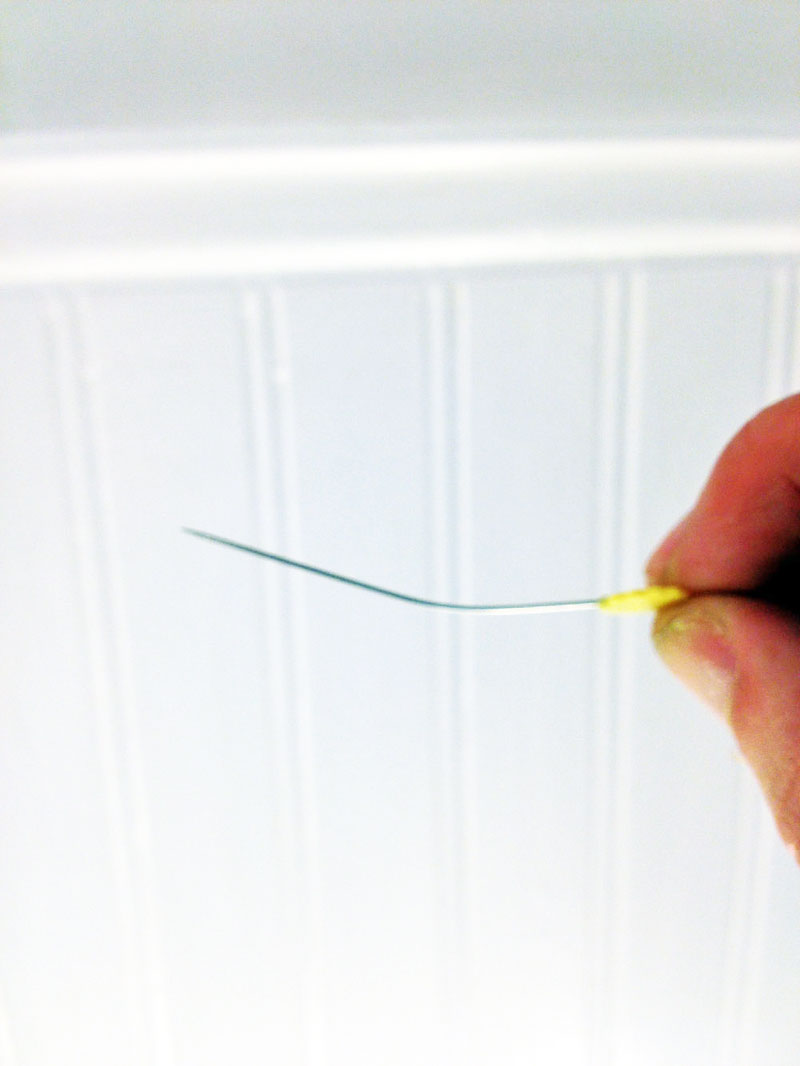
A set of long straight pins dedicated to quilt basting, that you will bend slightly in the center (I like these). For an average sized quilt I can use as many as 200.
Your pieced quilt top, backing (pieced to fit, if needed), and batting (backing and batting is at least 4 inches larger than your quilt top on all 4 sides).
Painter’s tape
Flatter smoothing spray or some type of starch
To pin baste the quilt layers:
1. Before you begin basting, press your quilt top and backing well, using smoothing spray or starch. I recommend pressing any seams on the quilt back open. You do not need to press the batting.
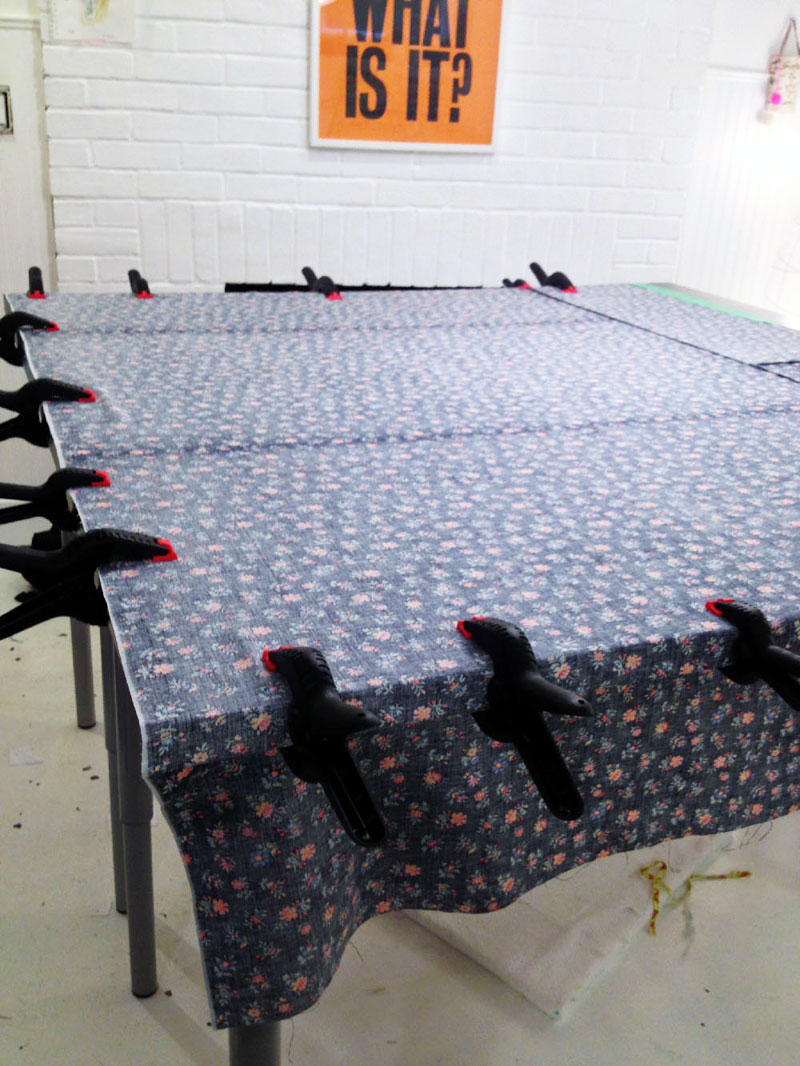
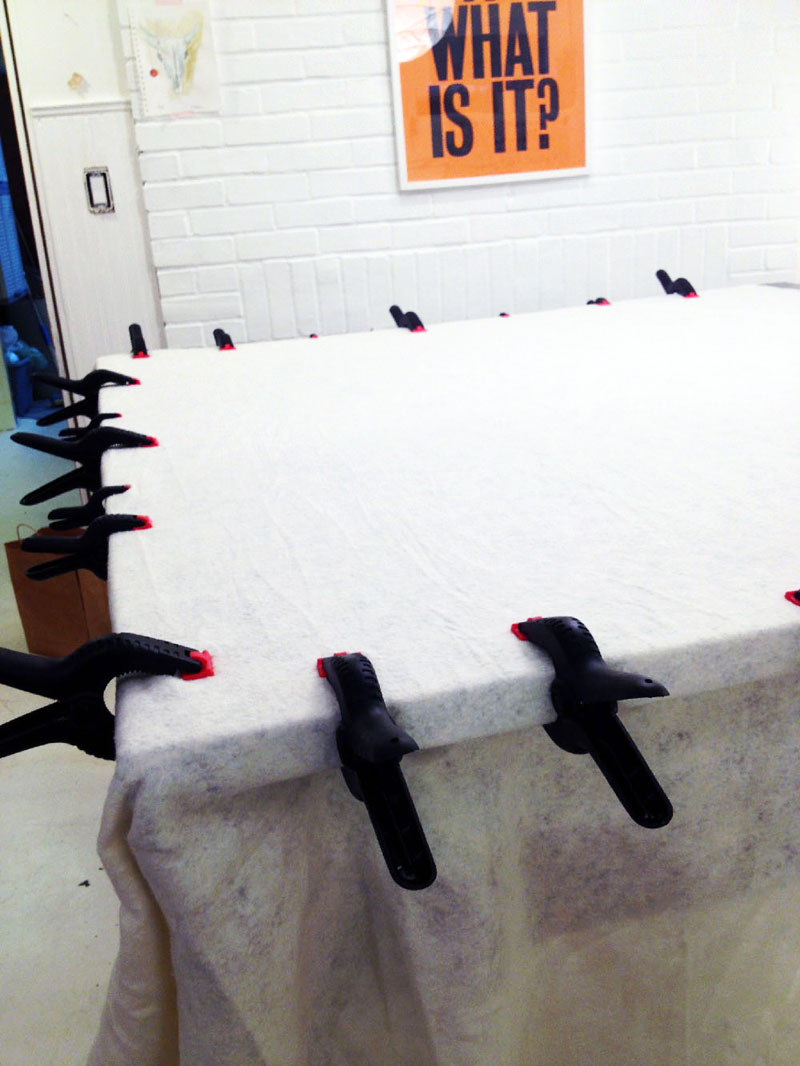
2. If your quilt is larger than the table you will be basting on (mine always is), start by lining up one side/corner of the quilt and table, letting the excess fabric hang off of the opposite sides of the table. Place your quilt back on the table right side down, and smooth it out well. As you smooth it, use the spring clamps to hold it in place, pulling it taut as it smooths out, and adjusting the clamps as needed. Clamp down all 4 sides of the quilt back to the table this way, using a few clips on each side. The goal is for the fabric to be pulled smooth and free of excess fullness, but pulling it too tightly will cause the fabric to kind of “spring back” when the clamps are released, and you don’t want that.
3. Next, add the batting layer on top. Spread it slowly and methodically. Start spreading from one corner, smoothing out small areas at at time and working outward. (Note: I don’t iron or pre-shrink my batting, and regularly use Quilter’s Dream Regal cotton with fantastic results.) As you smooth up to the edge where each clamp is, unclamp, pull the quilt batting and reclamp. Don’t pull at the batting , just smooth out creases. When its smooth, reclamp both layers to the table.
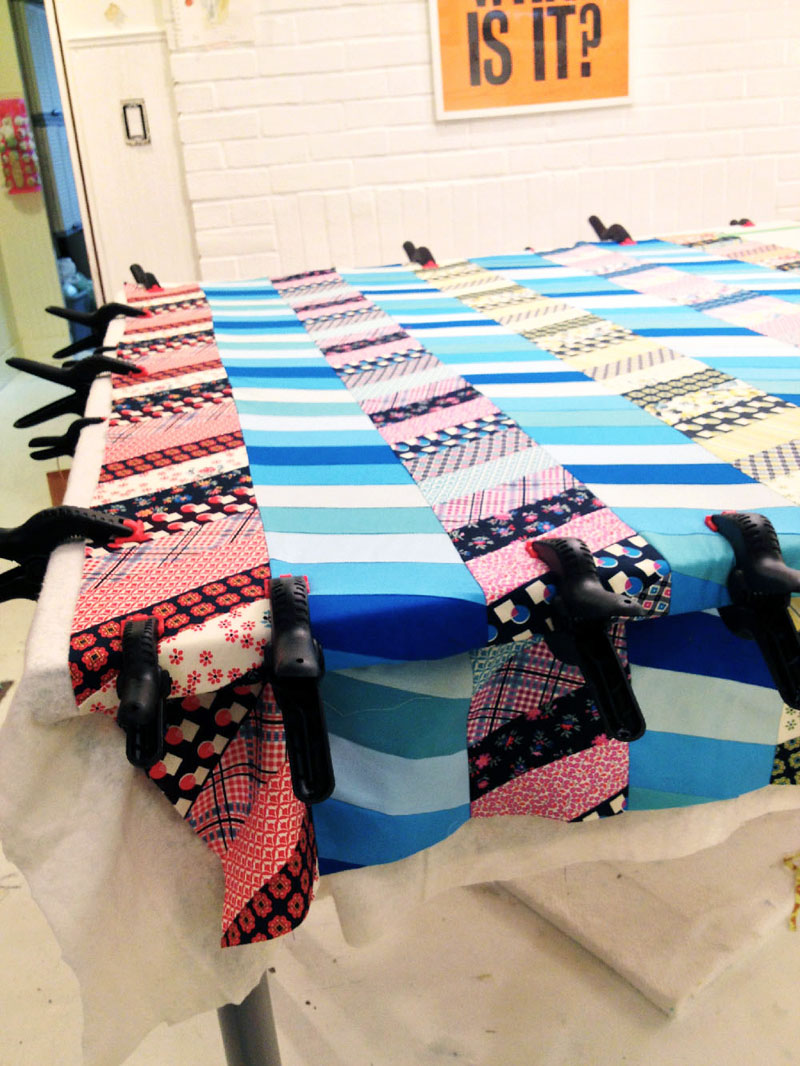
4. Place your quilt top right side up on top over batting and backing, allowing the extra backing and batting to extend beyond the quilt top on all sides to allow for any shifting during the quilting process (I allow 2 inches of extra batting and backing per side). Smooth out as before, and add this layer to the clamps all around the table.
5. Cut squares from your craft foam roughly 1/2″ x 1/2″. Cut plenty so you won’t have to stop and cut more.
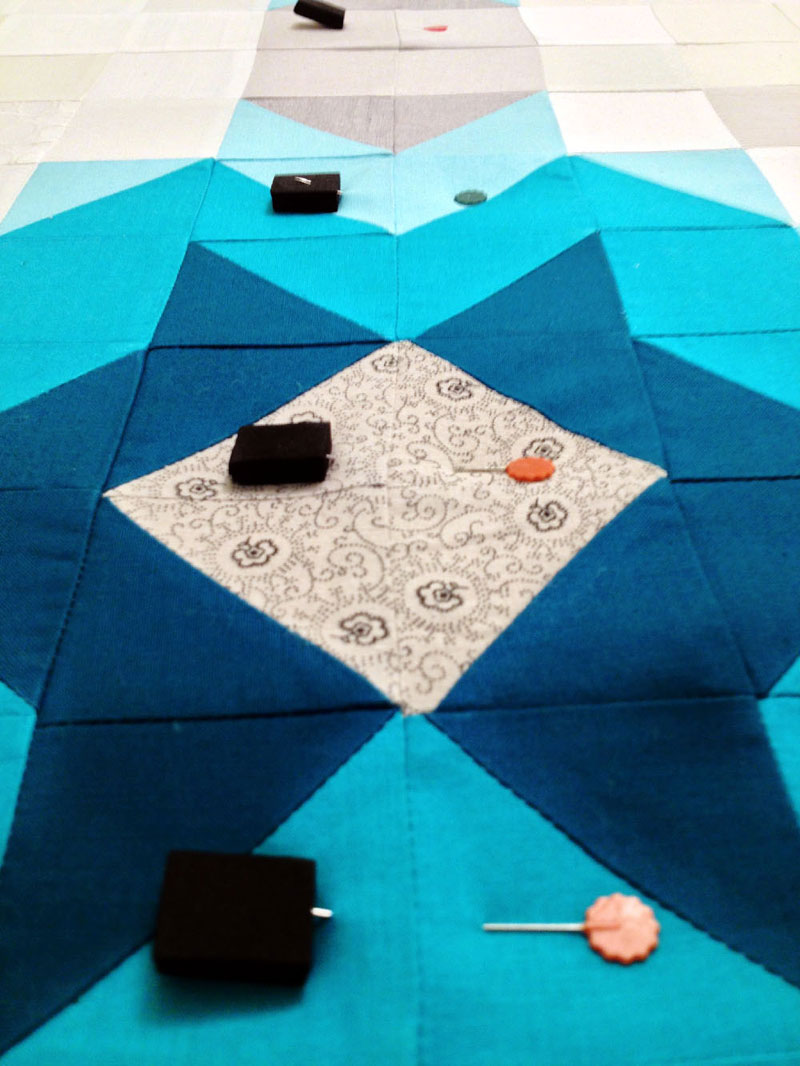
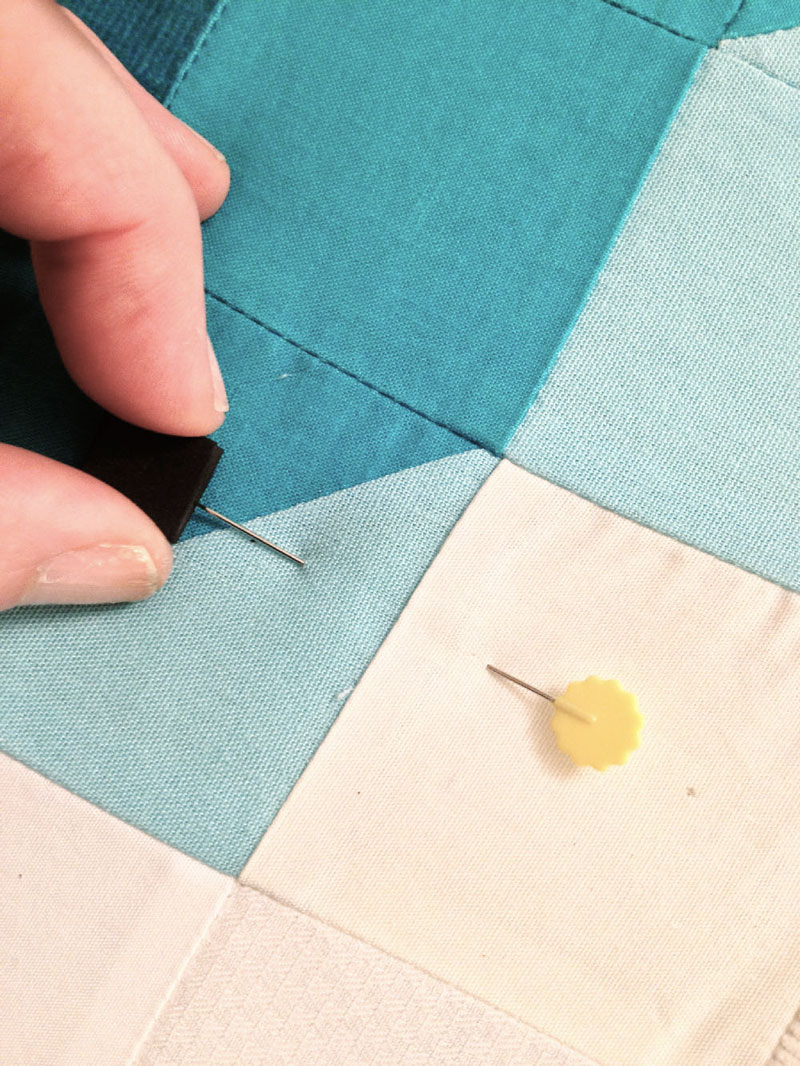
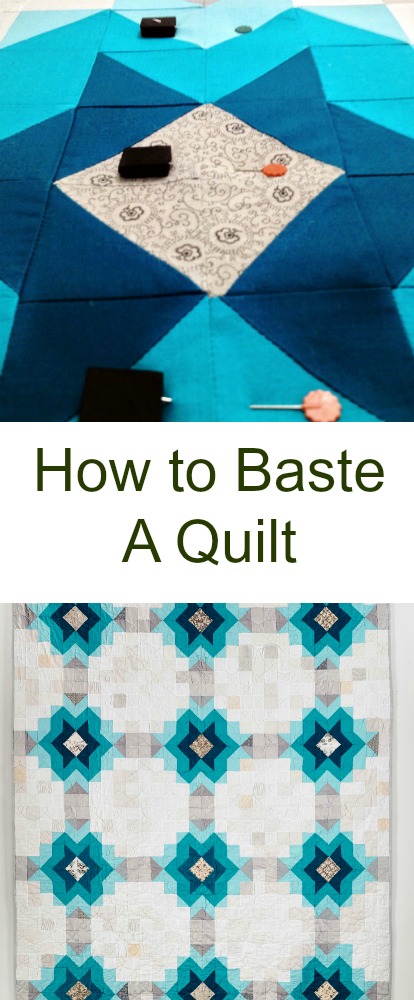
6. Starting from the center area of the quilt top, put a pin through all 3 layers, and cap the top with a square of the craft foam. I put pins every 4 inches or so (and fist’s width) apart, but in tricky areas I put as many as I need.
7. Once you’ve thoroughly pinned the entire tabletop’s worth of quilt, unclamp, and shift the quilt layers to repeat with the other sections.
You quilt is ready to machine or hand quilt! This process gives you secure, smooth layers and no pins to stick you (well, maybe a tiny stick here or there, but not many).
Any questions let me know!
