Granny Square Sampler Project- Week 4
(Find all the assignments listed on this page.)
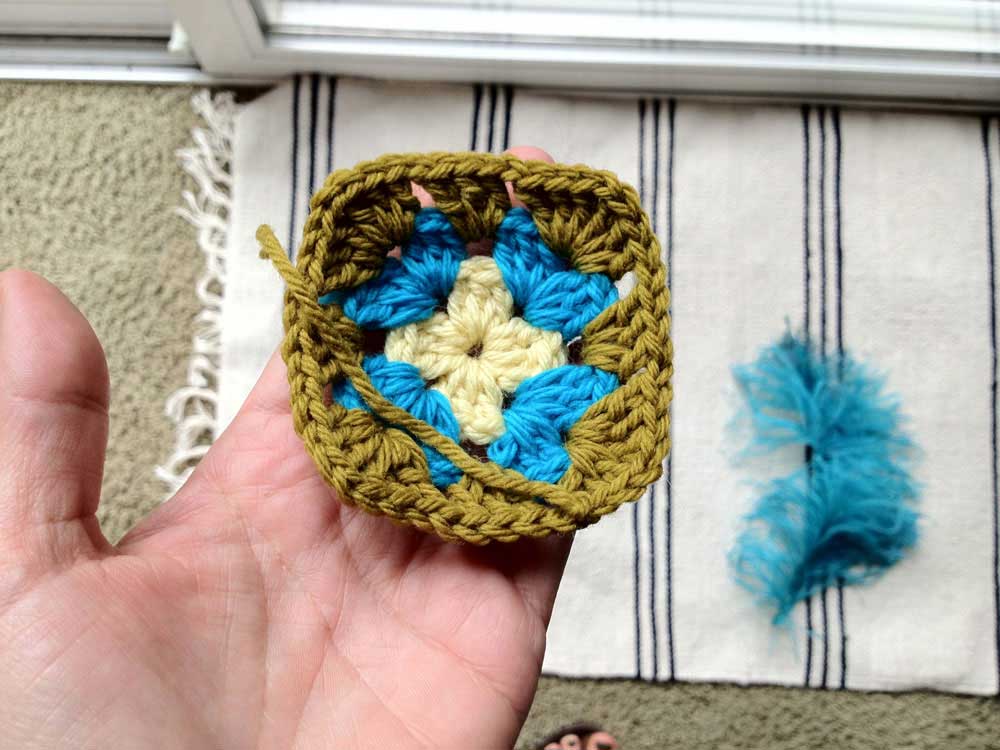
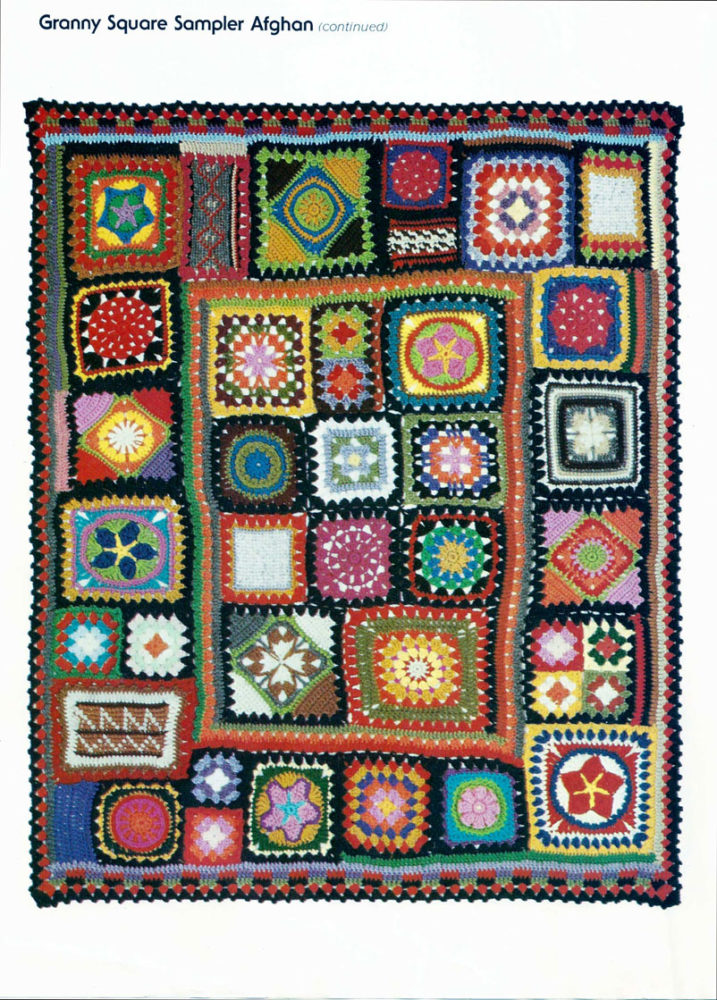
I’m calling this week’s granny square a “V Variation”. (It’s only week 4 and I’m already out of names, I know!) There is a version of this square in the original afghan that inspired this project, which didn’t make any sense to me, so I created this pattern which makes more sense and will hopefully make sense to you. It’s a little more open than last week’s square, but similar to the traditional grannies in week’s 1 and 2. I explain a little in the videos, but there is a “V” effect with the stitch patterning in rounds 3 and 4.
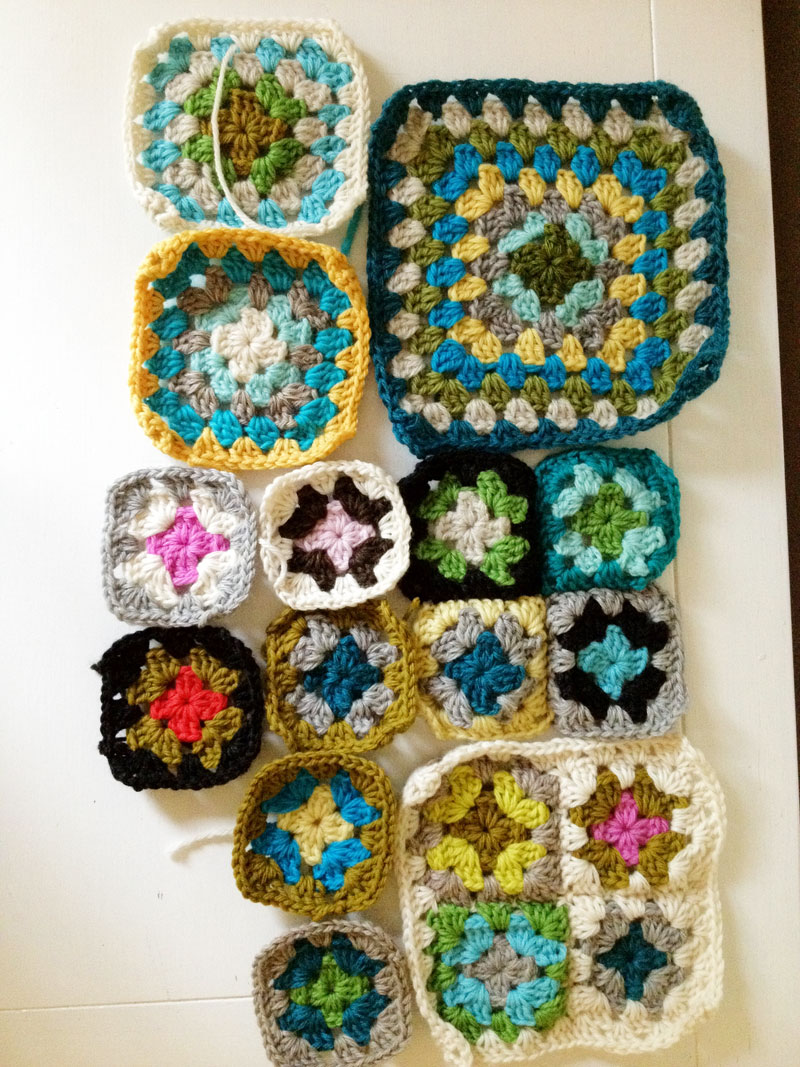
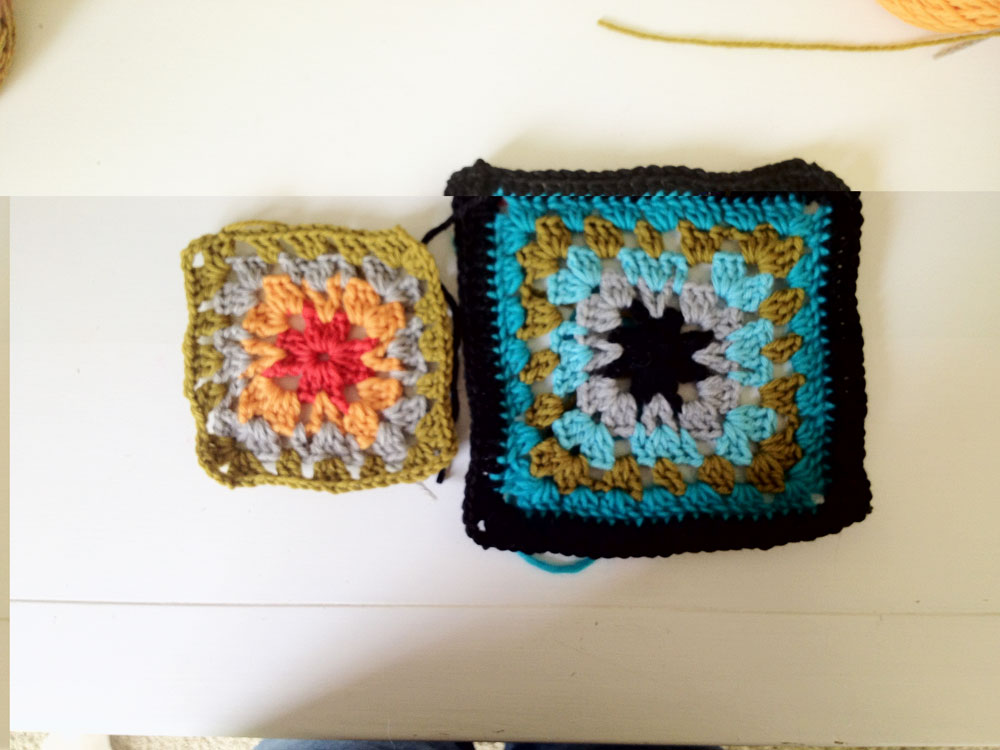
Use a different color for each round of this week’s squares. I made mine totally different from each other, as you can see. I want to throw some totally random colors in my sampler in certain spots, so at times I pull out a bright citrusy orange and get crazy. I divided the videos by round, so there’s several of them.
Week 4
Square 5, “The V” (Make 2 of these- 1 version with 4 rounds, make 1 version with 6 rounds.)
4 round version- uses 4 colors
Round 1 & 2-
With first color, ch 5, join with a sl st to form a ring.
Rnd 1 (same color)- Ch 3 (counts as 1 dc), 3 dc in center of the ring, *ch 5, 4 dc in center of the ring* rep from * 2 more times, ch 5, join with a sl st to top of beg ch 3. End off.
Rnd 2– Join new color in corner (ch 5) space. Ch 3, 2 dc, ch 3, 3 dc all in same corner space. Ch 2, between 2nd and 3rd dc from previous row, 1 dc, ch 1, 1 dc into same space (the “V” I was talking about). Ch 2. *3 dc, ch 3, 3 dc in corner space, ch 2; (1 dc, ch 1, 1 dc) bet 2nd and 3rd dc crochet; ch 2* Repeat bet * 2 more times, slip st to top of first ch 3 and end off.
Round 3- Join new color in corner (ch 3) space, ch 3, 2 dc, ch 3, 3 dc. Ch 2, 1 dc in ch 2 sp (from previous row), ch 1, 3 dc in ch 1 sp (in the middle of the “V” from previous row), ch 1, 1 dc, ch 2. Corner- 3 dc, ch 3, 3 dc, ch 2, *1 dc in ch 2 sp, ch 1, 3 dc in ch 1 sp, ch 1, 1 dc in ch 2 sp, ch 2*. Corner- 3 dc, ch 3, 3dc, repeat bet * *, corner- 3 dc, ch 3, 3 dc, repeat * *, slip st to top of first ch 3 and end off.
Round 4– Join new color at corner (ch 3) space, ch 3, 2 dc, ch 3, 3 dc. *Ch 1, 2 dc in next ch 2 space, ch 1, 3 dc into the top of the center dc of the 3 dc group from previous round, ch 1, 2 dc in next ch 2 space, ch 1*; corner- 3 dc, ch 3, 3 dc, repeat from * *, 3 dc, ch 3, 3 dc, repeat from * *, 3 dc, ch 3, 3 dc, repeat from * *, slip st to top of first ch 3 and end off.
——————————————————————————————————————————————–
6 round version- uses 6 colors
Rnds 1- 4– Follow instructions for 4 round version above.
Round 5-Join new color at corner (ch 3) space, ch 3, 2 dc, ch 3, 3 dc. *Skip 2 dc stitches, 3 dc into top of 3rd stitch from previous row*. Repeat bet * * 4 more times. 3 dc, ch 3, 3 dc (corner). Repeat bet * *5 times, 3 dc, ch 3, 3 dc (corner). Repeat bet * *5 times, 3 dc, ch 3, 3 dc (corner), repeat bet * *5 times, slip st to top of first ch 3 and end off.
Round 6-Join new color at corner (ch 3) space, ch 3, 2 dc, ch 3, 3 dc. *Beginning at top of next dc stitch from previous round, 1 dc into the top of each dc stitch, 20 stitches.* 3 dc, ch 3, 3 dc (corner), Repeat from * *, 3 dc, ch 3, 3 dc (corner), repeat from * *, 3 dc, ch 3, 3 dc (corner), 3 dc, ch 3, 3 dc (corner), slip st to top of first ch 3 and end off.
Any questions, just leave them in the comments. As always, you can find the everything we’ve done till now on this project with all the links on this page.