Fun Fact- I used to be an obsessive cross stitcher. Way back in high school. (I think even then I knew that hand stitching brought me comfort.) I use to buy those preprinted pillowcase kits (Aunt Martha’s, maybe?), the ones with the floral patterns printed around the edge of the pillowcase. It was the 1980’s, what can I say.
I still have some of those. In fact, my daughter is probably resting her head on one of them in her college dorm room, right now.
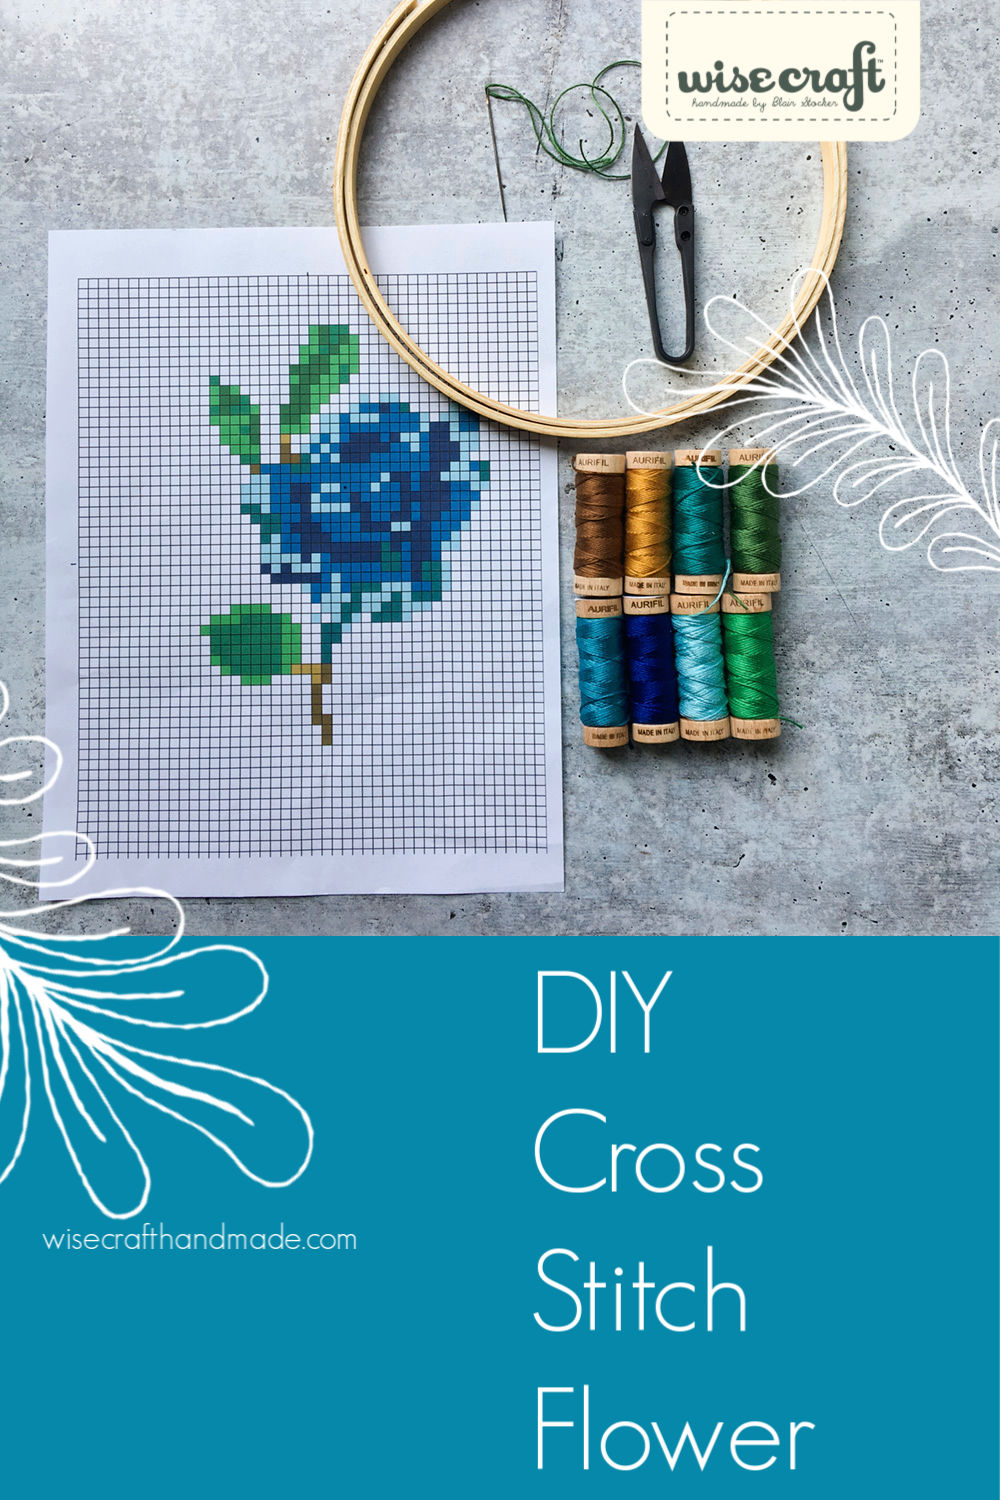
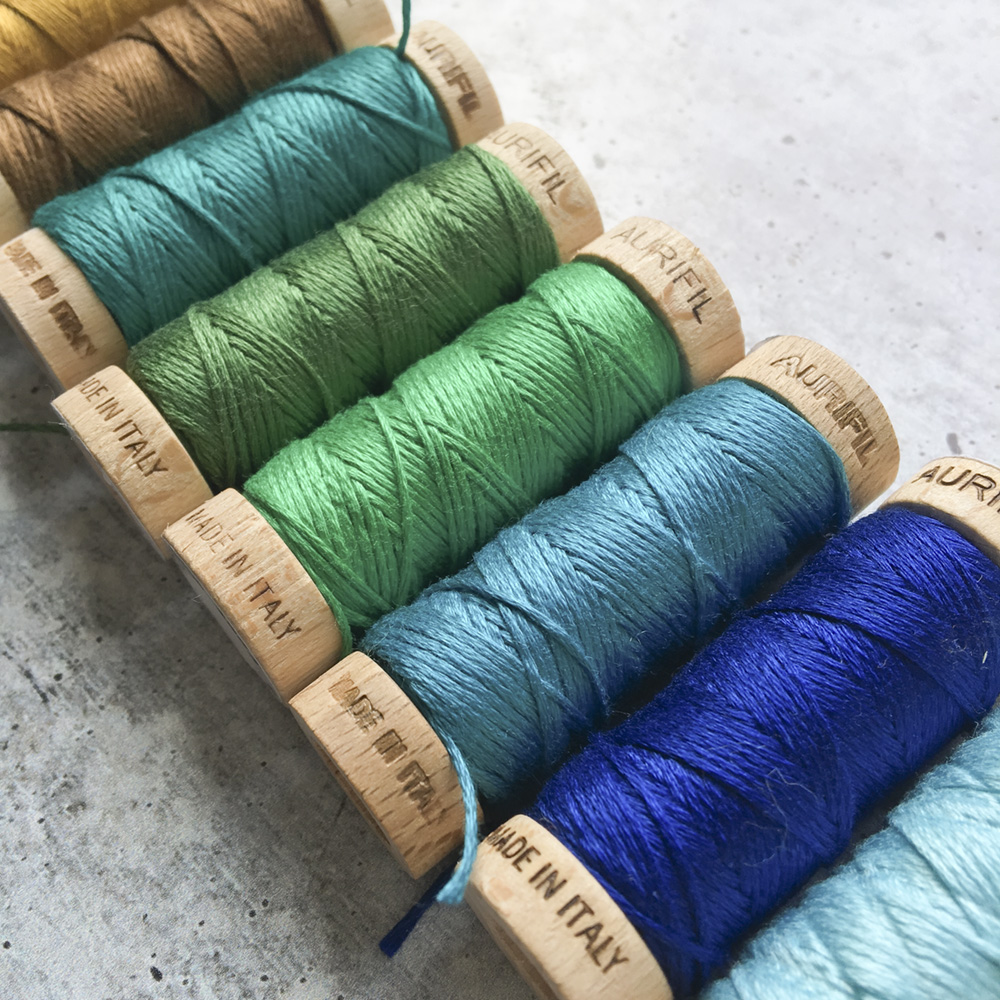
Recently, I got several spools of Aurifil cotton floss . I was thinking about how to use them, and decided to test how much I remembered about my former cross stitch obsession. Aurifil’s cotton floss is a dream to stitch with, has a beautiful sheen, and the colors are so pretty. Plus, their little wooden spools are fun too!
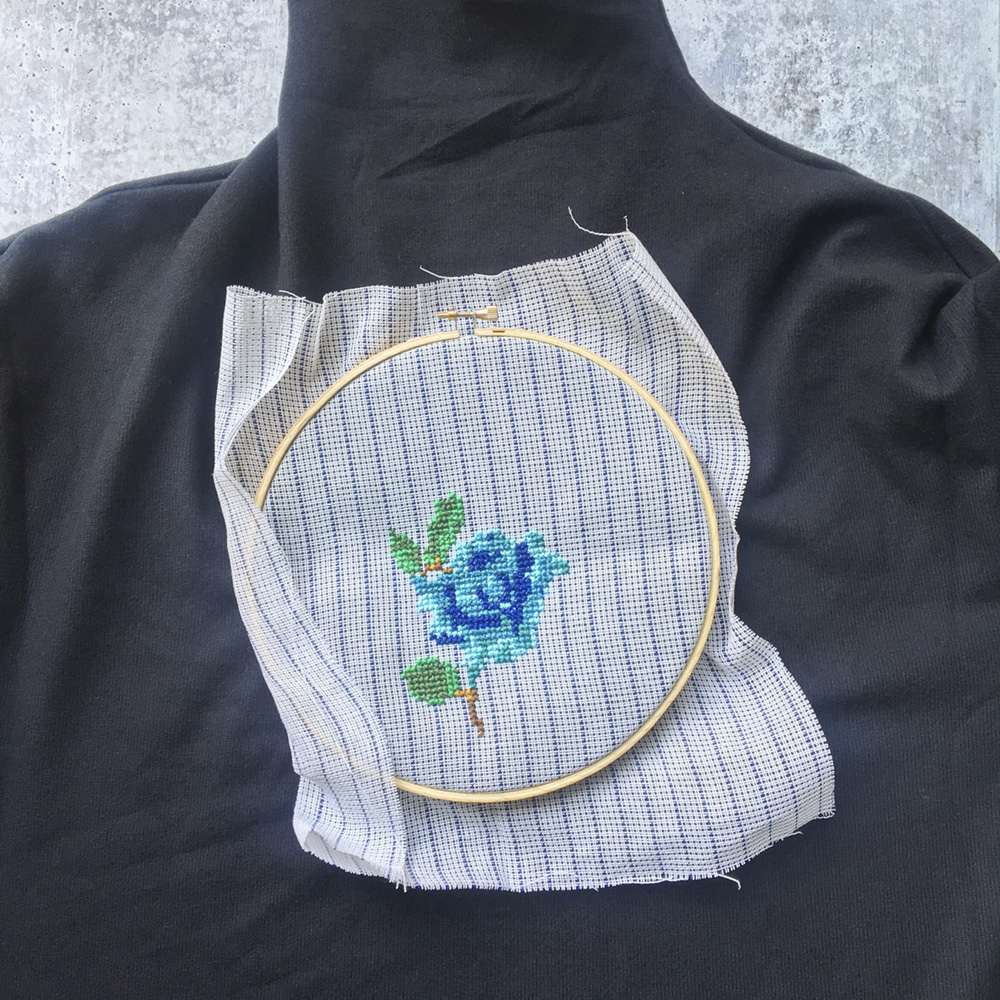
I thought I’d try using waste canvas and stitching a flower motif on a recent purchase from Uniqlo, a mock turtleneck knit shirt.
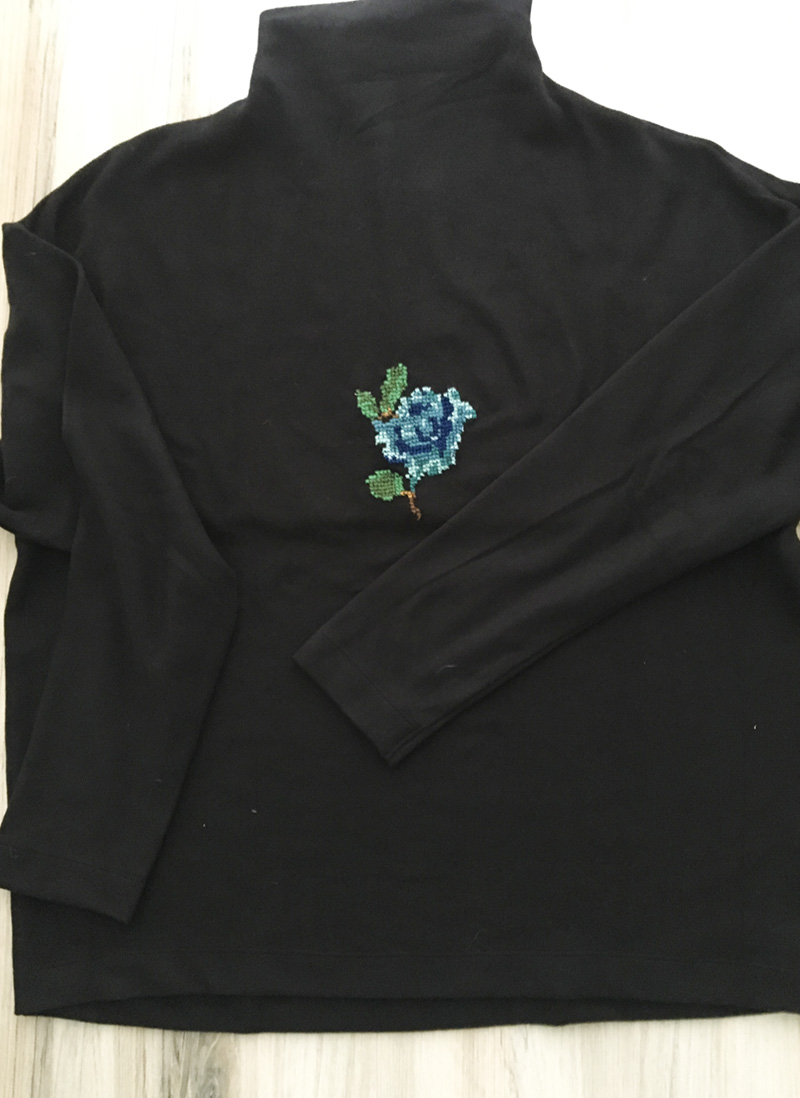
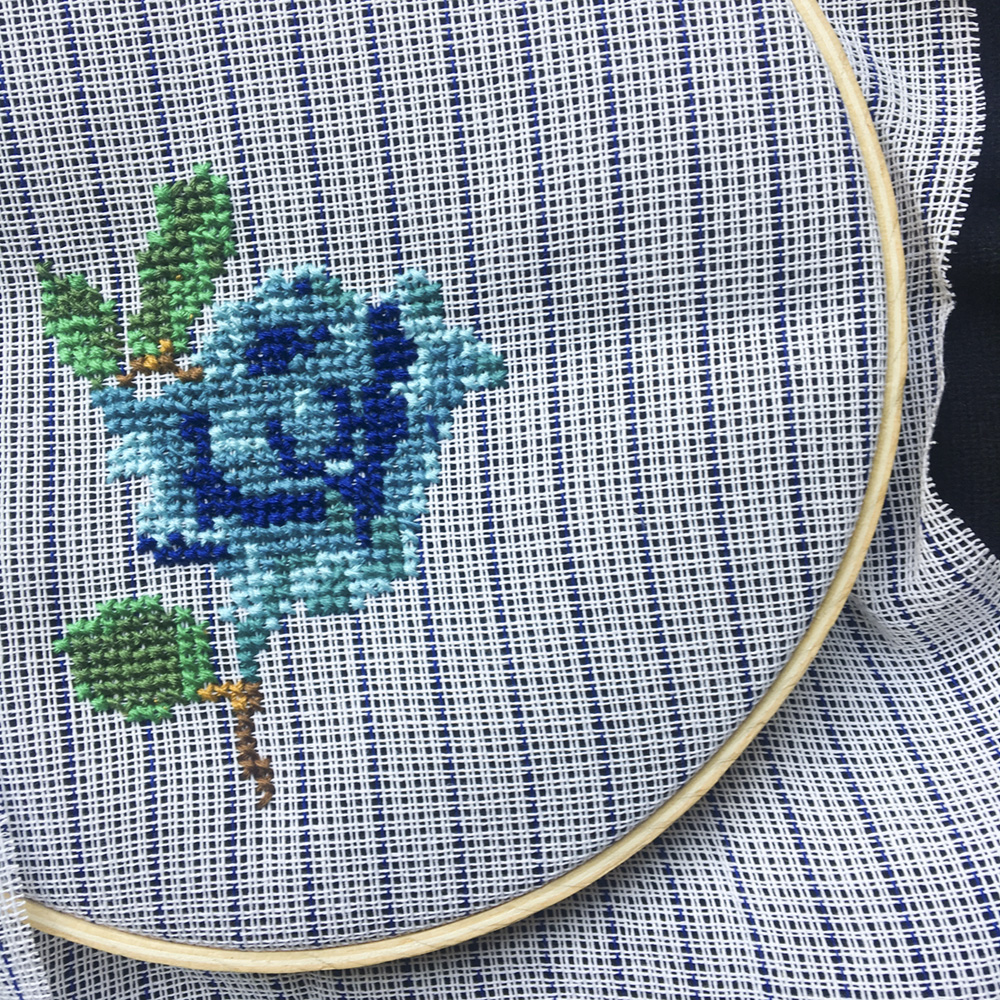
I’m happy to say that my deep memory pulled out all those little cross stitch tricks and skills I’d developed in the previous century. It turned out pretty cute!
I thought I would share how I did it and include the flower pattern as a free download. It would be fun to see it cross stitched on a big chunky knit or a t-shirt. I hope you try it!
Cross Stitched Flower Pattern
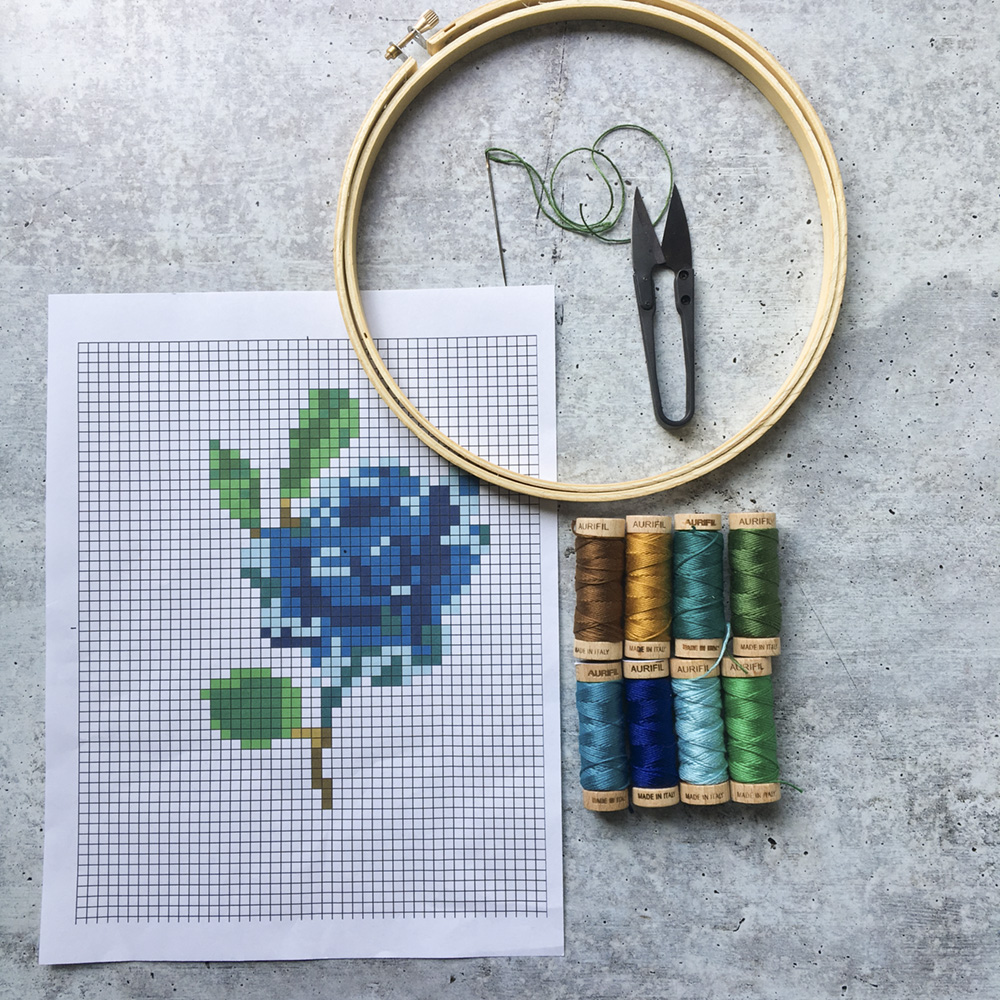
Supplies
- Cross Stitch Flower Template
- Aurifil Cotton Floss Thread (colors listed on pattern, or choose your own)
- Item you plan to stitch on
- *Waste Canvas
- Needle
- Scissors
- Optional- lightweight fusible interfacing (it your knit needs extra stability, use this on the back, apply before stitching)
- Embroidery Hoop
How to Make:
1- Find the center of your piece, I have also indicated the center of the pattern with a dot. You’ll want to align everything from the center first.
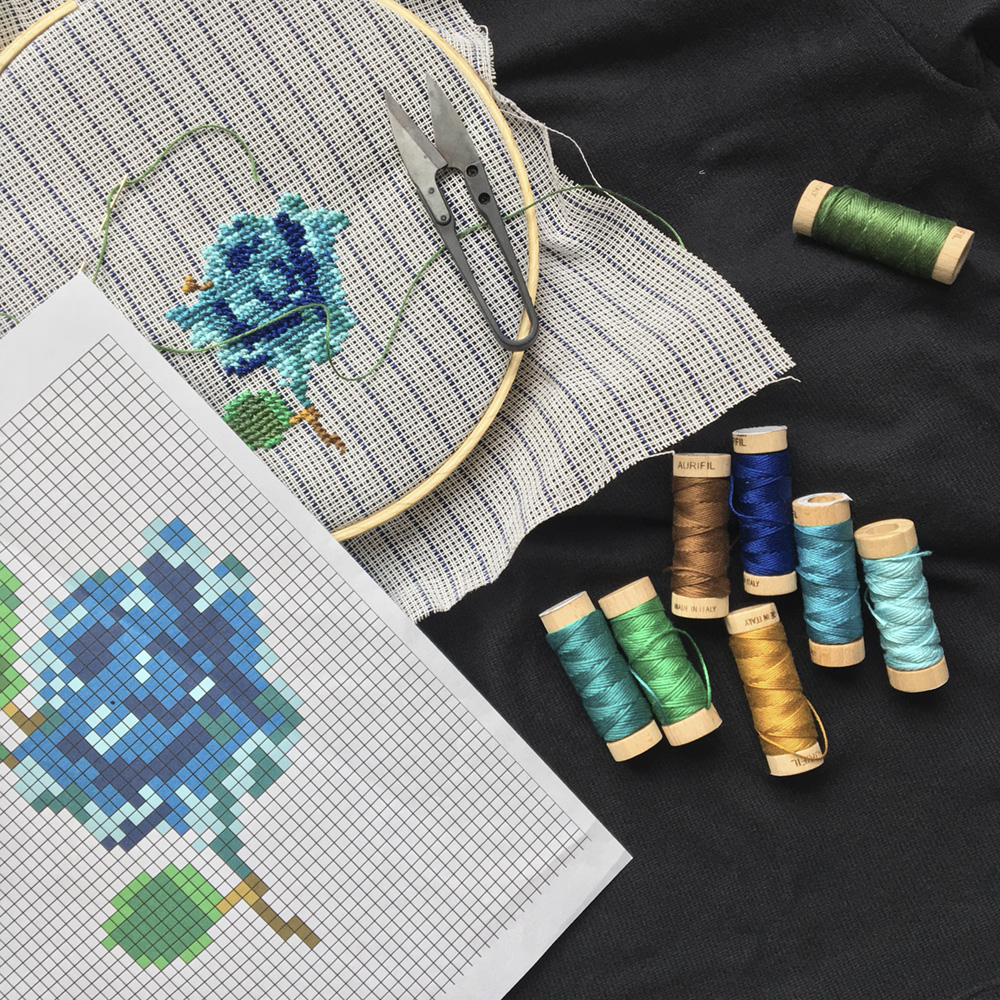
2- I placed the waste canvas on the front of my shirt. Sometimes I know it is placed on the back, but do whatever works for your piece. I was able to hoop the entire piece in my embroidery hoop to hold it and the knit beneath it together and secure. If you’re using a smaller piece of waste canvas, just secure to the knit by stitching it down with large stitches at the corners (not where you will stitch the design). You will remove them later.
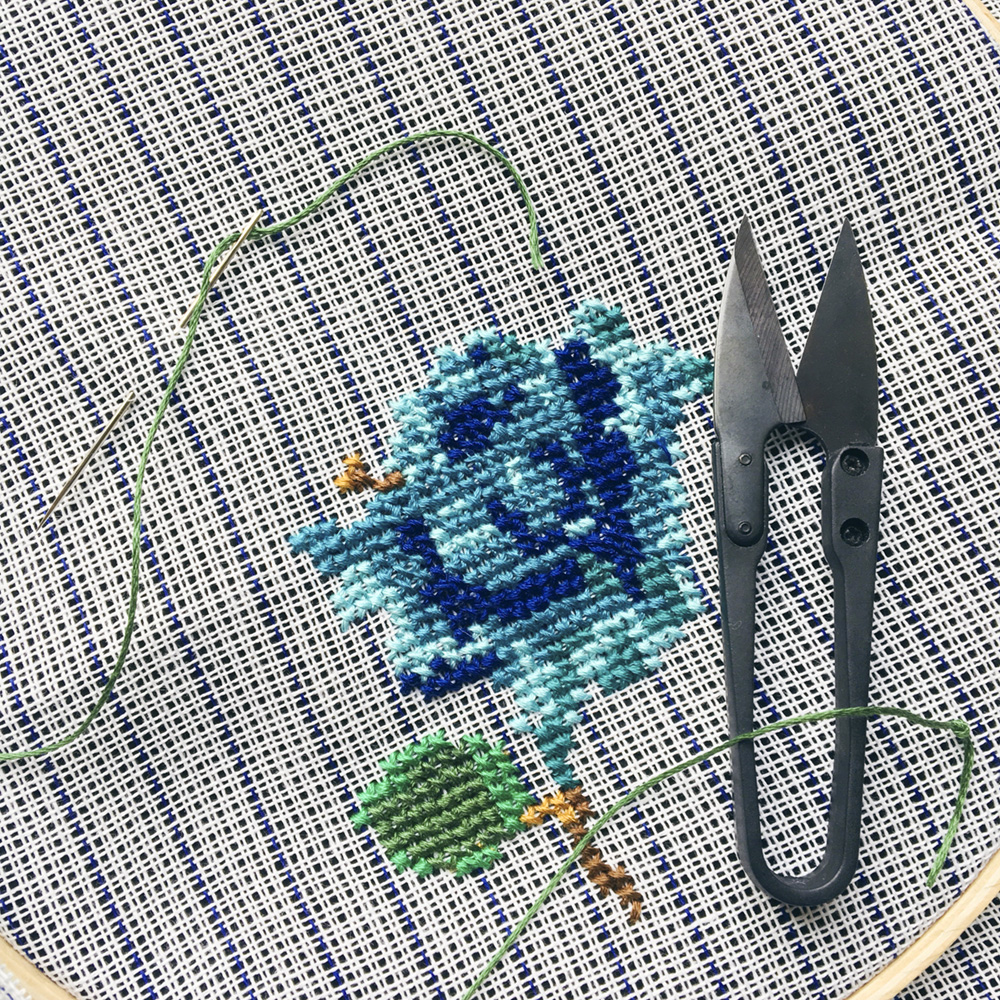
3- Begin stitching from the center out, and go through both layers- the knit and the waste canvas. If you’ve never used waste canvas, it will help you make uniform cross stitches. (You will remove it when you are done.)
Stitching tip- always make the first stitch of each cross go in the same direction. For example, since I learned as a teenager, I make my first stitch of the X from bottom left to top right, the second/last stitch is always bottom right to top left. This creates a really nice even sheen across the work when its done.
4- Keep stitching until the entire piece is done. This went fast! A couple of evenings and I was done!
5- When you’re done, cut away as much of the waste canvas as you can. From there, start to pull away what’s under the design, following the package instructions.
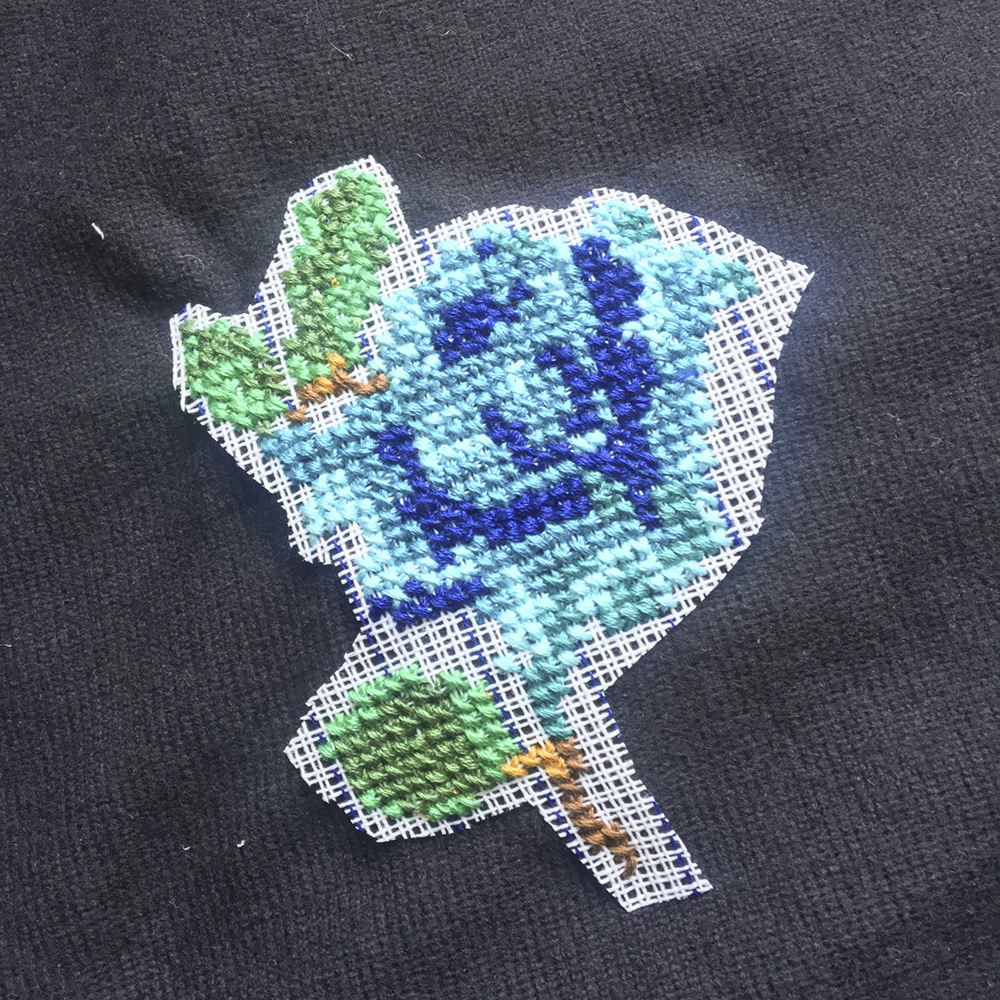
And you are done!
*This is an affiliate link. If you purchase from my link, I get a small percentage of the sale, but your price is not affected.