2 tricks to get more color value options from your stash
When you begin making scrappy quilts using the power of their light and dark value differences, you will unlock a whole new side of your stash. Meaning, suddenly, its not about the fabric you love. Its more about the fabric that works. When you start thinking this way, you look at the fabrics on your shelves differently.
As I accumulated more and more scraps, I began challenging myself to find ways to use them up. While its impossible to use every single fabric you have completely, you can begin to look at the differences in their color value as a fun design challenge. Scrappy quilting takes on a whole new meaning!
I posted previously about what I mean when I talk about relative lightness or darkness of a fabric. I hope that helped to clarify what value really is all about in quilt making. When I created the Ruby Ruler™, I’d been carrying a neon red piece of acrylic around with me and looking through it at my own scrappy quilts. I knew it was something others would find interesting to use as well.
Today, I have two tricks I use all the time to get more value options my stash. Please let me know if you use them!
Use both sides of your fabric
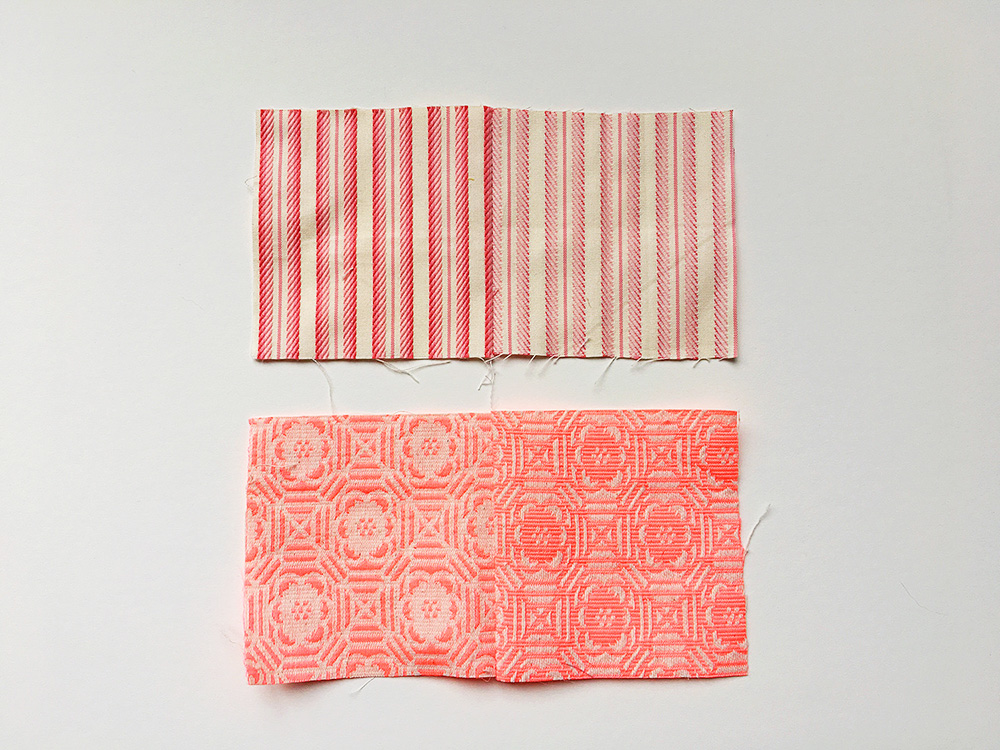
This works well if you are working with a yarn dyed fabric. Yard dyed means that the individual yarns that create the cloth are dyed before woven. (In contrast, quilting cotton fabric is usually printed only on one side.) A good example is a man’s dress shirt. A nice quality one is usually yarn dyed. The two fabrics at the top in the photo above are a nice quality dress shirt fabric I have in my stash. As you can see, the fabric (the wrong side) on the right looks different, lighter than the swatch on the left, which is the front of the fabric. Imagine a WHOLE patchwork quilt made with only this fabric, but utilizing both sides of the cloth. How cool would that be? I’ve got some ideas!
The pink and cream fabric at the bottom of the photo is from a skirt I bought a few years ago while thrifting, also yarn dyed. I thought it was a wonderful pattern for quilting. There is sort of a flip flop of the pattern from the front to the back of the fabric, but its enough to create a value difference if used intentionally. Plus its the perfect color of pink!
Experiment with color removal
Are you a brave soul ready to try something a little unpredictable? I used a product called Rit Color Remover to play with the idea of taking color out of some Liberty of London Tana Lawns
Everybody calm down, sometimes you just gotta jump in with the nice stuff. And its really only fabric!
It was really fun, and as you can see below I got all kinds of results (the swatch with the color knocked back is in the front).
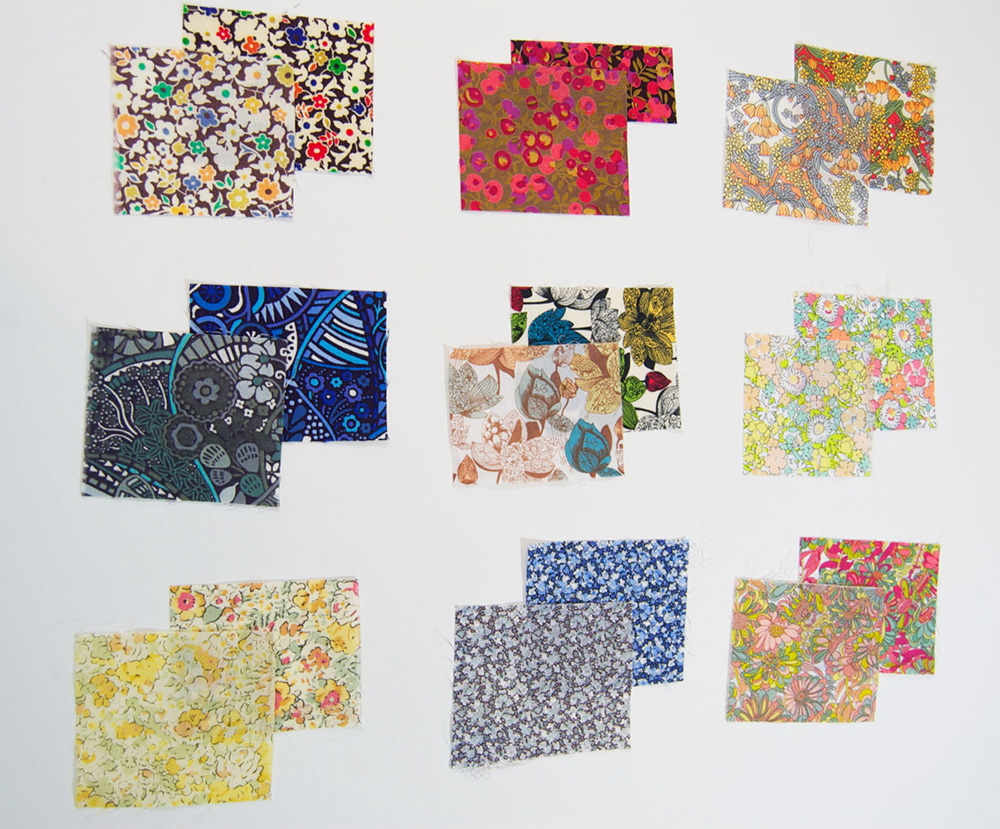
Swatches before and after using Rit Color Remover
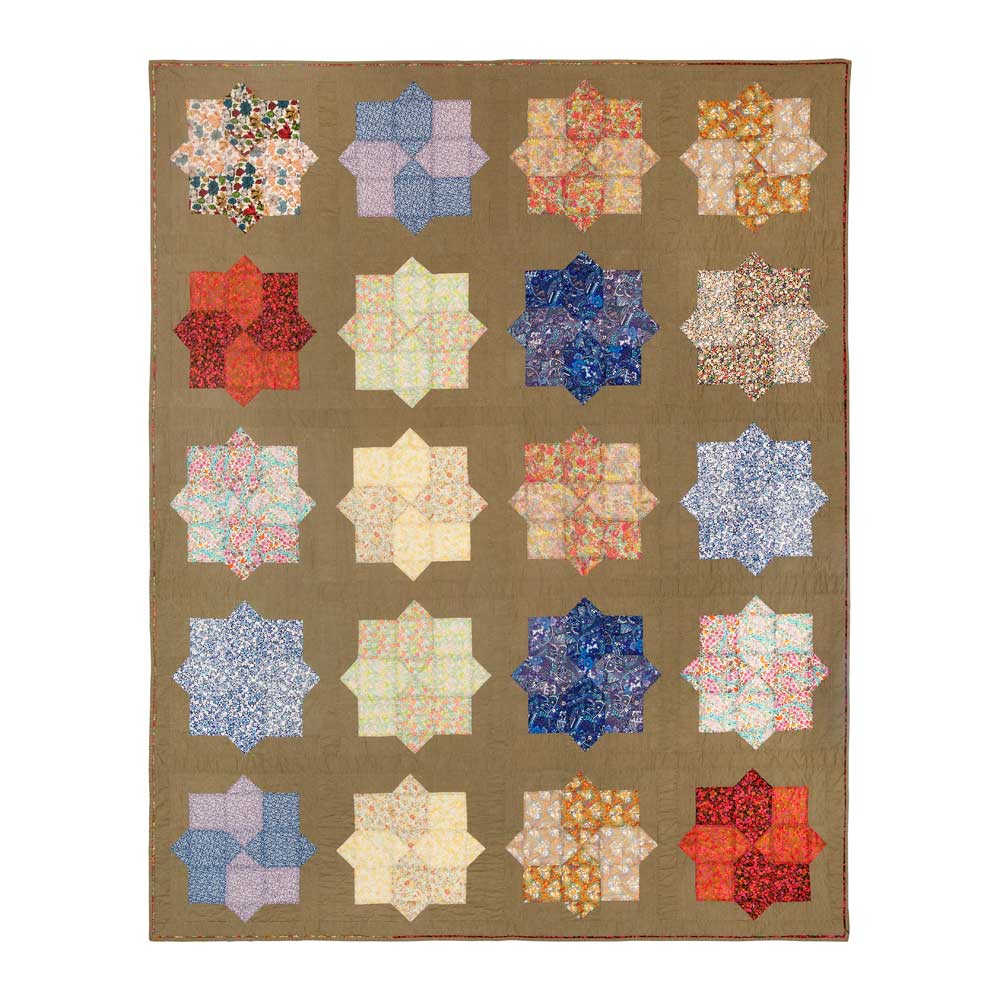
I used the fabrics above to create my Hammerhead Quilt, below. They created beautiful swirling stars.
I most recently the same method in my Liberty Spikes quilt, below. The print that you see (another Liberty of London) is actually only one fabric, but treated with color remover to create gradients.
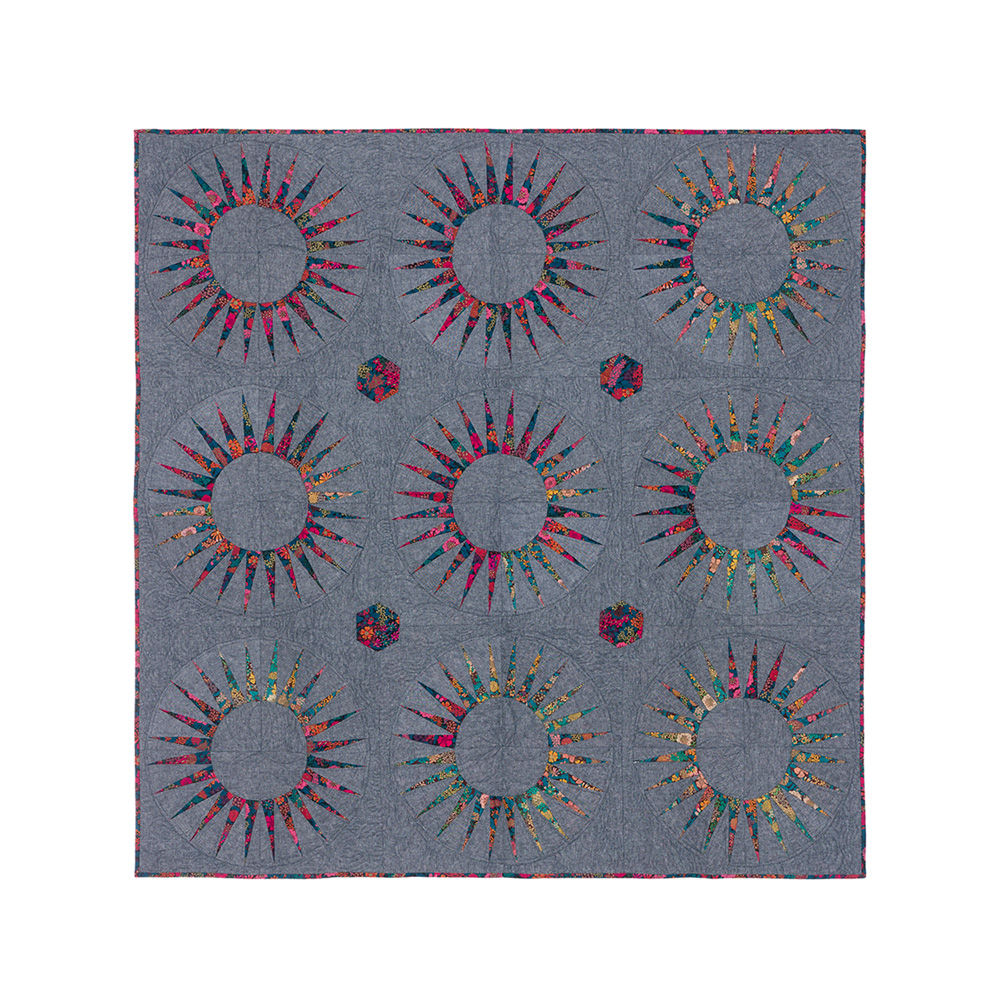
The advantages of this method is that where I had one print, I suddenly had two. Or more! Its also a better alternative than bleaching a fabric because it only works on the dye. Bleach actually attacks the fiber and can weaken the cloth.
The disadvantages? The results can be unpredictable, and you have to keep an open mind. Some of the treated fabrics I used in the Hammerhead Quilt I didn’t like so much on their own, but they worked great in combination with others. I have come across some fabrics that don’t seem to react at all to the color remover. This is most likely because of the type or color of dye used, or the type of fabric and how it holds on to the dye. Its a chance you take, but its worth it to me.
If you have fabrics in your stash that you aren’t crazy about, try the method to see what happens!
I am putting together a fun class on the whole concept of value and will be telling you more on that soon (be sure you’re on my online class mailing list).
