DIY Halloween Trick or Treat Bag

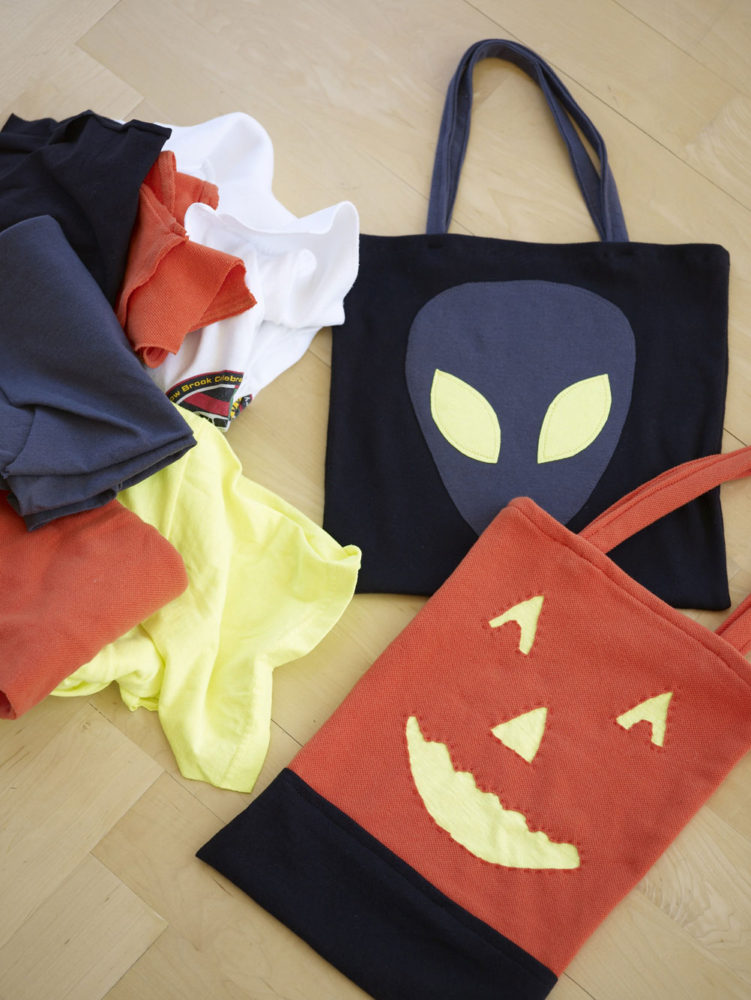
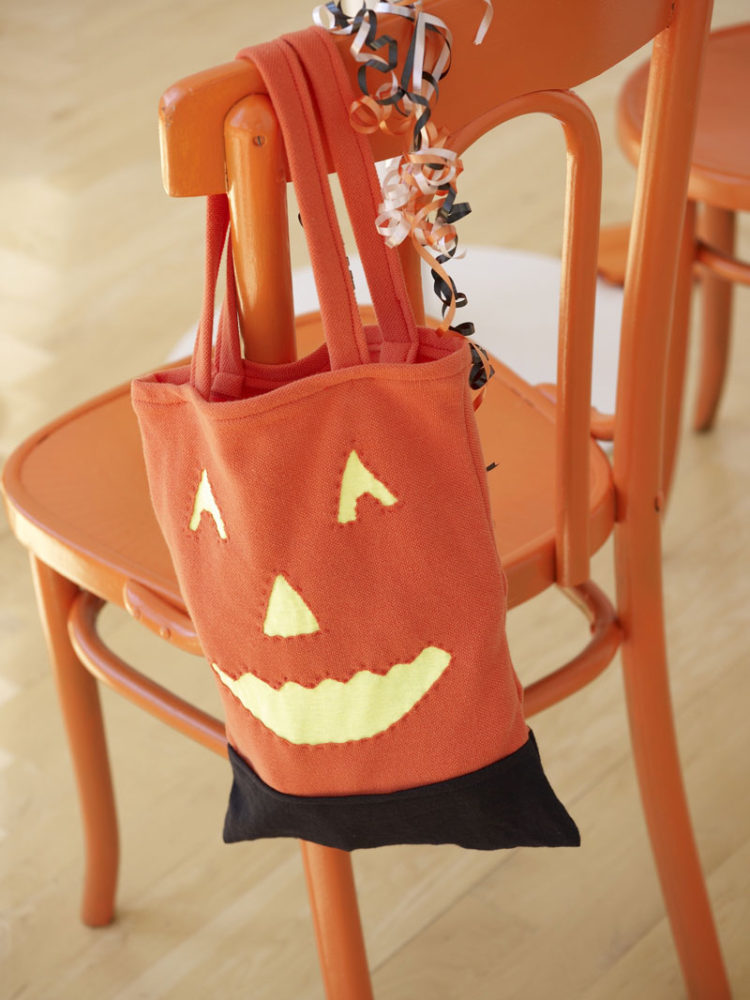
These DIY Halloween Trick or Treat bags are made from thrift store t-shirts and are surprisingly sturdy (meaning- they hold a lot of candy). They require a little reverse appliqué, and by using the bright yellow t-shirt I found, the effect of the eyes is very bright against the other colors.

(photo by Armstrong Pitts Studios)
DIY Trick or Treat Bags
Materials Needed:
Thrift store t-shirts, at least three Halloween colors. Men’s L and XL cotton t-shirts will give you the lots of fabric to work with. Tip: If the t-shirt you choose has a screen printed motif on it that you don’t want seen, just use the reverse side of the fabric.
Coordinating sewing thread
Cardstock or cardboard scraps to create template
Scissors
Pins
Hand sewing needle
To Make:
Starting with clean t-shirts, cut the bag panels. The black Alien bag is 15″ x 15″, the Pumpkin bag is more like 15″ x 12″ wide. Start with clean t-shirts, and cut out four squares measuring 16 x 16″ from the color that you choose for the main bag color, and two strips measuring 4 x 30″ long for the straps. You will cut the bright t-shirt for the facial features in Step 3. Note: If you are doing the contrast bottom bag version, cut two 14 x 4″ wide pieces from the t-shirt color you want to use for the bottom, and four 14 x 12″ pieces for the main body.
Create the templates for the faces to reverse appliqué. Download and print out the template at full size (don’t resize or choose “to fit page” on your printer). Print them onto cardstock or cut them out, then trace them onto cardboard. Using a fabric marking tool (like a Frixion pen, which marks on the fabric then the lines vanish with a quick press with an iron) place the pieces onto one panel of the bag body fabric (on the right side) and trace around them.
Create cut outs for the faces, eyes, etc and stitch reverse appliqué. With scissors, carefully cut away the insides areas of the facial features on the traced line. Cut rectangle shapes from the bright yellow t-shirt that are 1/2″ larger than the areas you cut away. Pin these shapes in place underneath the shapes and make sure they fill in the cut outs completely. Hand sew these into place. Stitching from the front side of the bag, using thread that matches the body fabric, make a running stitch all the way around the cut out, making sure you stitch through both layers. Note: No need to worry about the raw edges of the knit fraying, and no need to turn them under. Do this for all the shapes of the face.
Sew the handles. Fold one of the handles in half lengthwise, wrong sides together, and stitch at the edge. Turn inside out and topstitch 1/4″ from the edge. Repeat for the other strap.
Assemble the bag. To assemble the Alien bag, start at the top hem. Note: If you are making the contrast bottom bag, stitch one bottom contrast panel to each of the front and back panels, along the bottom, front sides together before continuing. Hem the outside and inside panels for the front and the back across top, with right sides together, catching the edges of one handle in the hem. To sew the front and back panels together, position them wrong sides together and stitch around the remaining three sides, backstitching at beginning and end. Turn right side out and you’re done!
Be sure and tag all your #wisecrafthandmadehalloween images on social media!

