DIY Easy Tabletop Redo
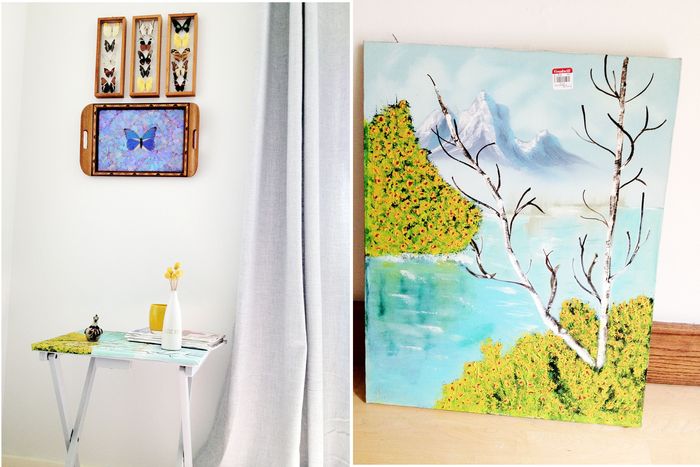
I stole a few minutes to myself the other day and went thrifting. I came across this oil painting and found myself buying it. Wasn’t exactly sure why. I don’t see it on our walls, and don’t even particularly like it as a painting. I do like the colors a lot, and the composition isn’t bad at all. The price didn’t hurt either.
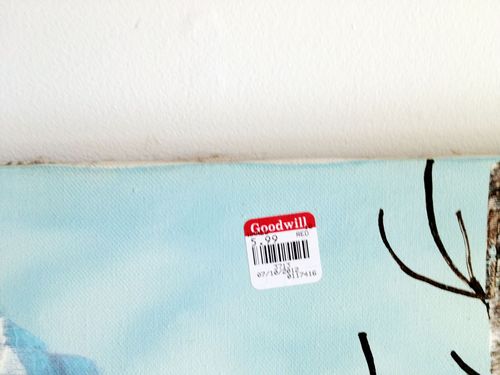
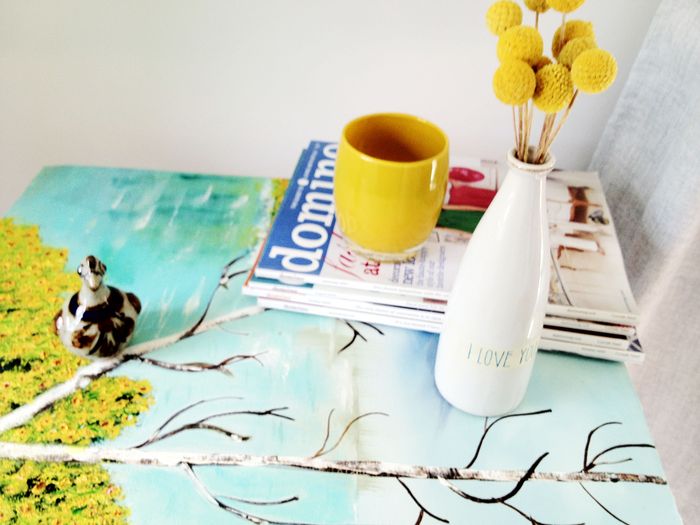
Usually when I bring a random item home like this is I carry it around the house, placing it here and there, and try to figure out exactly what to do with it. (Ignoring puzzled looks from my family.) What I came up with was covering the top of a small occasional table in our bedroom and its made me smile ever since! And it was so easy!
Materials:
– A smallish table of some sort with a simple top you could cover easily. Ours is several years old and from IKEA (I don’t see it on their website), made of wood. I painted it a light gray when we redid our bedroom a few years ago (first image in this post).
– Secondhand original painting on canvas, stretched on wooden stretches on in a frame that you could remove it from (and not damage the painting). Needs to be slightly larger than the table top you plan to cover. (This all sounds very specific, but there are these types of things in thrift stores all the time.)
– Pliers, utility knife, or some sort of tool to pull the staples out.
– All purpose cleaner and paper towels or cleaning cloth
– Spray adhesive
– Scissors
– Pencil
– Ruler
– Large bulldog clamps, c clamps (optional)
To Make:
1. Prepare your table top by cleaning it off with the all purpose cleaner.
2. Remove the painting from the wooden stretchers by pulling them out with pliers or whatever works for you.
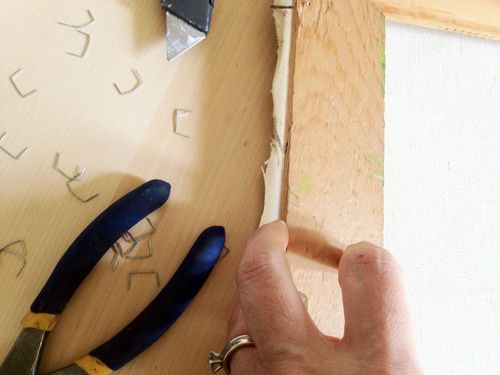
3. Clean the painting with the all purpose cleaner (front and back).
4. Using a ruler and pencil, measure and mark the center of your tabletop. Gently fold the painting (right sides together) at its center (both lengthwise and widthwise). Make sure you leave a slight crease at the center of the painting to match up to the pencil mark on the table top.
5. Cover the back of the painting with spray adhesive (in a well-ventilated area, that stuff can make you loopy).
6. Place the painting (wrong side down) on the table top, matching the center points you created in step 4. Thoroughly flatten and smooth out the painting.
7. There are 2 ways to finish the edges- A- wrap the table top edge with the painting and apply large bulldog clamps to hold everything in place while it dries, like this-
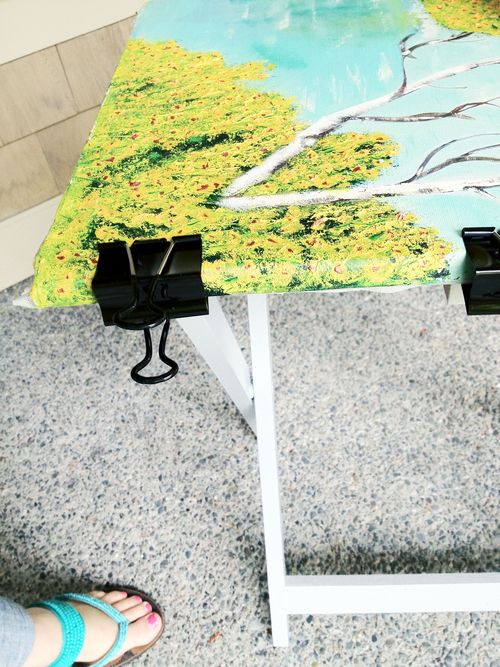
Or B- Trim the edge of the painting flush with the edge of the table top, like this-
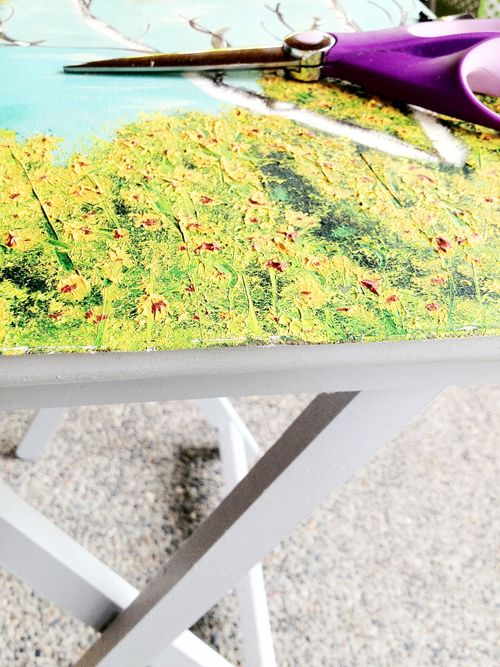
When dry, start walking around the house with it, placing things on it and snapping pictures like I did.

Larissa
July 16, 2012 at 9:22 amAwesome repurpose!
Don’t think i would’ve ever come up with that – must think outside of box more.
Brooke
July 16, 2012 at 10:11 amI love this. So creative and beautiful. Thank you!
Shani Jane
July 16, 2012 at 1:47 pmI think it’s gorgeous! And your quirky words made me chuckle throughout! x
Melissa @ Hilltop Hausfrau
July 16, 2012 at 3:07 pmWell I never! That’s so very crafty! Great example of thinking outside the box.
Thanks for sharing the idea…
Jamie
July 18, 2012 at 2:09 pmSo totally brilliant. I pass up oddball things I like sometimes because I forget to think about what else they can become (not painting, but table top!)
Sunny
August 3, 2012 at 7:11 amThe pictures are soooo stunning, I like the blue butterfly very much, it is vivid and cute!
Mike
October 10, 2012 at 7:35 am5.99 for a work of art. My are you good at shopping for cheap beautiful art.