30 minute DIY Fabric Covered Notebook

DIY Fabric Covered Notebook
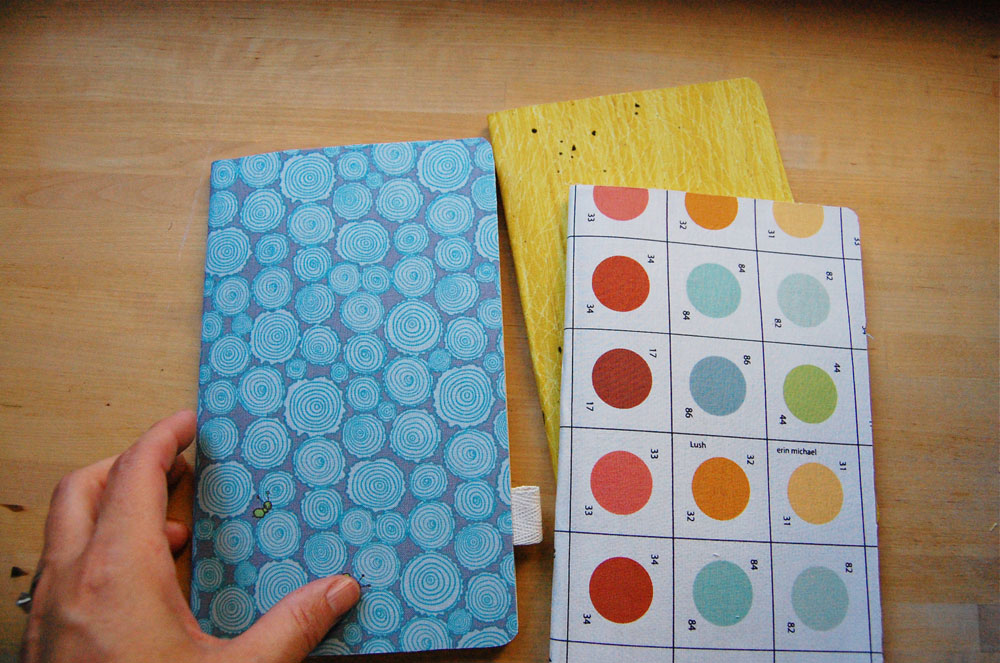
I love pretty notebooks to make notes and sketches in. These fabric covered notebooks are one of those projects that time spent making is nothing compared to satisfaction gained. Less than 30 minutes, start to finish for a pack of 3 moleskine journals. Its great if you’re like me and have the really pretty fabric and have absolutely nowhere to use it in a project at the moment (a large scrap would do one journal).

Do you need instructions? Probably not, but in case-

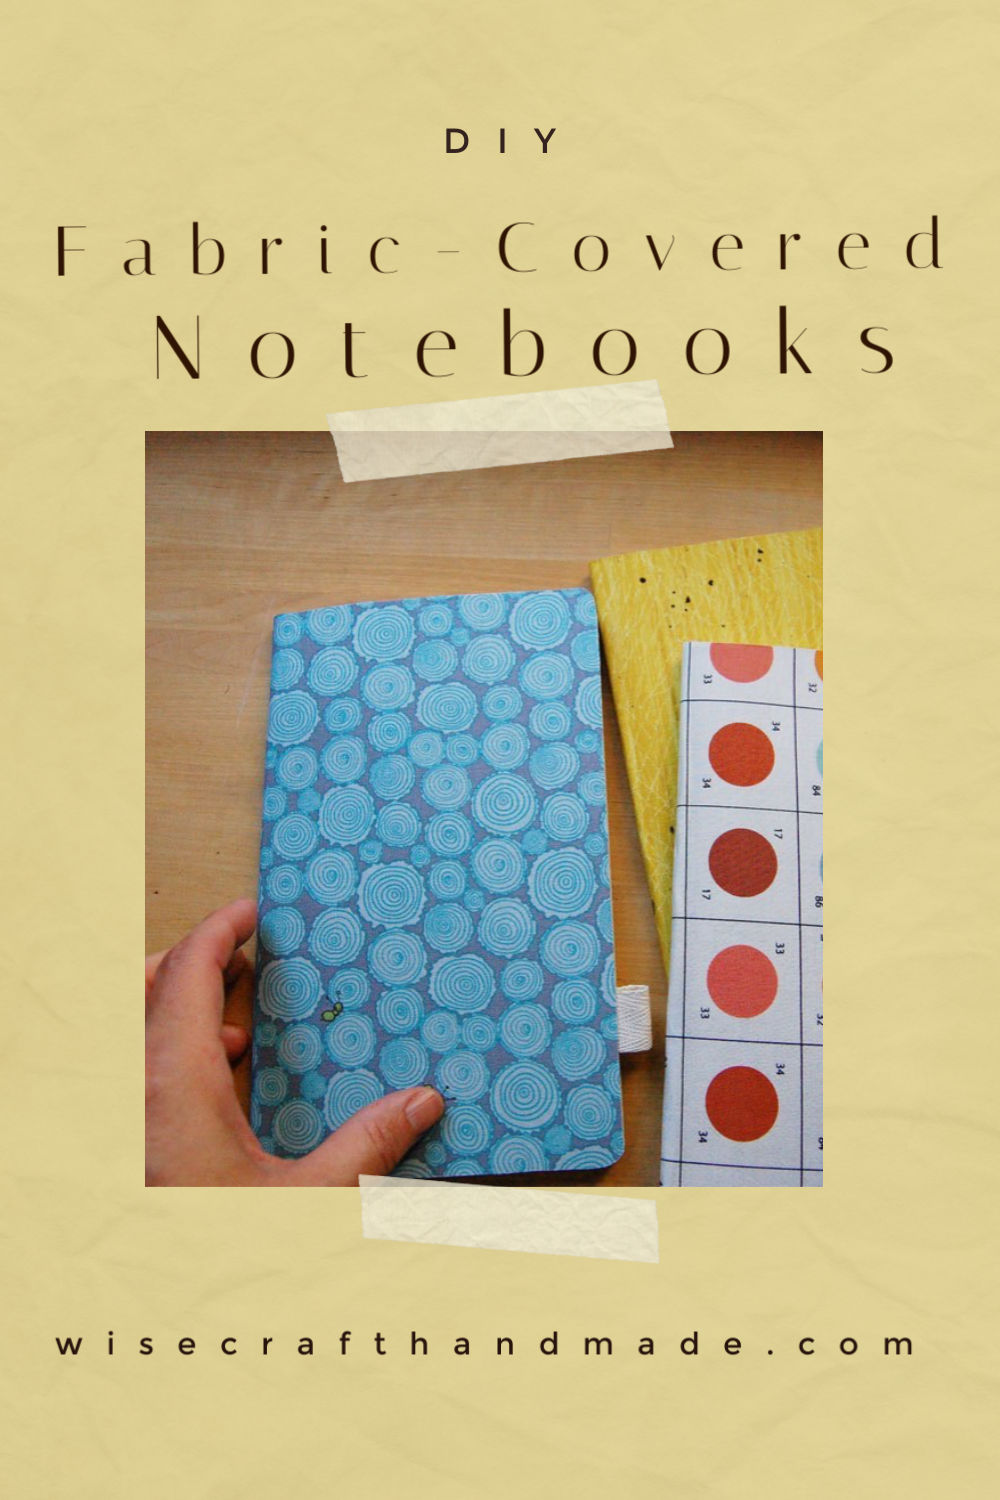
Fabric-Covered Notebook DIY

Materials needed:

– a pack of 3 Moleskine journals- I recommend getting the kraft brown covered ones, the other colors might show through the fabric
– 3 scraps of fabric you love (important!) measuring at least 11″ x 9″
– 1″-1 1/2″ wide twill tape to add to the inside front or back cover to hold a pen (I was playing around with this as you can see in the first photo, but decided against it on my set)
– double sided fusible webbing, approximately same amount of you have in fabric (I used Wonder Under  because I had it, but there are many kinds.)
– iron, ironing board
– good music (this project barely requires thought)


DIY Fabric Covered Notebook

How to make:

1. Cut a piece of the fusible webbing slightly larger than the size of your journal when opened and completely flat.
2. Iron the fusible webbing onto your scrap fabric’s wrong side, following the package instructions.
3. When cooled, peel the paper backing off the webbing.
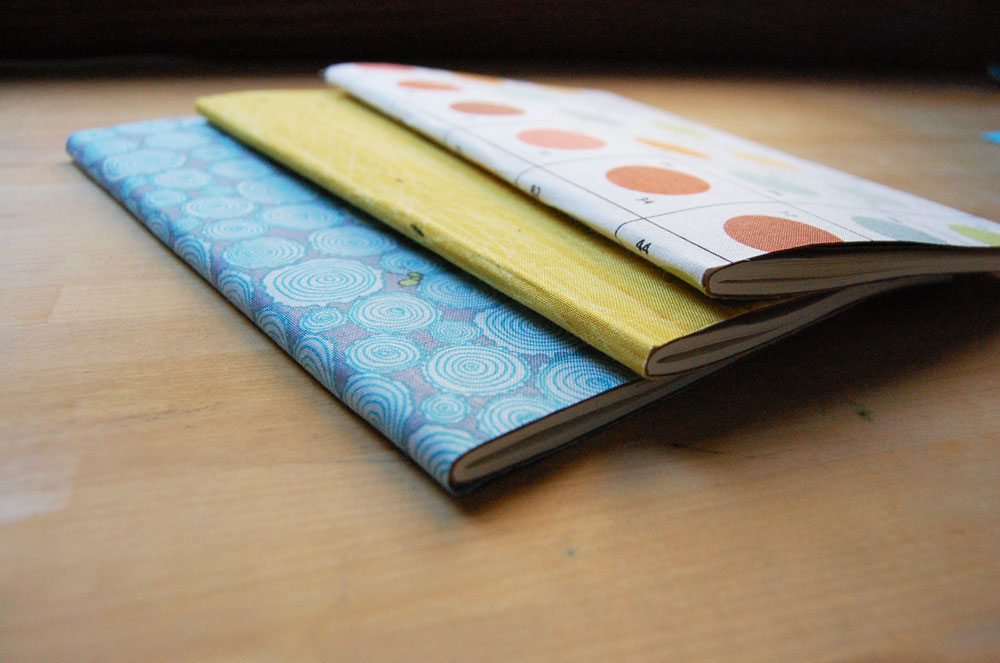
4. Center the journal on fabric’s wrong side, making sure you have it centered within the area covered by the fusible webbing. Now close the journal, keeping the fabric folded around it.
5. With your iron, hold the journal in your hand, spine up, and carefully iron the spine area to gently adhere the fusible webbing there first.
6. Once you feel that’s set, open the journal, cover facing up, and in small sections, begin adhere the fusible webbing to the journal cover. You will see it start to adhere. Be careful not to adhere the fabric to your ironing board! Allow to cool slightly.
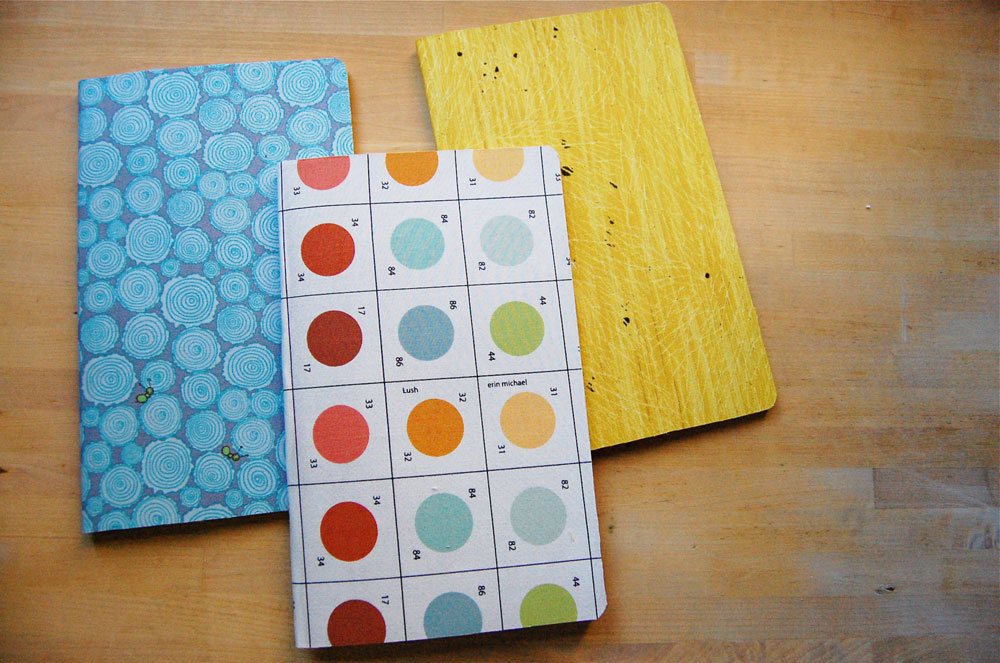
7. Trim the fabric completely flush with the edges of the journal cover all around, then iron the corners and edges of your journal again to be sure all are fused together.
8. You’re done! Unless you want to add a nameplate, that would be fun. (follow same directions with a small square of fabric, which you can write on, embroidery on, etc, then adhere to the fabric on the outside of the journal. You could also stitch around the outside edges of the cover for decoration.)


DIY Fabric Covered Notebook
My very busy week is coming to an end. I am looking forward to a relaxing, long weekend with the kids. Emma and I have actually been needlefelting together, she’s a natural. I’ll show you soon.

Happy weekend to you!

38 Comments
  • Lecia

    May 22, 2009 at 10:41 am

    Great idea! I’ve done this with journals before… Happy Memorial Day weekend Blair.

  • Shannon

    May 22, 2009 at 10:47 am

    Great idea! These look like the kind of journals that you just want to write in. 🙂

  • melissa Crowe

    May 22, 2009 at 11:13 am

    Oh, how I love the fabrics you’ve used for this–they’re just like all the fabrics _I_ buy because they’re beautiful and then can’t figure out what to make with them. I have two of the larger-sized moleskins on hand right now, so I think I’ll put off all the work I _have_ to do. You’re always good for that! 😉

  • daria

    May 22, 2009 at 11:26 am

    oh, cool, the paint swatch fabric looks great with this. I think that my girl would LOVE some of these for her endless story-writing.
    also — clothespin dolls are in the air! now that I just finished making a whole bunch of kits for the kindergarten “store,” I need to put together a setup for summer crafting fun.

  • Erin

    May 22, 2009 at 11:51 am

    sweet! i have some moleskins lying around and lots of fabric that needs to be used.

  • Jennifer Conway

    May 22, 2009 at 12:16 pm

    Such a great idea! Thanks for sharing – I have a nice pile of fabric scraps to go play with!

  • celine

    May 22, 2009 at 12:16 pm

    what a fantastic idea! OOOh the possibilities….

  • Peanut

    May 22, 2009 at 12:21 pm

    You timed this perfectly. I was thinking just this morning that I’d like to make some pretty journals but wasn’t sure how to go about it. I even have some boring notebooks around so I can start right now!

  • habit blog

    May 22, 2009 at 2:35 pm

    I don’t need a tutorial.
    I need you to make a bunch and put them in your shop.
    teacher gifts!!!

  • The Antidote

    May 22, 2009 at 3:26 pm

    love these, we have a school holiday this week, these will be on our agenda x

  • blair/wisecraft

    May 22, 2009 at 3:54 pm

    these would be awesome teacher’s gifts, I may steal your idea! : )

  • Mon

    May 23, 2009 at 1:01 am

    I’m not a fabric gal but I adore journals. This might entice me to buy some fabric! Enjoying your blog quite muchly.

  • UK lass in US

    May 23, 2009 at 6:27 pm

    Cute! I didn’t know that you could use the fusible stuff on non-fabric stuff. Does the fusible webbing keep the edges from fraying? (can you tell that I have never used fusible webbing??)

  • Jenaveve

    May 23, 2009 at 7:50 pm

    Brilliant idea! Moleskin journals are hard to find around these parts so I’m on the lookout.

  • blair/wisecraft

    May 23, 2009 at 7:52 pm

    Yes, it absolutely keeps the edges from fraying. No problems at all, and
    I’ve been using my journal since I made it the other day, is working great
    so far!

  • Toni

    May 23, 2009 at 8:19 pm

    I love that dot fabric! Is it too much trouble to ask who makes it? Thanks for the tut! So great.

  • Flo - mycraftyways

    May 23, 2009 at 10:21 pm

    Thank you for such a simple and satisfying project ! The result is really nice and I can imagine it becoming quite addictive.
    …on my way to buy a few notebooks…!
    Good day !

  • Christy

    May 24, 2009 at 6:41 am

    I didn’t realize this kind of project could be so simple! I love fancy journals – I have extra fabric – I’ll soon have new journals! Thank you! And I’m going to included your blog link on my new blog, The Creative Side. (http://christy-creativeside.blogspot.com)

  • mommycoddle

    May 24, 2009 at 6:54 pm

    Okay. For all the years I’ve been using fusible webbing, I had NO idea that I could adhere it to anything besides fabrics! Blair, I LOVE this idea!

  • blair/wisecraft

    May 24, 2009 at 6:55 pm

    Toni, that dot fabric is by Erin Michael, part of her Lush line-
    http://www.trueup.net/?p=1016

  • Peacock Chic

    May 24, 2009 at 7:01 pm

    These are perfect!! So perfect that I saw them on Friday, forgot to pick up journals on Saturday, made it the central Sunday errand for today and finished them up just a few minutes ago. Love them! I will post them later in the week as it is a little surprise gift for a friend that reads my blog.
    Thanks again for the wonderful inspiration!

  • blair/wisecraft

    May 24, 2009 at 7:25 pm

    I am so familiar with all errands pointing to something like this! So glad
    you did this project and love the results. Enjoy!

  • Aunt LoLo

    May 25, 2009 at 3:58 am

    This is such a great idea…but do you think spray adhesive would work as well???

  • blair/wisecraft

    May 25, 2009 at 6:25 am

    Spray adhesive might work, but I think it might be harder to get the fabric
    evenly and smoothly over the journal (but not impossible). I would also do a
    test first, it might stain your fabric. Let us know if it works.

  • cloth.paper.string

    May 25, 2009 at 8:17 pm

    oh how brilliant!

  • Paula

    May 26, 2009 at 4:47 am

    Dang…I’ve got a lot of fusable webbing…now I just need to find some moleskin journals!

  • Betz

    May 26, 2009 at 8:20 am

    Love! Are there issues with fraying?

  • blair/wisecraft

    May 26, 2009 at 12:44 pm

    no fraying so far Betz, but I paid extra attention to getting all the edges
    adhered really well, and the fabric is cut completely flush to the edge of
    the journal.

  • Melissa A.

    May 27, 2009 at 5:39 pm

    I’ve never seen them covered with fabric before. What a clever idea. And thanks for adding the instructions. I use these little moleskins all the time, but I leave them the boring old brown. I think I might need to pretty them up.

  • Abigayl

    May 29, 2009 at 1:09 pm

    I love those notebooks- what a great idea!

  • betz

    June 1, 2009 at 2:16 pm

    Ok, so I tried this with a vintage sheet (naturally) and the brown craft color showed thru the white areas of my fabric. 🙁 Guessing the fabric was too thin? It looks dingey. I tried another with a ever-so-slightly heavier fabric with no big white ares and it worked great!
    Any problems with this on your white one?

  • blair/wisecraft

    June 1, 2009 at 5:08 pm

    Hi Betz,
    I didn’t really have any problem with the white. Looking closely at it, I
    guess it did show through maybe a teensy bit, but not enough to be a
    problem. Maybe I should put a note on the how-to’s to use a fabric with a
    ground color that won’t let the brown show through, or use a heavier weight
    fabric.
    I’m making some more this week, will play around with different weights.

  • Andrea

    June 2, 2009 at 7:18 am

    How fun!! Thanks for sharing.

  • Wendy

    June 2, 2009 at 12:35 pm

    I made some fabric covered journals thanks to your little tutorial! I blogged about them here:
    http://couplemorehours.blogspot.com/2009/06/sunday-sewing-tote-bag-three-journals.html

  • neece clark

    June 16, 2009 at 12:23 pm

    …just delivered a stack of moleskines covered in hot madras stripes w/ a thread of silver running through them and tied up with grossgrain to a VERY pleased teacher. Once again, thanks Blair for the inspiration! xo

  • Aunt LoLo

    July 7, 2009 at 9:28 am

    Hey, I’m back! I found composition notebooks for $.50 a piece at Target this morning, plus Crayola crayons for $.30 for a box of 24. I’m going to make covered notebooks and matching crayon rolls for all the little people who need gifts this summer. Whee!
    I might try the spray adhesive on one of the notebooks. I have Wonder Under, too, so I’ll see which one works better.
    Thanks for the great ‘tute! I’m off to stick some stuff to some other stuff…

  • Aunt LoLo

    July 7, 2009 at 10:49 am

    Ok, call it nervous energy. First notebook is done, with spray adhesive = success! Instead of trimming the fabric flush with the notebook cover, I notched the edges and folded it inside the cover of the book. Next time, I think I’ll lay some paper inside first, to block out the huge “Composition” splashed across the cover.
    Otherwise, great!

  • forcryeye

    July 8, 2009 at 9:27 am

    Love it! I may have to cover one of my cahier’s!

Follow Wise Craft Handmade