How to make your own quilt label
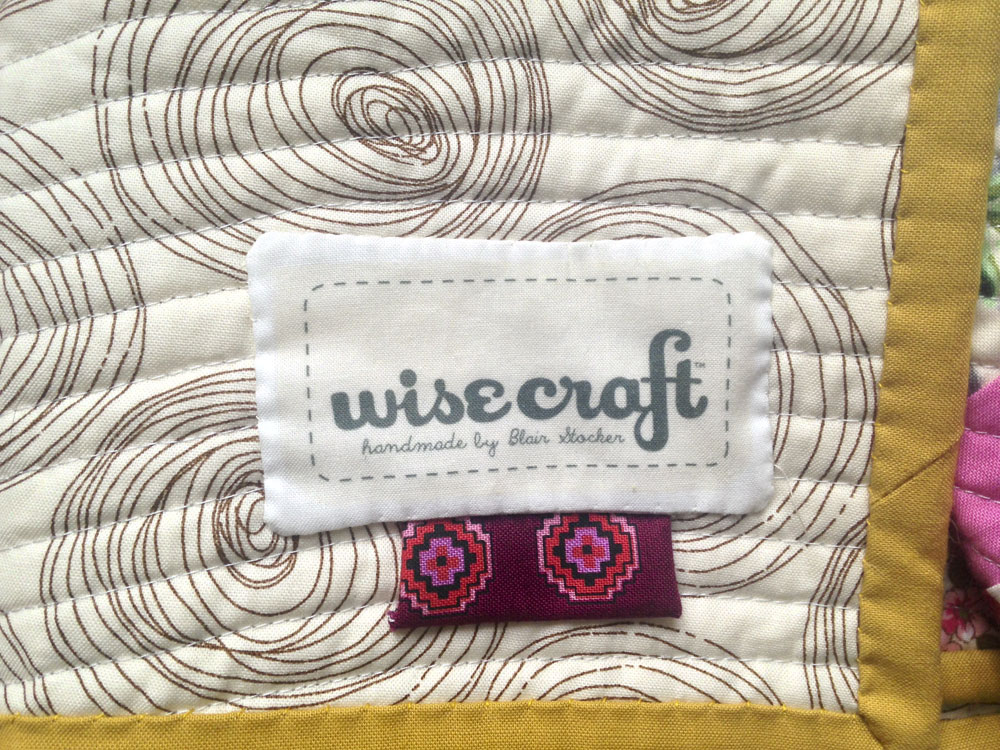
Adding a quilt label to my finished quilts is something I never used to think of doing. But at this point, many quilts have been made, memories have become full, and now I label all my quilts. These days, I actually don’t consider a quilt finished until its labelled. What about you?
A label can be as unique as a signature. Each person can have their own special way of labelling their quilts. I’ve seen some really simple, yet pretty, utilitarian ways to label quilts, and some very delicate, special methods. Here I am sharing just my own way, which has evolved through experimentation, with a little trial and error.
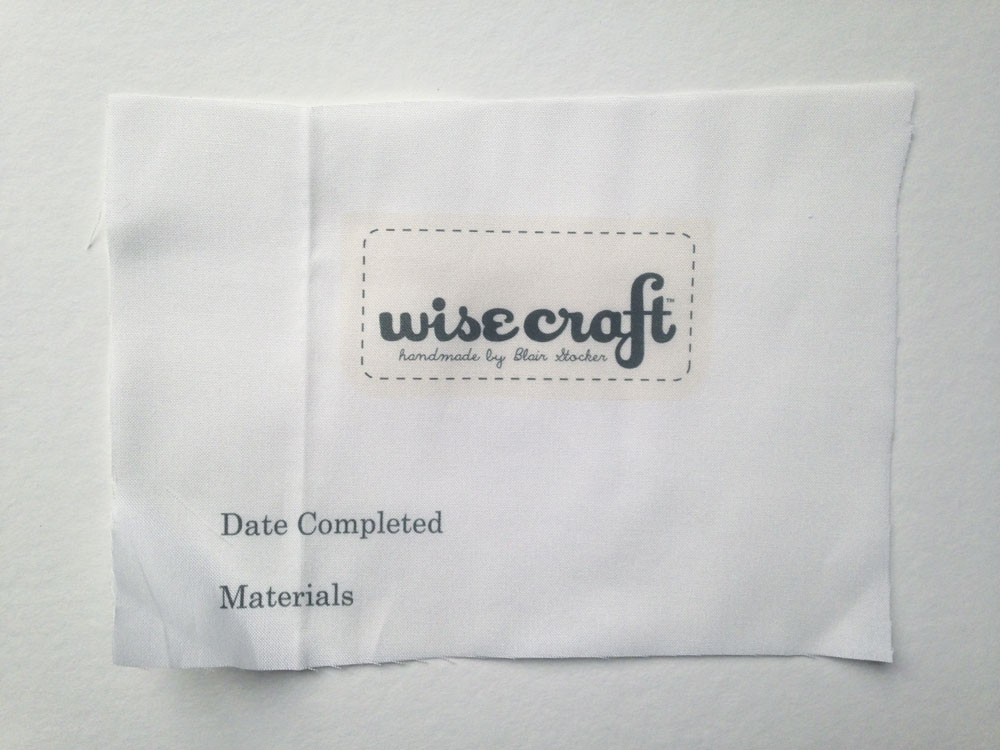
I uploaded my Wise Craft brand logo to Spoonflower. This logo was created for me a few years ago and I have since learned Adobe Illustrator and can manipulate the file myself. I played around with the size a bit, the first batch I had printed came out way too big, and after playing around with it more, I settled on a logo size approximately 3 1/8″ x 1 3/4″. In addition, I made sure there was plenty of white/empty space around it to allow for cutting them into rectangles. As you can see below, I originally had grander plans for labelling more specific information, like “date completed” and “materials”, which I later decided against and have cut that part away on the labels I use. I was able to fit about 48 labels on a yard of Spoonflower’s basic cotton ultra fabric, which is roughly 33 cents a label. I can fit more on the next batch by removing the unnecessary parts.
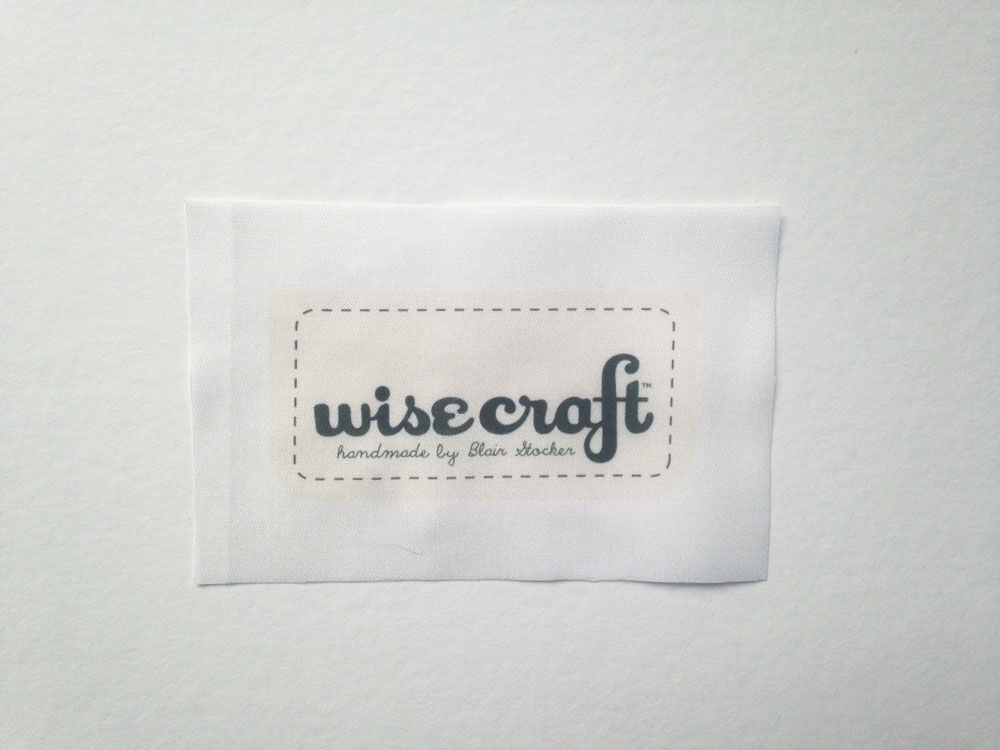
To create an individual label, I cut out the logo with roughly 3/4″ extra space around it on all four sides as above. I cut a piece of cotton muslin the same size, and stitch them right sides together with a 1/4″ seam allowance, leaving an opening of about 1 1/4″ along the bottom.
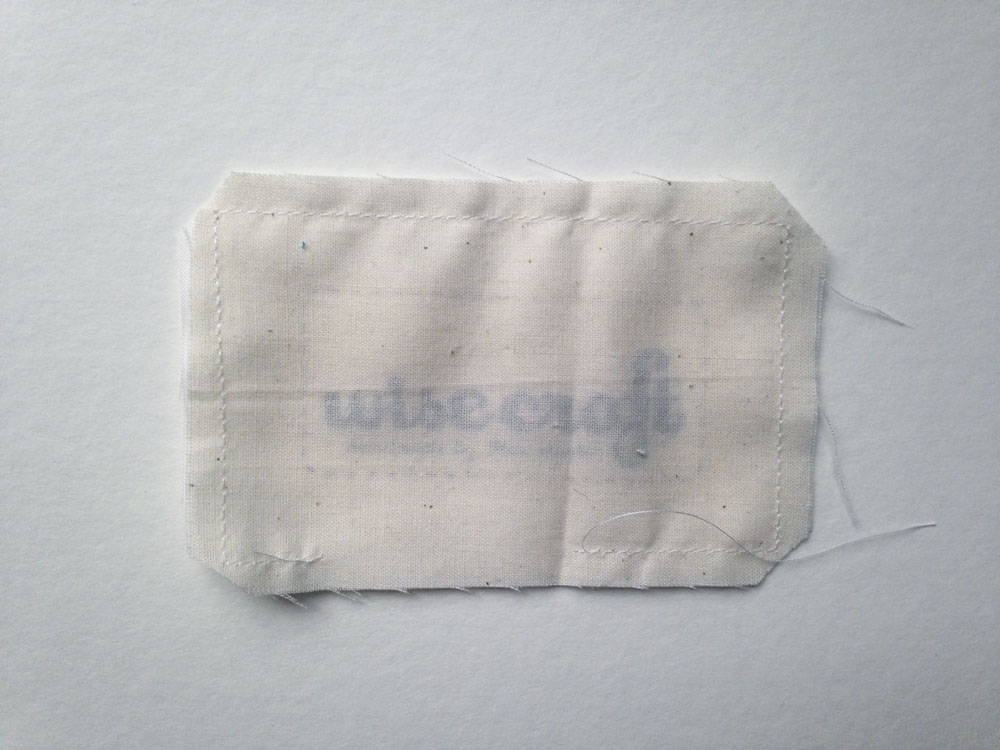
Trim the corners, turn right side out, and press the opening under. From there, I hand sew it to the bottom left side of the quilt, adding a swatch of a fabric used in the quilt, to contrast against the quilt back and add another details. The finished size is 3 3/4″ x 2 1/4″.
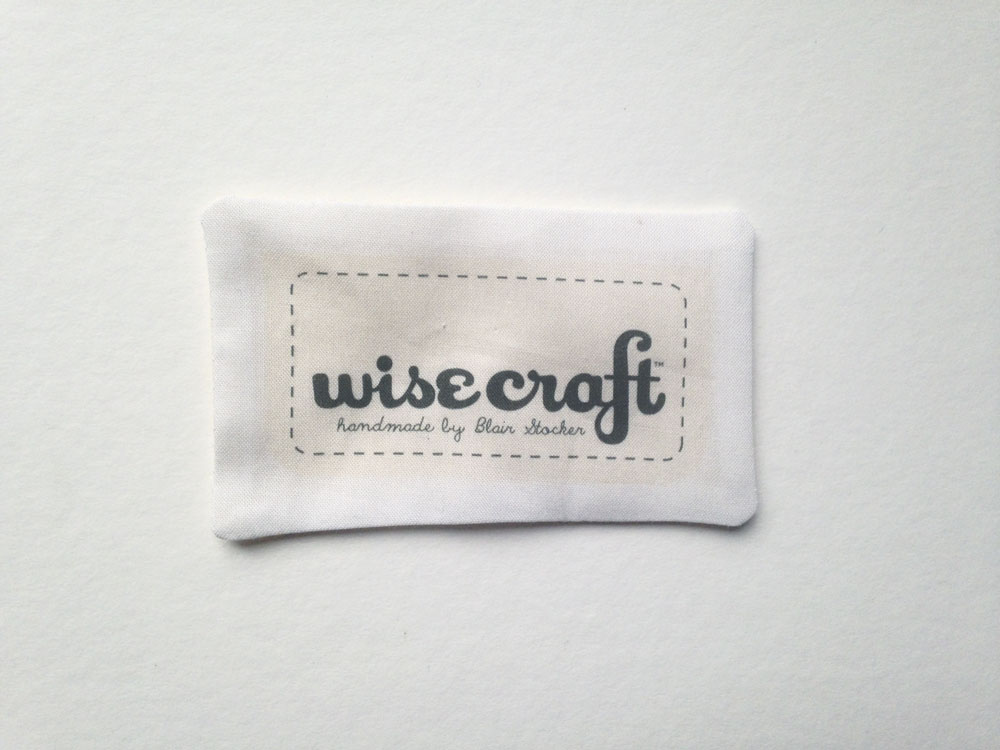
If there is specific information to add (such as date completed, special fabric used, etc…) I will this neatly around the logo using a Micro pen, and add my signature. These are acid free and archival, and have a small tip, great for writing small.

See the video of how I do this on my YouTube channel.
- You could type up your name and website in Microsoft Word, play with the font, and make a beautiful label on printable fabric sheets. Here’s a well-written post on how to do this method.
- Here’s a Spoonflower tutorial for making a label in Photoshop.
- Pinterest has tons of inspiration for quilt labels of all kinds.
- Some at-home methods outlined at Snuggles Quilts.
- Angela at Cut To Pieces also made Spoonflower labels, but used a free online tool PicMonkey to set up her image.
- Krista of Poppyprint’s easy fusible labels.
Nicki Mierz
January 19, 2016 at 8:34 pmThis is a wonderful idea and would make a great gift for my quilting friends. Thanks for the info.
Erin Harris
January 20, 2016 at 3:33 amCute! Adds project to ever-growing list….
Caitlin
January 26, 2016 at 5:28 pmThanks for including my Spoonflower tutorial! It’s so fun to see your process for creating and attaching labels!