Crochet Necklace DIY
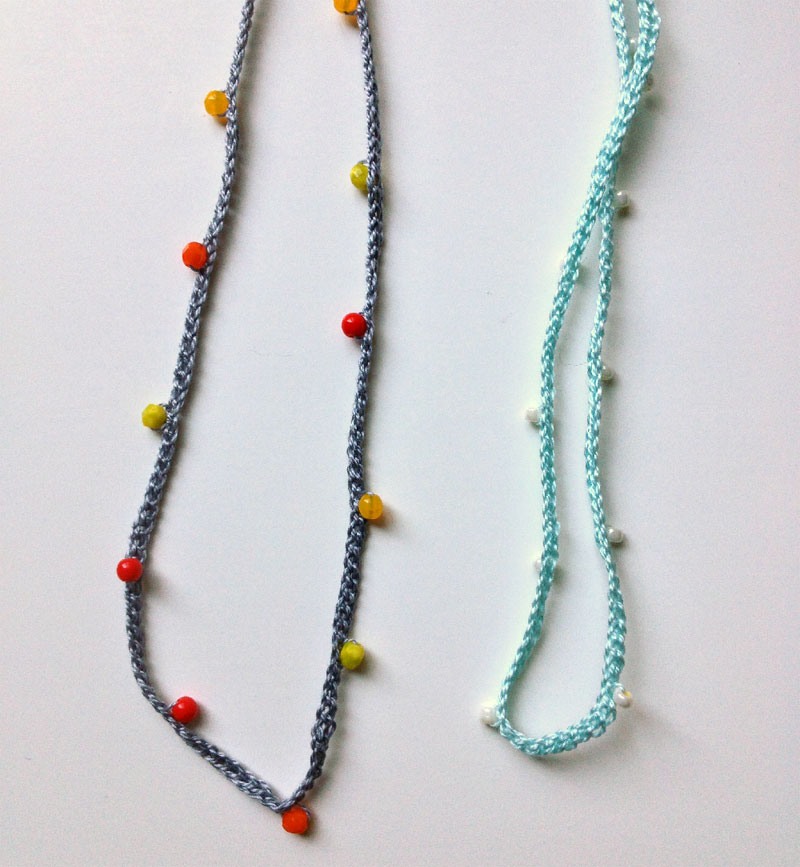
After a busy week of deadlines, topped off with replacing a laptop after mine died (the night before one of those big deadlines), I had a nice relaxing morning yesterday, crocheting these sweet little necklaces. Trust me when I say, these are quick and easy if you have crochet experience.
And fun! If you crochet a chain stitch and a slip stitch, you can make these. And if you’ve never done it, adding the beads is no sweat at all.
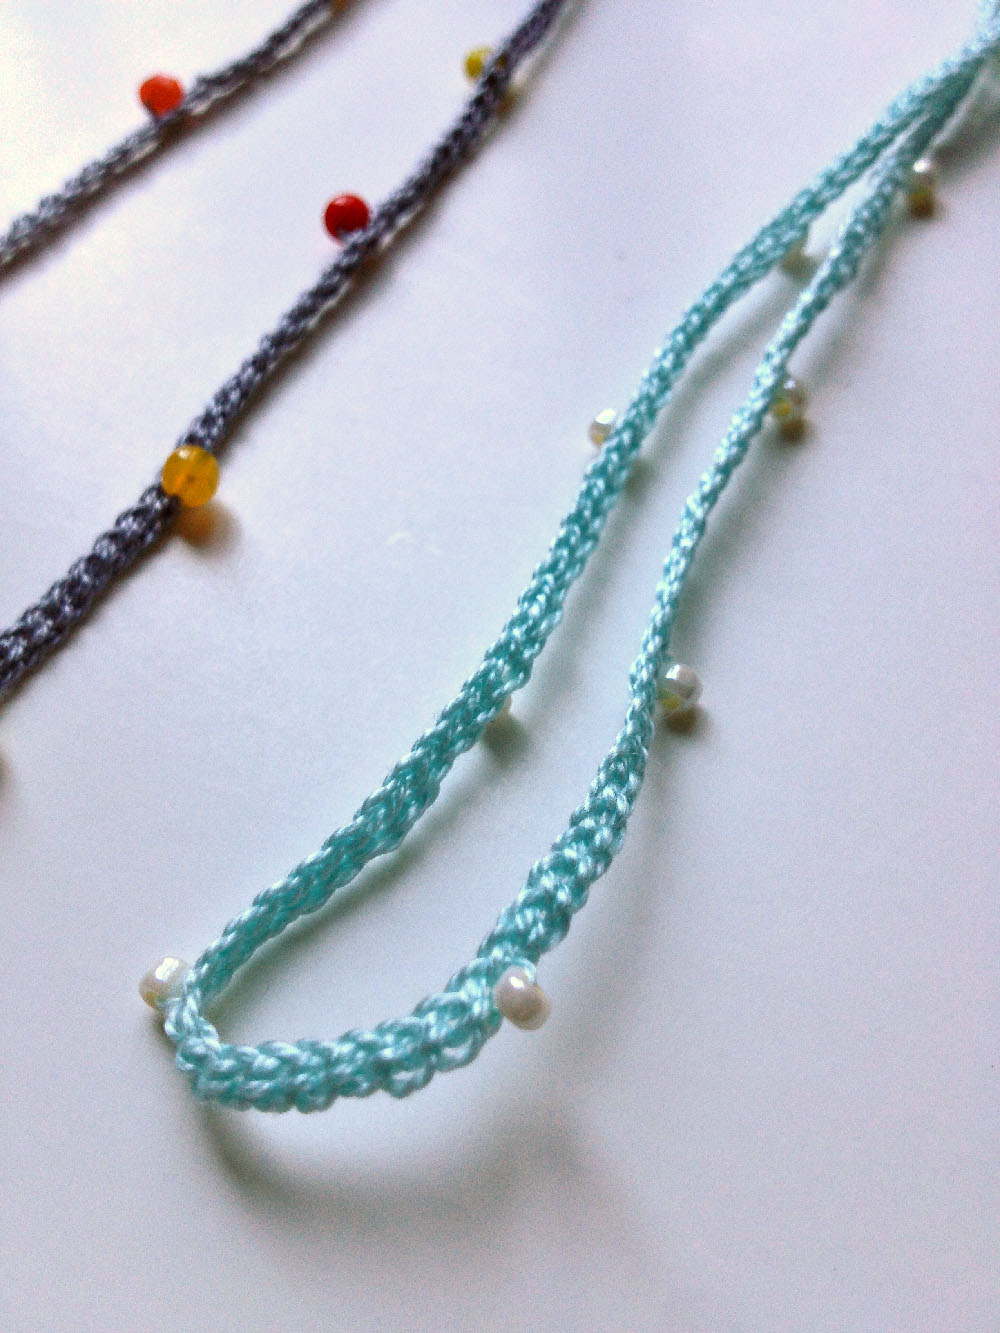
Crochet Necklace:
Materials:
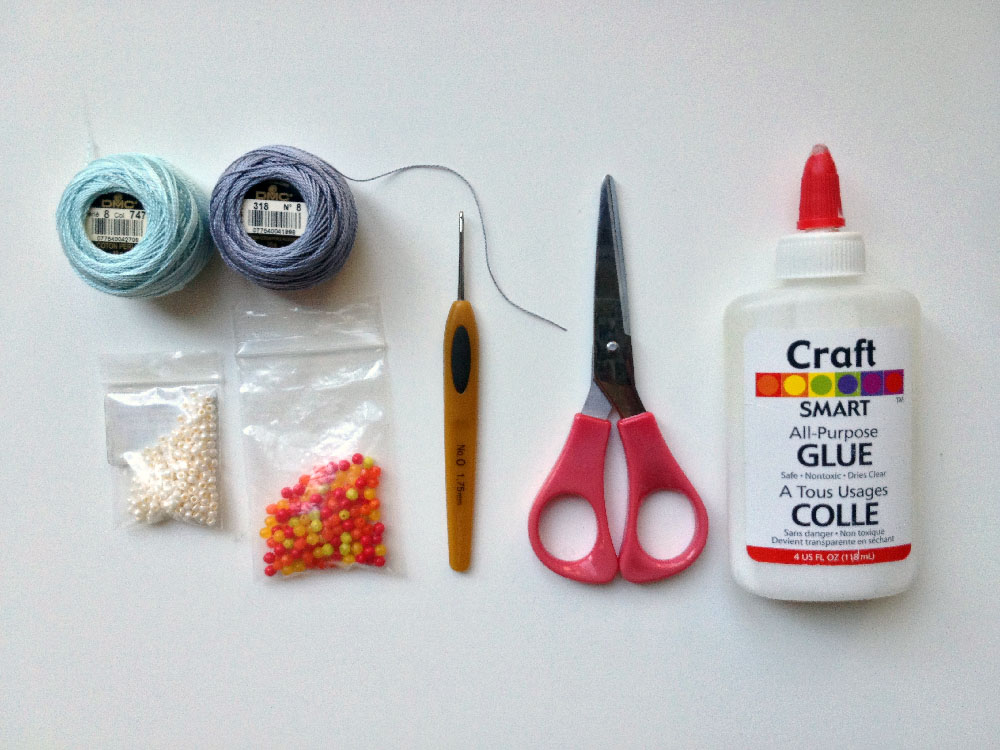
Size 8 pearle cotton thread
Crochet hook, Size O/1.75mm (This size gave me a loose chain, which I wanted. Choose the size that works for you.)
Craft glue
Seed Beads- For the light blue necklace, I used size 8 opaque butter cream luster round Japanese seed beads. For the gray necklace, I used slighly larger beads in orange, yellow, and red; left over from another project, also from Fusion Beads.
Scissors
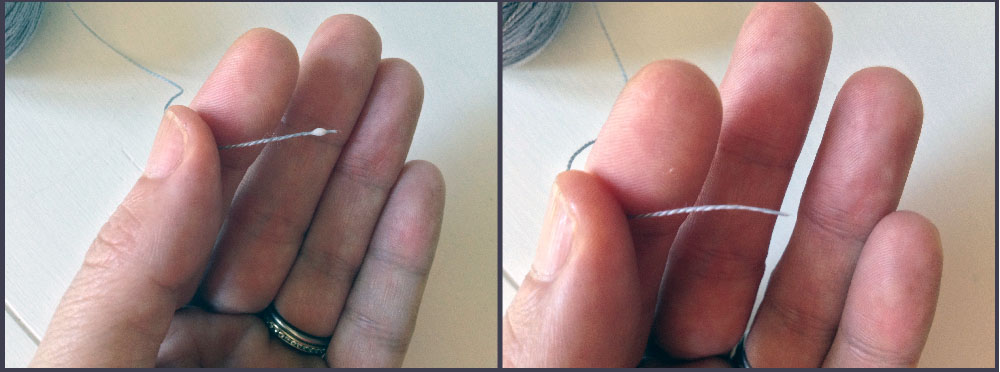
1. Apply a bit of glue to the first inch or so, to the end of the perle cotton. Smooth it out, and allow it to dry. This stiffens up the end and makes stringing the beads so much easier.
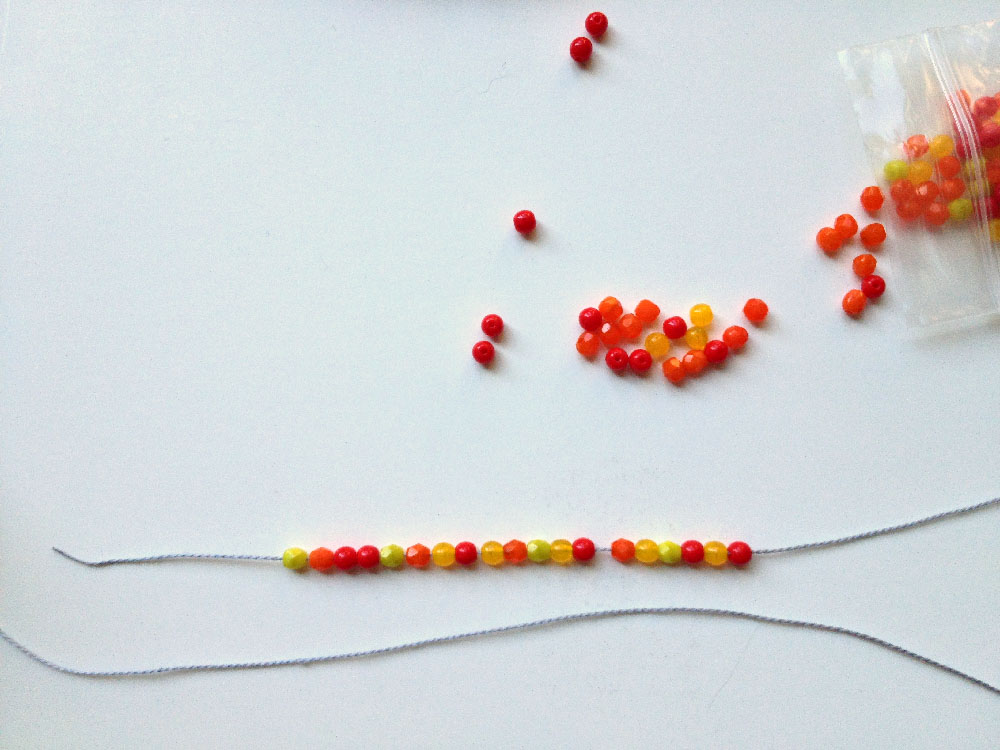
2. Next you will need to decide how long you want your necklace to be, and add the appropriate amount of beads to the thread before you begin crocheting. My necklaces are both about 30″ long, and through trial and error I estimated my initial crochet chain to equal about 8 chains per inch. So, to create a necklace approximately 30″ long, I rounded off the number of chain stitches I would need to 250. If you want to gauge your chain stitches, crochet several, then measure them, without stretching, to see what you get.
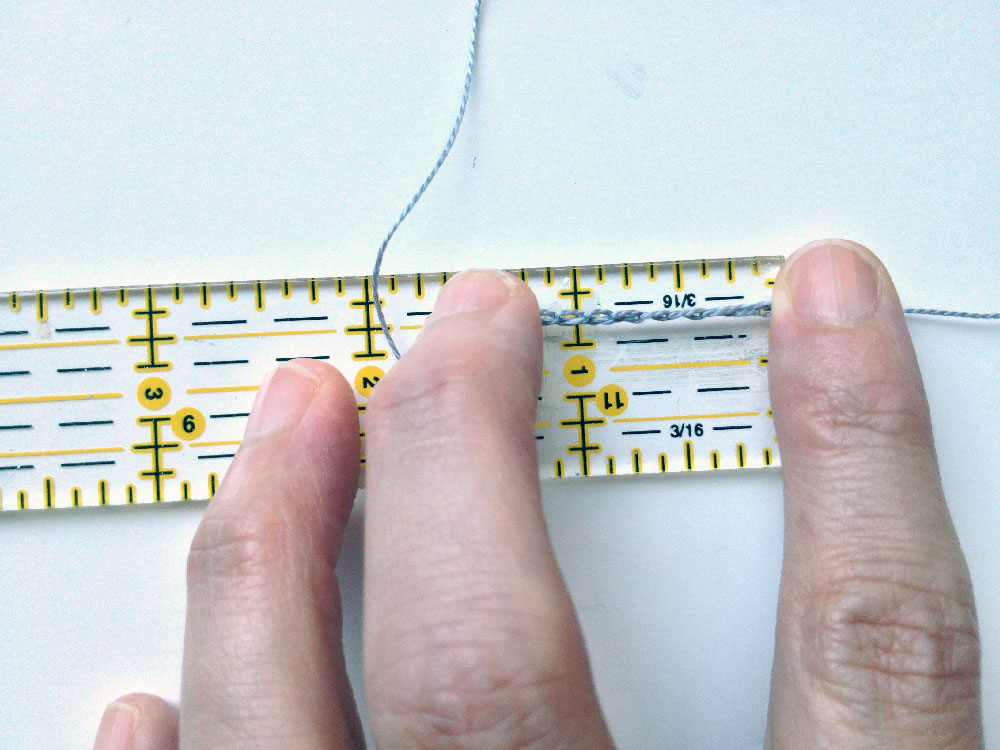
I also knew I wanted to add 1 bead to every 10th chain stitch.
250 divided by 10 = 25 beads. I strung 25 beads (plus a few extra!) onto my crochet thread.
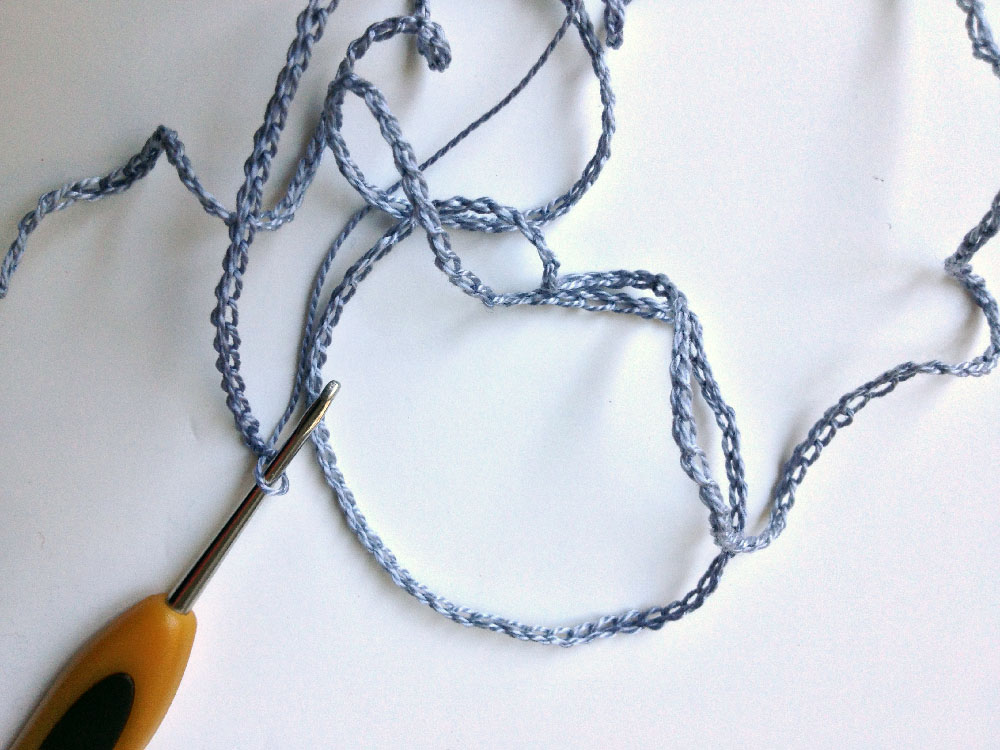
3. I created a chain of 250 chain stitches. This is not as crazy as it sounds, and it you’re over or under by a few, it’s ok!
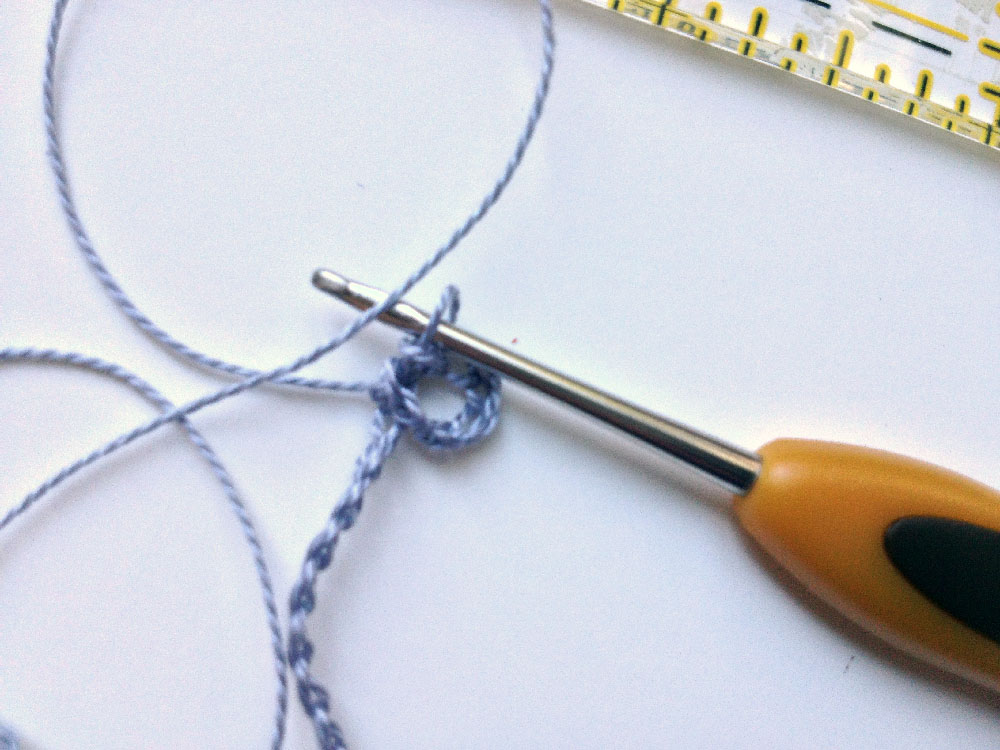
4. Once you’ve completed your chain, chain an additional 6 chains, slip stitch into the 6th chain from the end. This forms a loop for closing the necklace later. (My apologies for the blurry photo below, but hopefully you get the idea.)
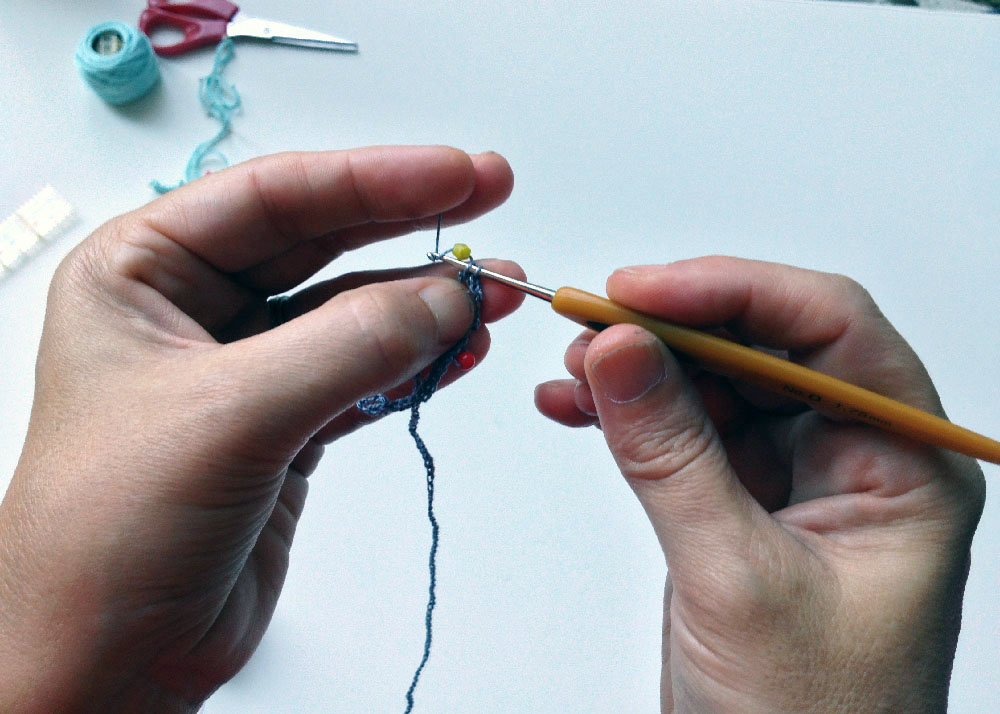
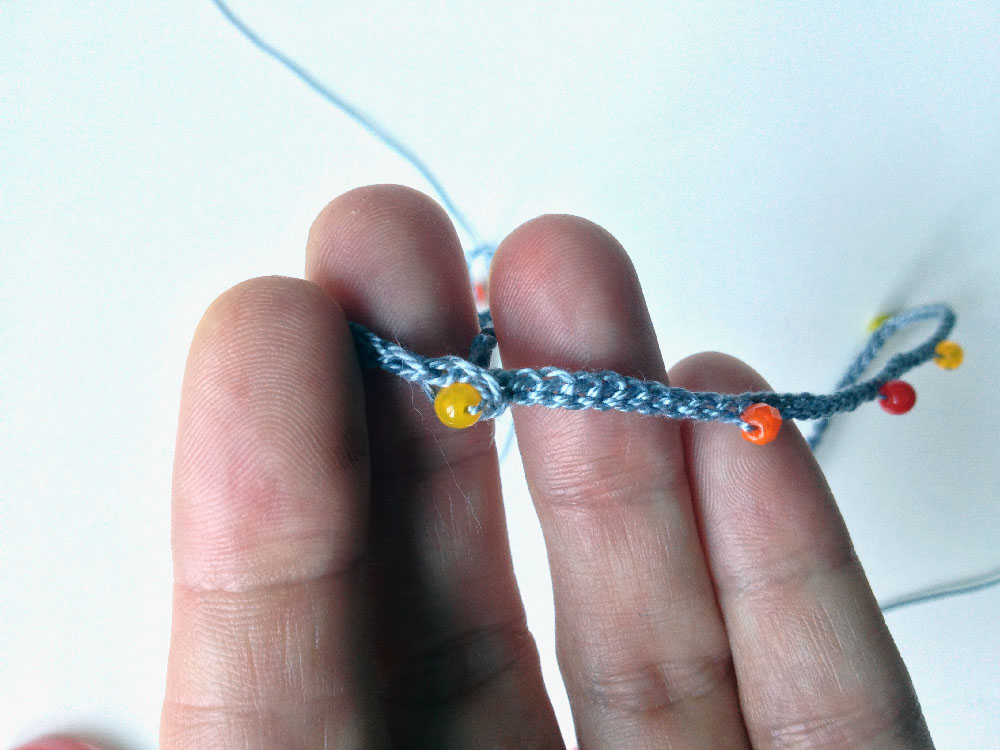
5. Reverse and continue back down the chain by doing a slip stitch into every chain from the previous row. Just before you make every 10th slip stitch (or at the interval you choose), slip one of the strung beads up and into place. Do your slip stitch around the bead to anchor it into place. Ian tried his best to get a photo of me doing this step below, hopefully you can see what I’m doing.
6. Repeat this all the way down the chain.
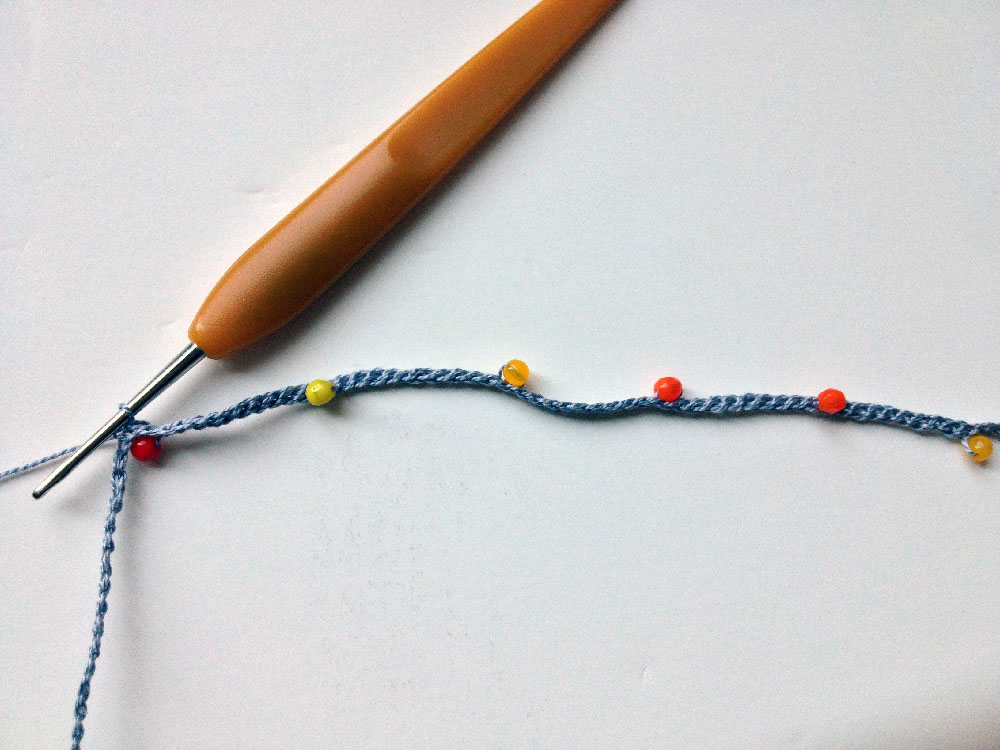
7. When you reach the end of the chain, be sure to crochet on a bead at the last slip stitch or at least close to it by a stitch or two. Fasten off the thread. Knot the two tails together and trim them to 1″ (you can also add a dot of glue here for extra security).
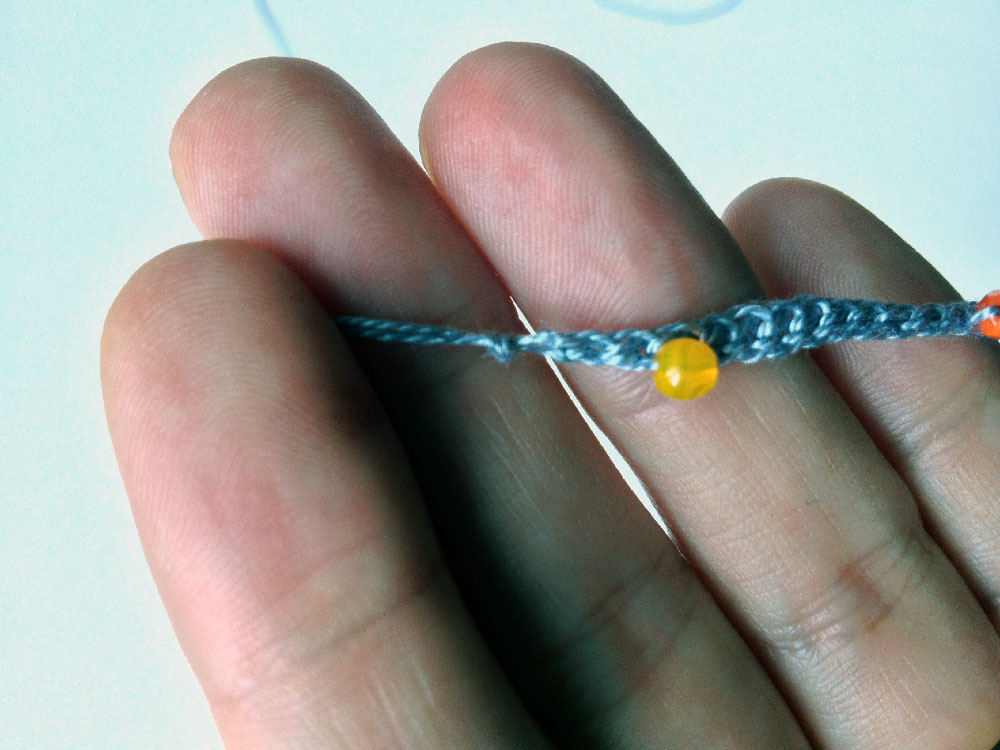
8. The bead at this end will get the loop from the opposite end looped around it to close the necklace.
That’s it! Let me know if you have questions. I’m off to make more!!
Please tag your Wise Craft DIY projects on social media with
#wisecrafthandmade so we can all see what you’re doing!




Betz
August 5, 2013 at 5:33 amPretty! So simple but fresh and easy. Thanks, Blair!
erin
August 5, 2013 at 6:58 amsuper cute!!!
Amber
August 5, 2013 at 11:29 amHow fun! Thanks for sharing, I’m definitely going to make some.
sofy
August 5, 2013 at 11:36 pmI am totally going to try and make one, or two.
awesome idea:)
Whimsycate
August 6, 2013 at 10:48 amhow cute and simple! thank you for sharing! x
blair/wisecraft
August 9, 2013 at 9:30 pmLet me know if you make some!
blair/wisecraft
August 9, 2013 at 9:30 pmI’d love to see the ones you make!
blair/wisecraft
August 9, 2013 at 9:30 pmI hope so!
blair/wisecraft
August 9, 2013 at 9:31 pmYou’re so welcome!
Sarah
August 15, 2013 at 3:16 amThank you, these are lovely, a great handwork project for my daughter. 🙂
marieta
August 16, 2013 at 3:11 amthank you
lovely
xx
Amber
January 10, 2014 at 1:40 pmThanks for posting this. They were fun to make and I gave several away for Christmas presents.
(a few pics here: http://sugarsugarhouse.com/2014/01/10/beads/)
Amber
January 10, 2014 at 1:42 pmhere’s the link:
http://sugarsugarhouse.com/2014/01/10/beads/
Pingback:11 Easy Crochet Necklace Pattern:- Crochet with Patterns
March 6, 2020 at 5:00 amPingback:Crochet necklace with beads diy - Jewelry Directory
March 15, 2022 at 6:03 pmPingback:Crochet necklace with beads tutorial - Jewelry Directory
March 15, 2022 at 6:05 pmPingback:Knitted chain necklace - Jewelry Directory
June 16, 2022 at 5:46 am