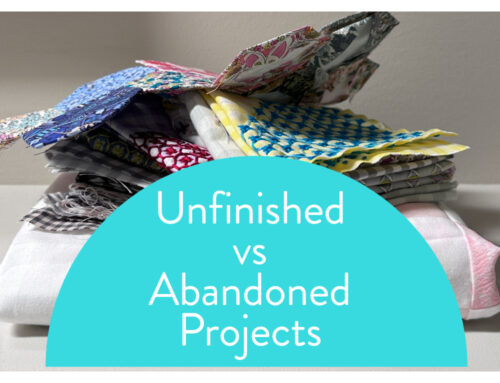


Our guest room is officially turning back into a bonafide guest bedroom, after working hard for years, first as my studio, then as Peter’s office. It’s been fun to return it to a cozy space. Right now I have the Hammerhead quilt on the new bed, but that will probably change (a new bed in the house is a great excuse to start a new quilt).
And you know I’m DIY’ing the heck out of it, right?
I bought new white sheets, pillowcases, and blankets. I’ve been wanting to try this quick little DIY for a while and the new pillowcases inspired me to do it over the weekend. I love free motion stitching words (like this pillow) and thought it would be fun to add words on the pillowcase hems. For those who may not know what free motion stitching is, I used the free motion presser foot I have for my machine, also called a darning foot. (I sewed these on my Bernina 550 QE which also comes with a stitch regulator, but I actually prefer to use my foot pedal to control the speed and don’t use my BSR). The darning foot for my machine looks like this.

Most darning feet look similar, and you need this foot to be able to do free motion stitching. Install the foot, then lower your stitch length down to 0 if you keep your feed dogs up (as I do), or drop your feed dogs altogether. (Feed dogs up or down is a personal preference in free motion stitching.) Now you have “free motion”, and you can use your hands to control the movement of the fabric, not the feed dogs, as you do when stitching a straight line. I am “drawing” on the fabric as I make the letters. This takes a little practice, and I am by no means an expert, but it’s SO FUN if you’ve never done it. Give it a try!
Using a Frixion pen, I began by writing out the letters “Good Night Sleep Tight” along one side of the pillowcase hem. (Iron these pen marks away when you’ve completed your stitching). I positioned the pillowcase hem so that it was horizontal in front of me, careful to keep the opposite side of the case hem out from under the stitching area. (Hopefully you can see what I mean in the video, positioning it horizontally under the needle, and moving the fabric along from left to right under the needle, just as I would if I were writing across the pillowcase with a pen.) Relax your shoulders so your movements aren’t jerky, just easy and flowing.
Free Motion Pillowcases from Blair Stocker on Vimeo.


Believe me, this is fun and not that hard once you get a feel for what you’re doing. For the pillowcases for the bedroom, I used a variegated Mettler thread, something I have been wanting to play with.