Bleach Discharge Patchwork
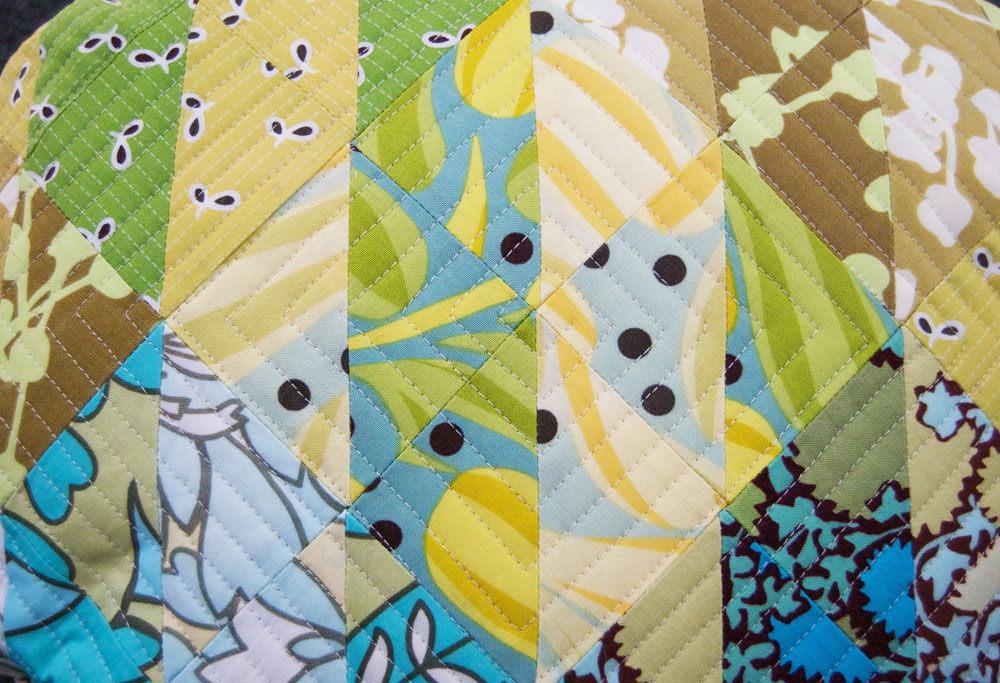

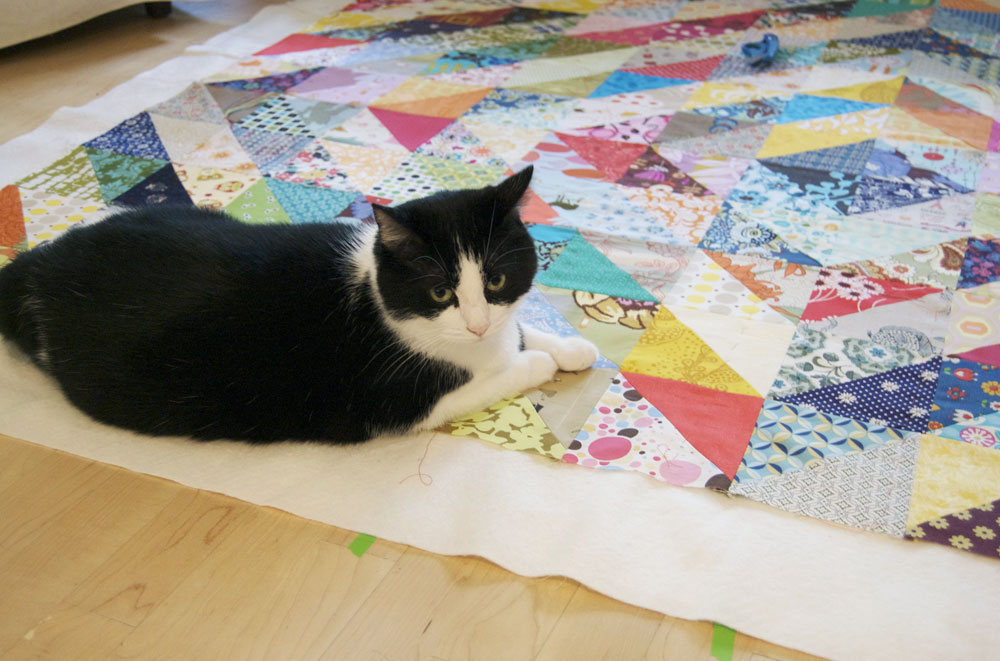
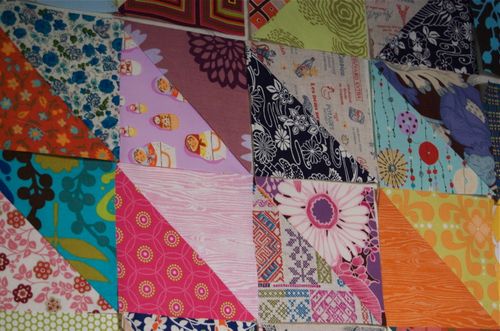
I made this patchwork quilted piece using some of the fabrics I discharged with bleach a few days ago. With all the squares and stripes in this patchwork piece I thought it might like a round home, and I’ve had a few round fabric pillow forms in my supplies for a while. A few trials and I could possibly be getting closer to a round shape that actually looks like I want it to, but its frustrating. Why do round pillows stump me? Random things in sewing stump me. Zipper? No problem… Making a king sized quilt? Not a problem?…. Oh, wait, you said a round pillow? Complete Befuddlement. I’ll get there.
I did a post today over at nonchalant mom on heading back to school. I’d love to hear what routines and strategies are working for you guys. I’ve got a few tricks up my sleeve to keep them on task. I’m sure going to miss them when they head back next week, but I am looking forward to being a little more productive and focused all around.
And quite honestly Ian could stand to read something other than the Lego catalog. Anything.
Hey, this posting every day thing is not too bad!

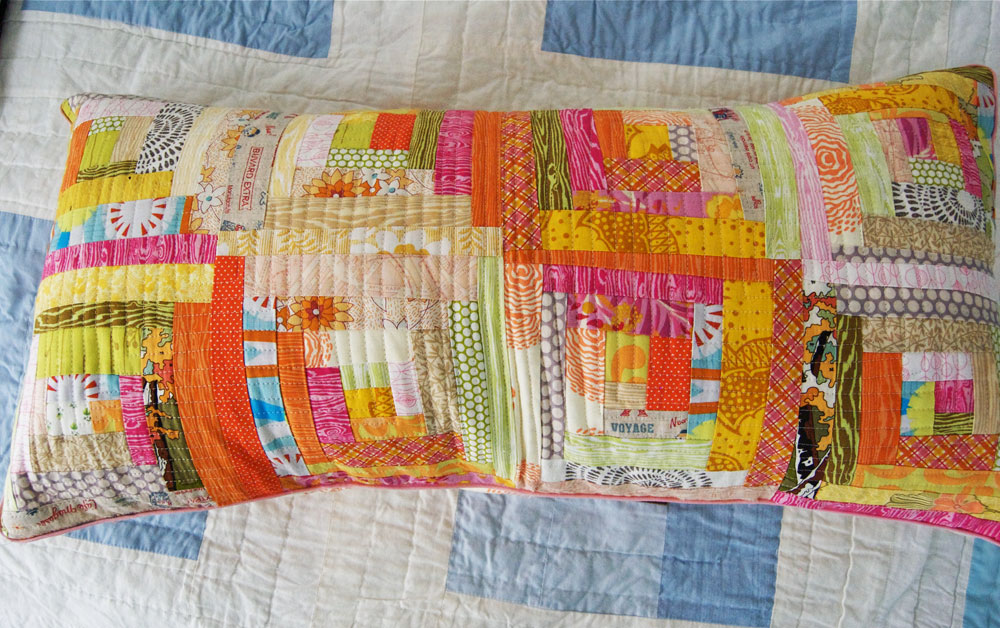
Stash Value Quilt


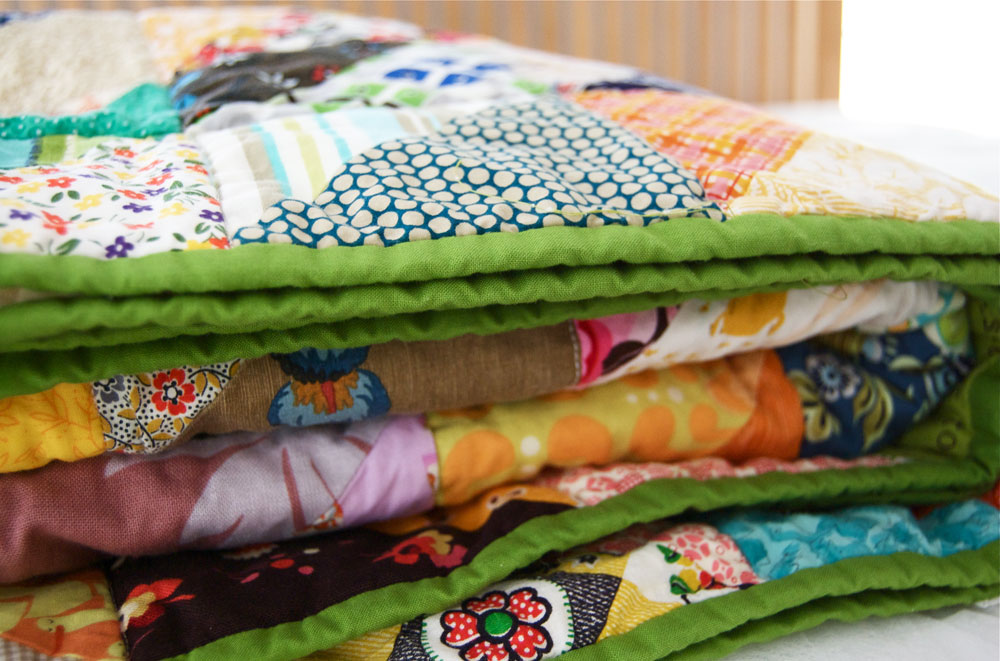
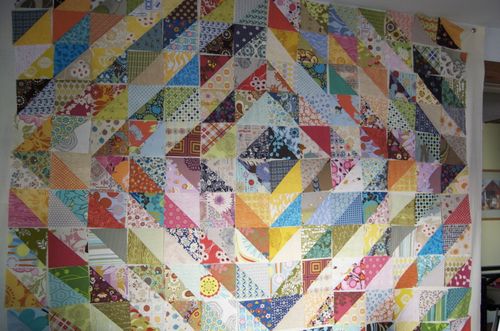
I spent most of Friday and Saturday stitching and binding the Stash Value Quilt. I was completely ready to finish it, no matter what, and we had no commitments this weekend. I machine stitched in the ditch around all the blocks, then made binding for the edges in a Kona Cotton Grass Green. I handstitched the binding on Saturday morning, removed the basting stitches, then washed and dried it. Done. Whew!READ MORE

Zapped


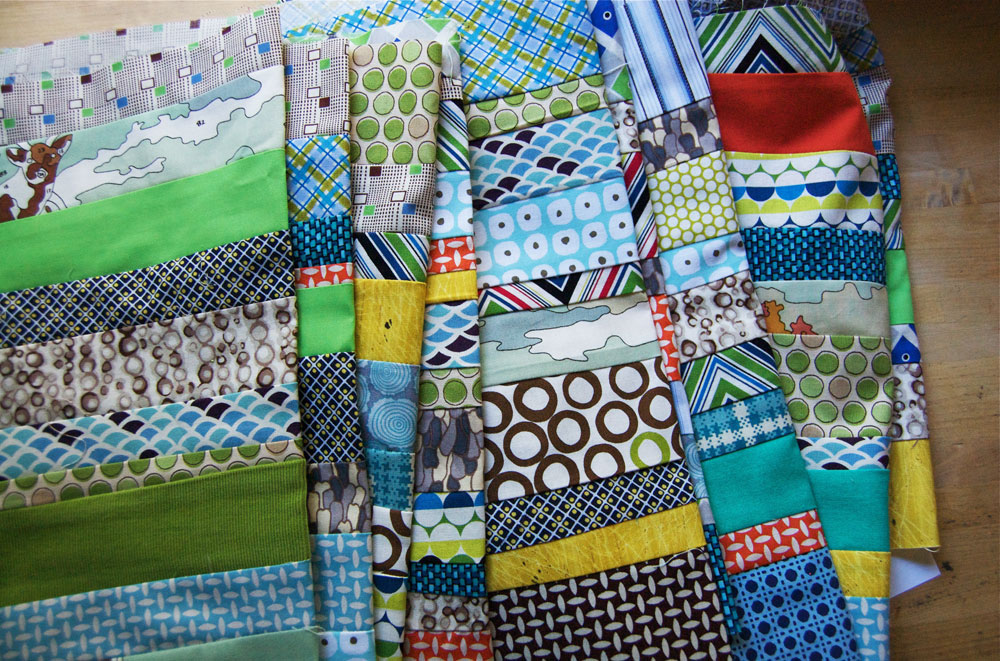
I made some progress on Ian’s marquee quilt. I’m liking the selection of fabrics I finally settled on (with a little help from a surprise package from Erin back when I started). Very gender neutral is what I was hoping for. He’s just feeling too old these days for hedgehogs and robots (which, at the ripe old age of almost 8, is sad, but true). READ MORE

Removable Quilt Design Wall

removeablequiltdesignwall1

Our slowish week’s end continued into the weekend, I’m happy to say. I got a chance to work on the value quilt, which I am also calling my stash quilt, because I’ve dug through every bit of it for this one. As I was beginning to put the quilt top together, it was clear that I was going to have a tough time making sure I was placing all the squares the correct way. There is no room in my small studio to lay out the squares, and the dining room table would be too temporary, making me feel rushed. I have always wished I had the room for a full sized quilt design wall, but there is no real wall space in our house to make that happen. But necessity being the mother of invention, I came up with the idea to make a temporary design wall, one that can be easily put up when needed, and easily taken down when not. (For those unaware of what a quilt design wall even is, it is essentially a wall of solid flannel or a similar fabric. Quilting fabric sticks to it temporarily. As you complete a quilt square, you can place it up on the design wall, and the flannel just sort of grabs it and hangs on. Its great to piece quilt squares together, move them around, etc. Here’s a large one in Denyse Schmidt’s studio to give you an idea.)
I bought 4 yards of 45″ cream flannel, cut it into four 1yd pieces. I sewed two of the pieces together, selvege to selvege, then did the same with the other 2 yards, then I sewed those 2 larger pieces together length wise, forming a large rectangle of flannel measuring approximately 88″ x 72″. (These dimensions fit my wall well, if you have the luxury of working with a bigger wall, you may want to add more fabric.) On one of the 72″ pieces, I folded and pressed a 1/4″ towards the wrong side, then folded and pressed a 2″ hem, which I then stitched close to the fold’s edge all the way across. I then applied 10 evenly spaced grommets (I used large ones because that’s what I had, but you could use a small size, these kits are sold at sewing stores, I’m sure mine came from Joann’s). The part to realize is that you will have to hammer in small tacks (could be tiny, because what they are supporting is not heavy) across the very top of the wall you’ll plan to hang this from (you could paint them to match your wall color if you wanted to, so that aren’t as visible, but if you’re planning to use this design wall in a basement or workroom, it wouldn’t matter so much). Use the grommets to hang the flannel on the tacks, against the wall, and you’re done. Now you have a space to play with your quilt squares, and you won’t have to clean the floor or clear table dishes to do it.
removeablequiltdesignwall2
Things make so much more sense when you can stand back and look at them fully, don’t they? Once I had all these squares up, it was easy to see where the color values of the lights and darks were working best and where I needed to move things around. I don’t think I could have seen this easily on the floor. Since this picture was taken, the blocks have been all pieced together and my quilt design wall has been taken down, folded, and put away until next time.
I don’t know why I chose summer to work on a quilt. Well, I don’t think I chose it, I went with being inspired and just decided to do it, not giving much thought to it being summer (and all the steam ironing I would be doing). If you’ve never made a quilt, but have thought about trying it, I hope you do. There is a “zone” I get into when I’m in the midst of seeing a quilt come together. Each part of the process (picking the fabrics, planning the squares, finding the backing, sandwiching the layers, basting, quilting, binding, etc) brings such an escape for me. As I sew each piece to the other makes it feel more solid, more real. I am planning to machine quilt this one myself, so the next steps are to choose the backing fabric (solid? not solid?), then baste the layers together. My goal is to not let this one sit idle too long. I usually have one quilt in me a year, I’m really hoping this year I have two.
I should get busy.

Bits of Our Wednesday

 
wednesday
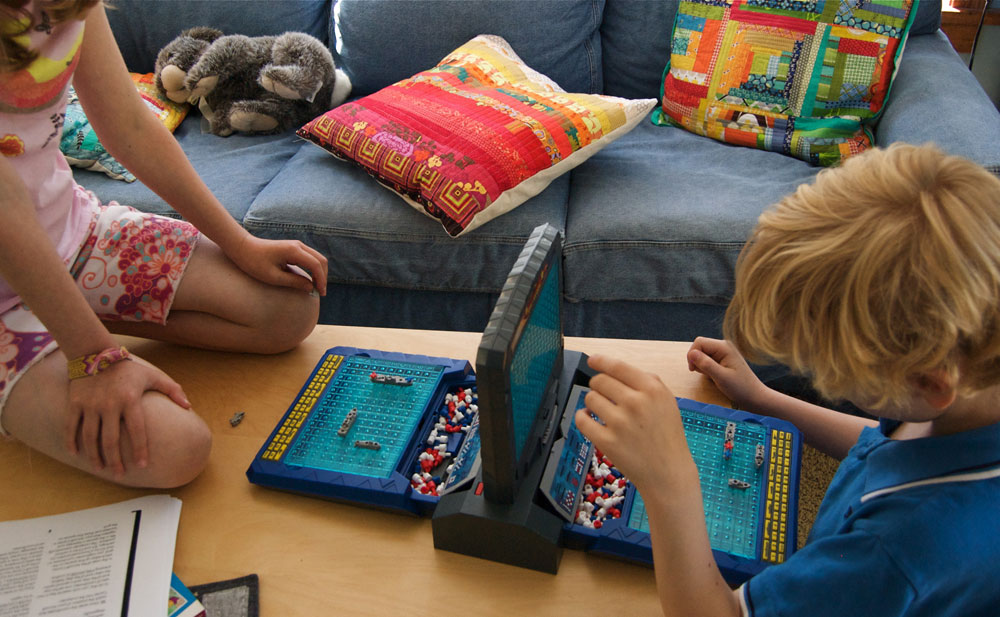
Today is first quiet day we’ve had in a while. I took the kids with me for a quick visit to our accountant’s office, which meant a stop on the way home at the really large Goodwill nearby. My kids zero’d in on an electronic Battleship game, then found a treasure trove of 79 cent paperback books. I, myself was browsing through the other shelves and hit the jackpot on a back wall.READ MORE

Color and Pattern


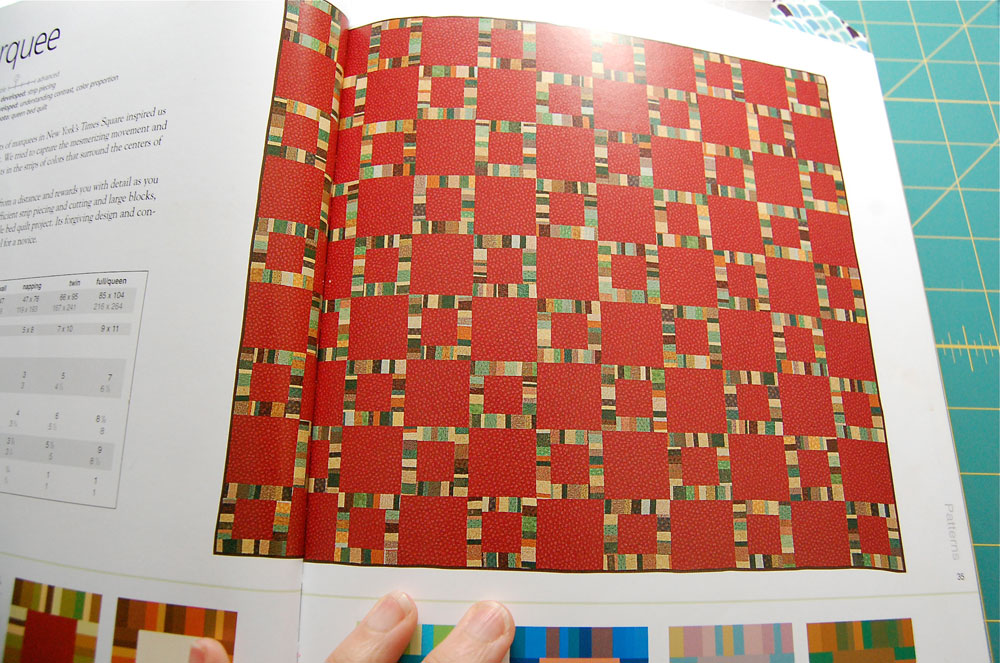
Now that a new quilt for Emma is done, and a proper “quilt rest” has followed, next comes a quilt for Ian’s bed. I’ve been wanting to make this Marquee pattern (above), from the FunQuilts Studio book The Modern Quilt Workshop, since the book came out in 2005, and when I started trying to gather ideas a few months ago, the idea that this pattern still inspires me convinced me this is one I’ll go with next. The effect of the tiny strips of color, surrounding the “ground” fabric feels traditional and modern to me, which I really like. Its described in the book as the strips of color being like flashing lights in Times Square. I can see that. Its a relatively easy pattern for me, which will be a nice change after the curved templates for the Single Girl. This pattern uses no templates, just plenty of rotary cutting strips and blocks, and I really like projects that involve nothing more than pretty fabric, a good sharp rotary cutting blade, and This American Life.READ MORE

My Single Girl Quilt

Single Girl Quilt
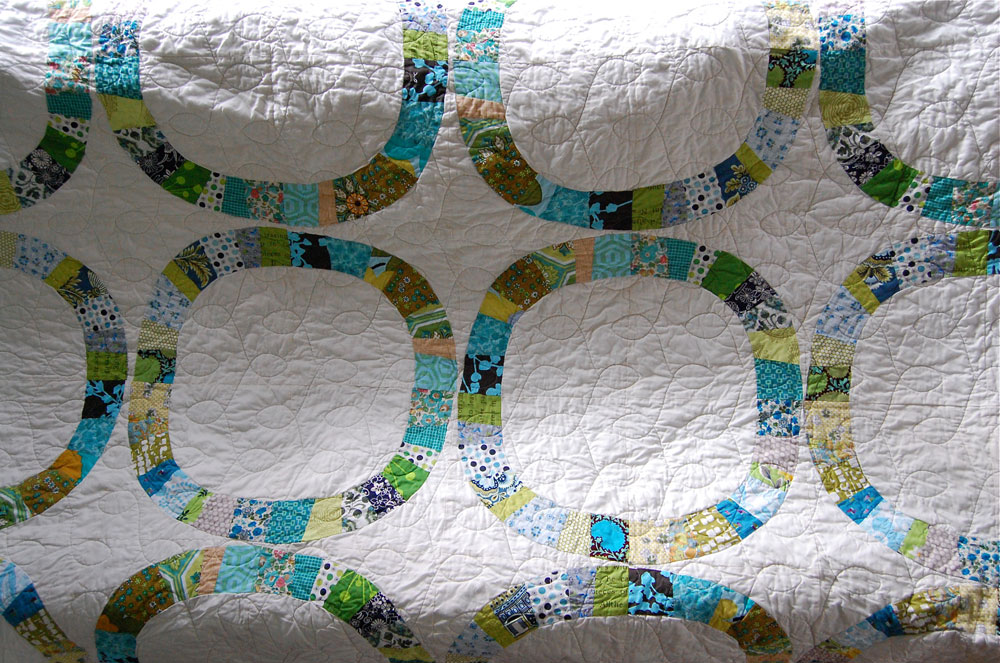
I put the final handstitches on the binding of the Denyse Schmidt’s Single Girl quilt yesterday afternoon. I do not remember feeling quite this satisfied with a project in a while. This project started quite a while back in craft time, and as most quilts, it happened in stages…fits…bursts of energy really. Those curves took a lot of focus and concentration. Some days we’re up for that, others…not so much. So, it sat, folded, until the next day of “okay, let’s do this” motivation came.READ MORE

Follow Wise Craft Handmade