DIY Clay Doodle Pendants
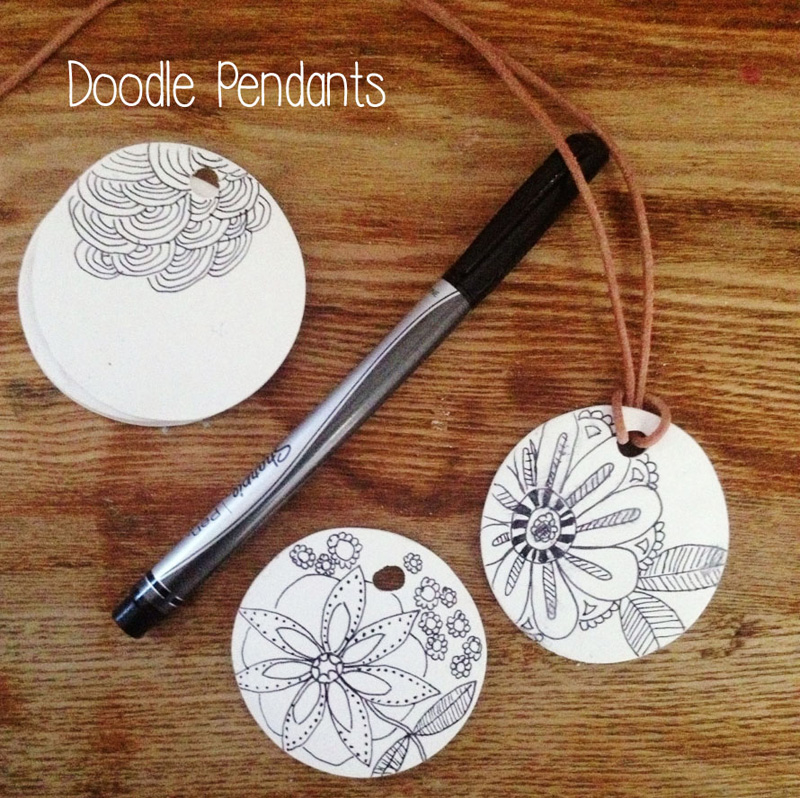
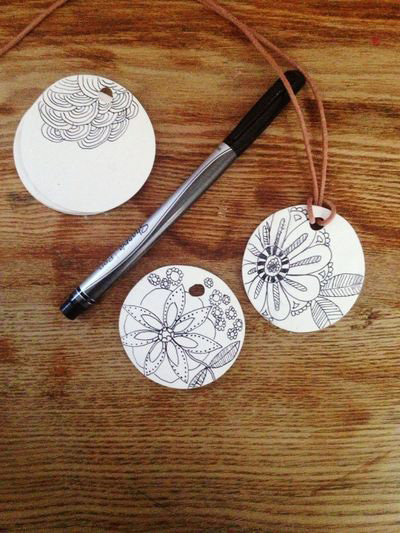
I decided to try a simple clay pendant project with all the doodling I was doing in my sketchbook. I have a bit of a necklace problem (meaning I have a large collection) and feel like something is missing when I’m not wearing one. These pendants are easy, easy enough for a kid to do in fact (the adult doing the baking part, of course).
DIY Clay Doodle Pendants
Materials:
A 2 oz. package of Sculpey oven bake clay (I used white)
A black permanent marker
A straw
A glass
Clear fingernail polish
Leather cording
To Make:
Using half of a 2 oz. package of the clay, knead it in your hands till pliable, then roll is flat (I used the side of a glass). It should be 1/8″-1/4″ thick.
Make a circle cut-out of the clay with the glass, then poke a hole at the top with a straw.
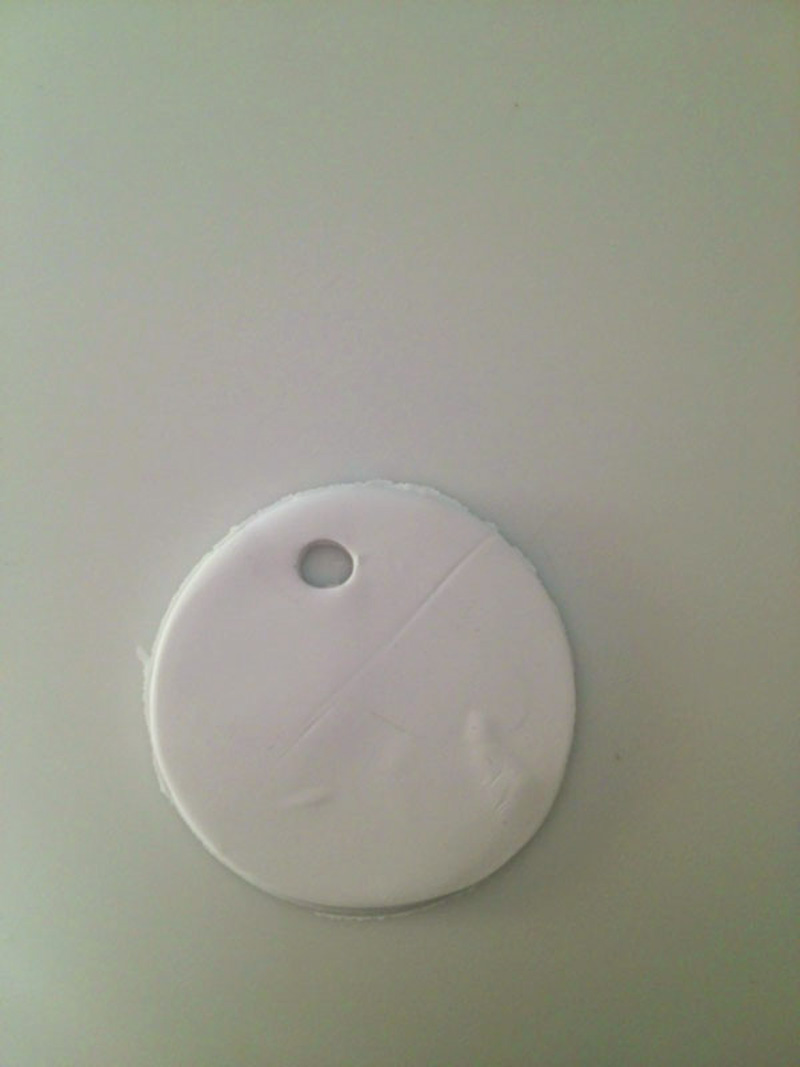
Bake the pendants according to the clay package directions, then cool.
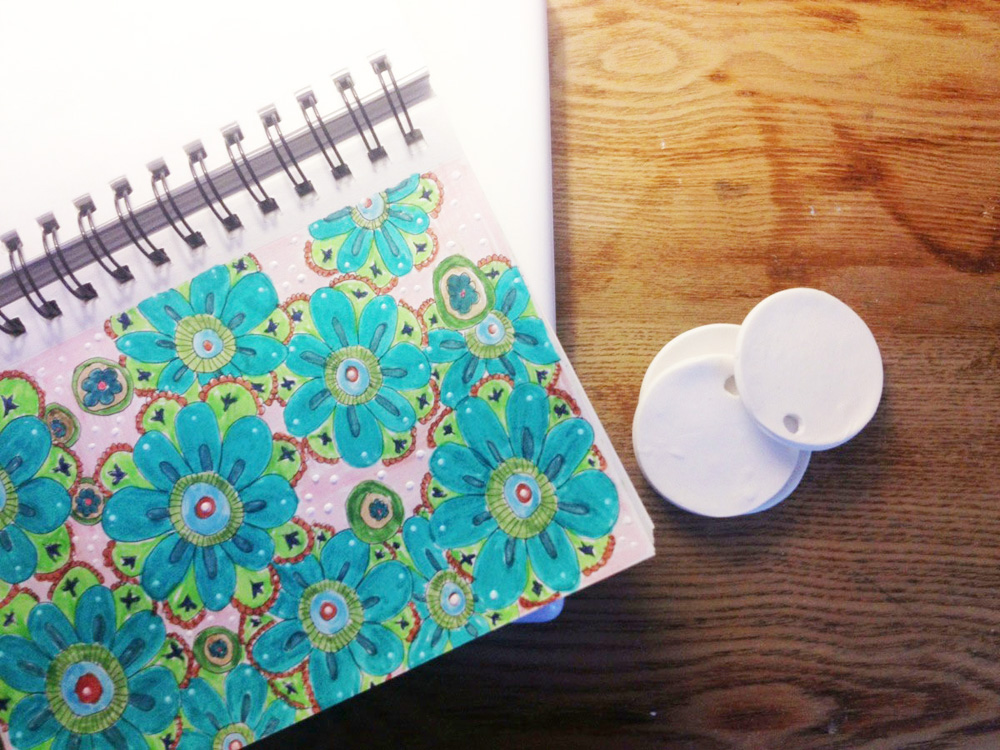
I got inspiration for doodles to draw by looking through my sketchbooks.
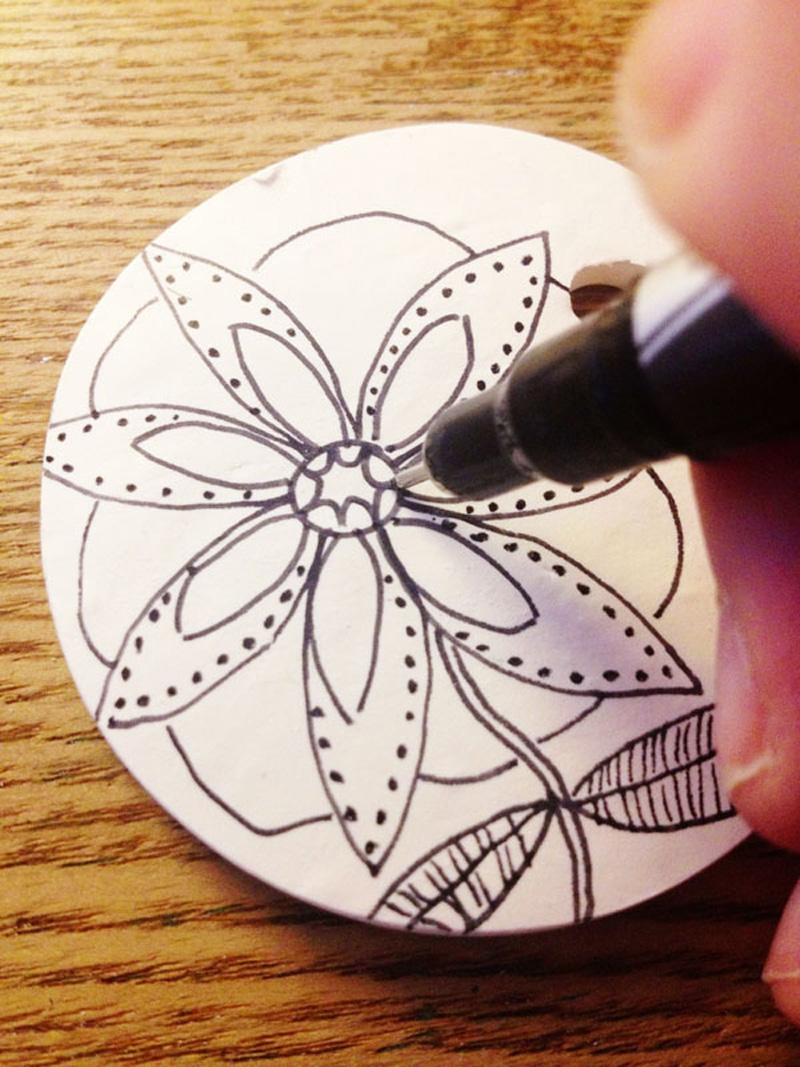
Then just start doodling with a black fine permanent pen.
If you want you can finish these off with a coat of clear fingernail polish. Thread with a length of leather cording, and there you have it!

tammie
January 21, 2013 at 7:39 amthese are so awesome. great project to do with my girls!
Laura D
January 21, 2013 at 8:20 amYou rock. We are doing this in all art classes:2nd-12th. Yes. I was in my jewelry box the other day and found my sweet retro fabric pendants I bought from you. I’m putting those back into circulation!
blair/wisecraft
January 21, 2013 at 11:00 amThank you Laura! Please send me a picture if you think of it when you make them with your students!
blair/wisecraft
January 21, 2013 at 11:00 amEmma and I are doing to make more! Pretty fun!
emily
January 21, 2013 at 2:11 pmseriously blair. you’re awesome.
Abigail
January 21, 2013 at 3:37 pmFun! I’m totally going to give this a try.
Michele
January 21, 2013 at 4:49 pmThat’s fantastic! I can’t wait to give it a try.
blair/wisecraft
January 21, 2013 at 5:24 pmThanks Michelle!
Molly
January 21, 2013 at 9:13 pmBlair, you amaze.
M
blair/wisecraft
January 21, 2013 at 9:24 pmThank you Molly!! Nice to amaze someone (truly!)
sanae
January 22, 2013 at 12:41 amCoincidentally, I just got some sculpy a couple of days ago – what a fun project! Feeling inspired…
Leah
January 22, 2013 at 1:13 amI love this idea – perfect to do with my daughter and WEARABLE!
Heather
January 22, 2013 at 4:27 amThis is great! I’m going to make it with my preteens at the library!
Lisa Clarke
January 22, 2013 at 7:21 amCool! Can I offer just a couple little bits of advice? Be careful with Sculpey III. If you roll it too thin, it will snap easily after baking. 1/4-inch should be fine, but go much thinner, and it will be brittle.
Also, some clear nail polishes react poorly with polymer clay and you end up with a sticky mess. It’s best to test on scrap first.
Learned both of those things the hard way 😉
blair/wisecraft
January 22, 2013 at 7:48 amThank you Lisa! Good to know!
Mrs. Pilkington (olugbemisola)
January 26, 2013 at 7:24 pmWhat a wonderful idea — thanks for sharing it!