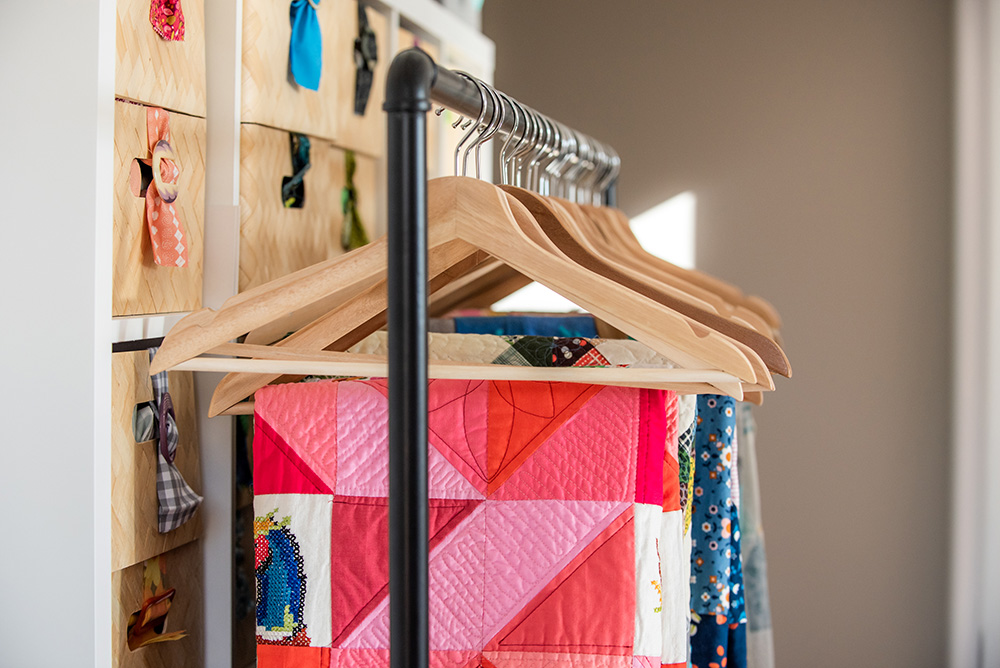
I’m very excited to finally bring you a photo tour of my studio! I’ve been asked many times to do a full reveal and its been on my to do list for so long! Construction was completed last Fall, but its taken me a while to really get it as functional as I need it to be. That, coupled with all of the many deadlines that were delayed because I was waiting for it to be finished, and I truly hit the ground running in here back in October of 2021.
To set the scene…
Our small Santa Fe- area house is situated on 5 1/2 acres of land, with an unbelievable view! The house had great bones, but we essentially bought the house based on the view. We started working with a builder and an architect to plan changes to the existing house prior to moving in. It already had a very small, but nicely updated footprint. Our plan was to add on additional space for our kids to be here, and space for me to work. There was a great office for my husband already here, attached to the garage.
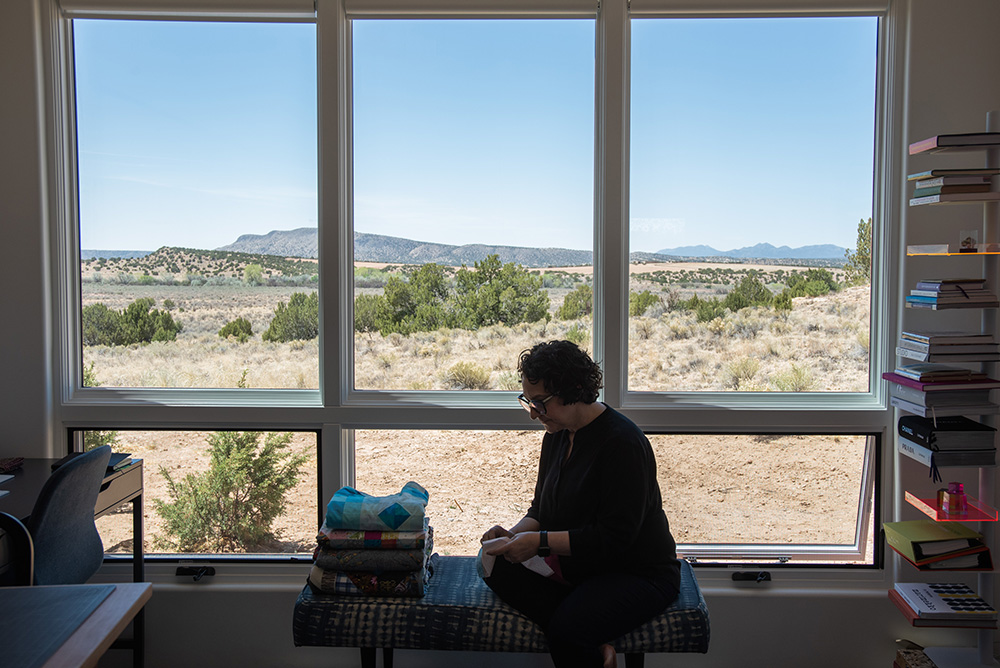
view from west windows
When we began designing the addition, the studio space would be roughly the same footprint as my studio space in Seattle. But designed to maximize the light from the west side of the house, where our best view is. The photo above shows the windows on the west wall of the studio. The architect originally drew this wall to have French doors, but I changed that to give me another bit permanent wall space. French doors don’t work for us because of our indoor cat Toby (we have them in another part of the house and we never use them). I am spoiled with light in this room! The sunsets from this window are just incredible. A huge change from my cozy Seattle basement.
Also the room has radiant floor heating under sealed gray concrete, and air conditioning.
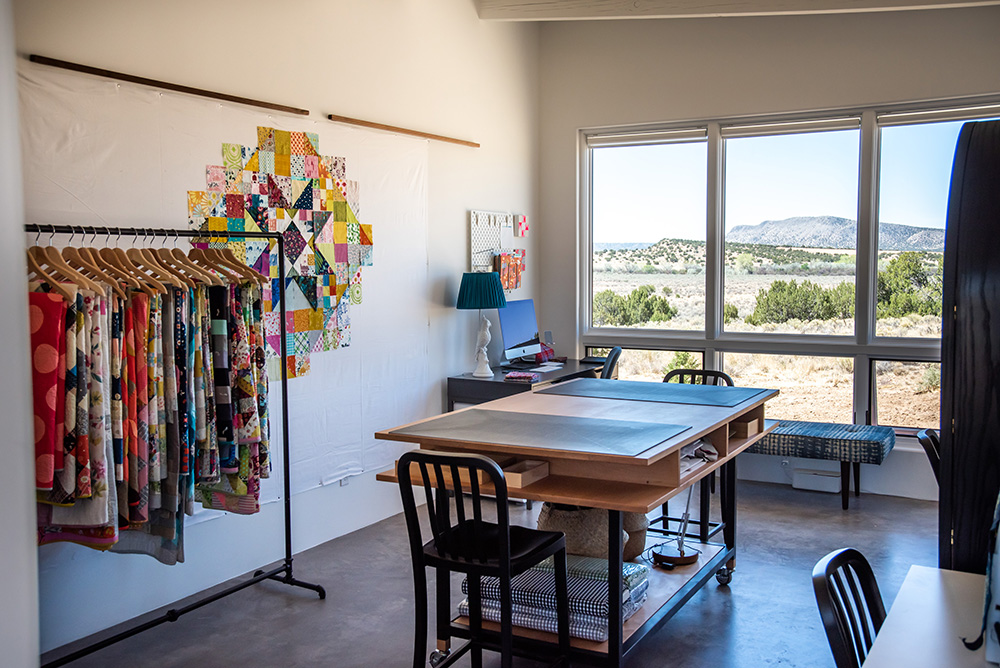
view from entrance
Here is another view of the studio from the entrance on the other side of the room, above. There is both an outside and an inside entrance on the east side of the studio. The center table was custom build for me by Santa Fe woodworkers ModTribe Design, designed for my height and how I cut fabric with my rotary cutter, so I could stand at it and work. When I worked in the apparel industry, our offices always had a central work table that we would have quick meetings at throughout the day. I got really used to that “flow” and I had a similar set up my Seattle studio. For here, I had a very specific vision for how I wanted a central table to function for me. I wanted the shelf you see, just underneath the top, so I could swap out projects by sliding one in and pulling another one out (I keep quilt blocks and cut pieces on sheets of foamcore, cut to fit in the spaces under the top.) The worktable is also on casters and it can easily be wheeled out of the way when to photograph quilts on the design wall.
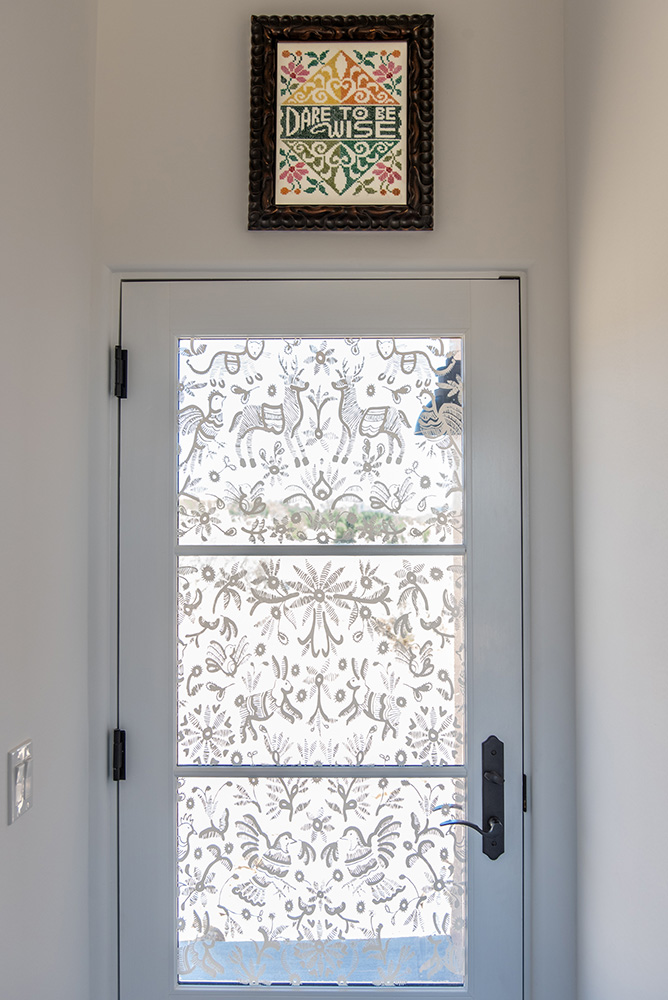
outside entrance
In the photo above is the entrance to the studio from outside. I love that the door allows light from this side of the room too, but to add a little bit of privacy I had custom Otomi window decals made by Blossom and Brush. I love these decals so much! They add just the right amount of privacy and interest. The vintage cross stitch piece above the door is an Ebay purchase from years ago, positioned so its not in direct sunlight.
It was important to me that the majority of the studio be white, or not full of color. My work is very colorful, and color is very important to me. I love it! Because of that, I wanted the backdrop of a studio to be void of color, to soften the overall energy of the room. Wood tables, a sealed concrete floor, and white walls (Ben Moore Designer White). The ceiling is also white, and is angled up about 20″ from one side of the studio to the other. Its meant to mimic the same effect we have in our kitchen and guest room.
There are 4 black metal “work” chairs- 2 counter height at the center desk, and one at each sewing table. These are comfortable and simple, everything I wanted in studio chairs.
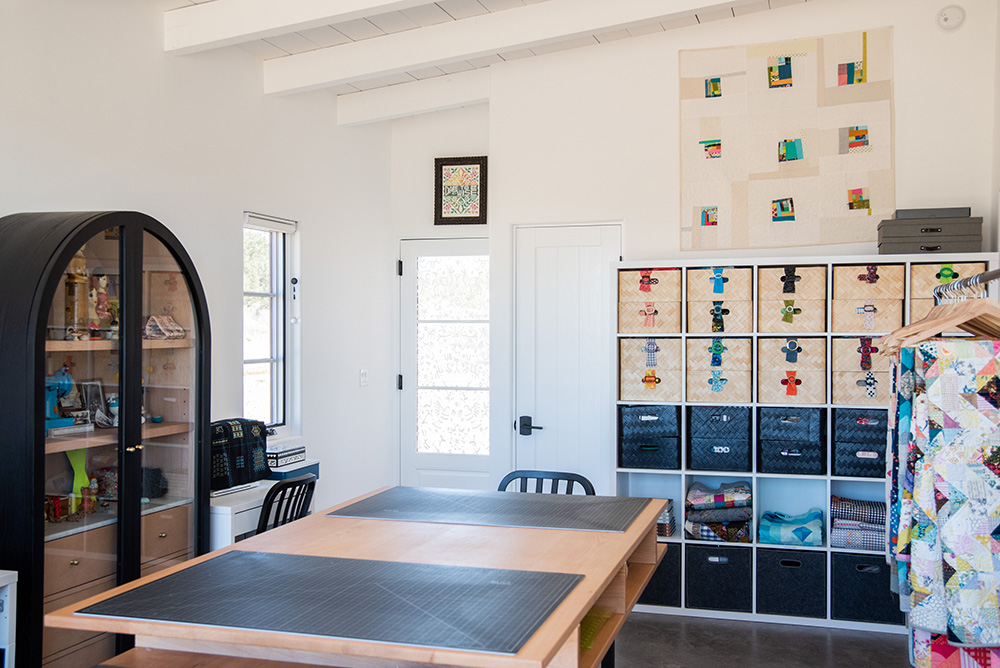
View of the studio from the west wall. Fabric storage, work tables, entrance.
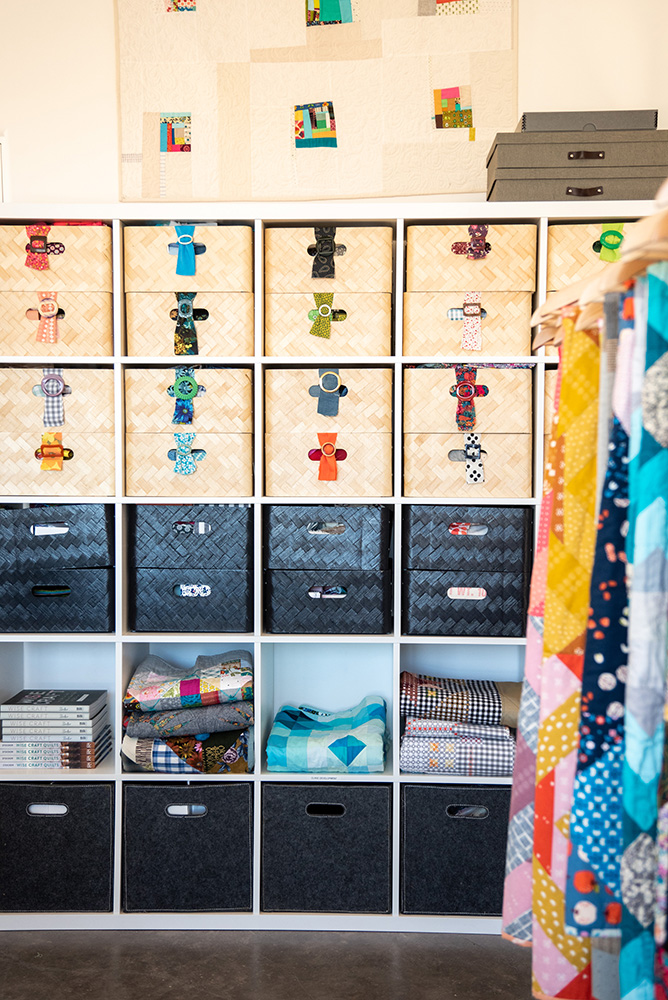
When we moved here from Seattle, I had to leave behind my IKEA Kallax fabric stash storage unit. We would have had to break it apart to move it out and I just wasn’t sure I wanted to use the same system here. But in the end, there was really no other solution that made sense. Longtime readers may remember that I went through an intensive Marie Kondo clean up with a gold certified Konmari organizer while in my Seattle studio. My fabric stash was completely evaluated, pared down, and thoroughly organized and sorted based on how I use it in my quilting practice. (See how I store my fabric in this post/video!) Since I had brought all the fabric bins that fit into the Kallax unit with me, I ended up taking a road trip to the Denver IKEA store and repurchasing the entire system exactly as I had it in Seattle. No regrets, it fits perfectly in the space, and just simply works. The bakelite buckles were an Etsy purchase and hold a piece of fabric to give me an idea of what’s inside each bin.
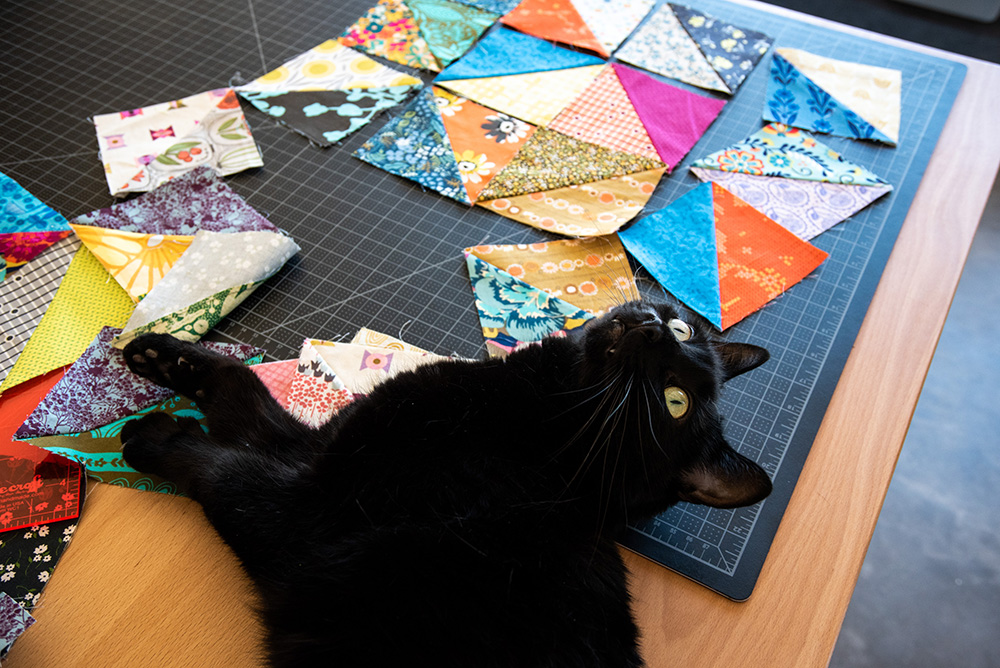
Toby is always helping me
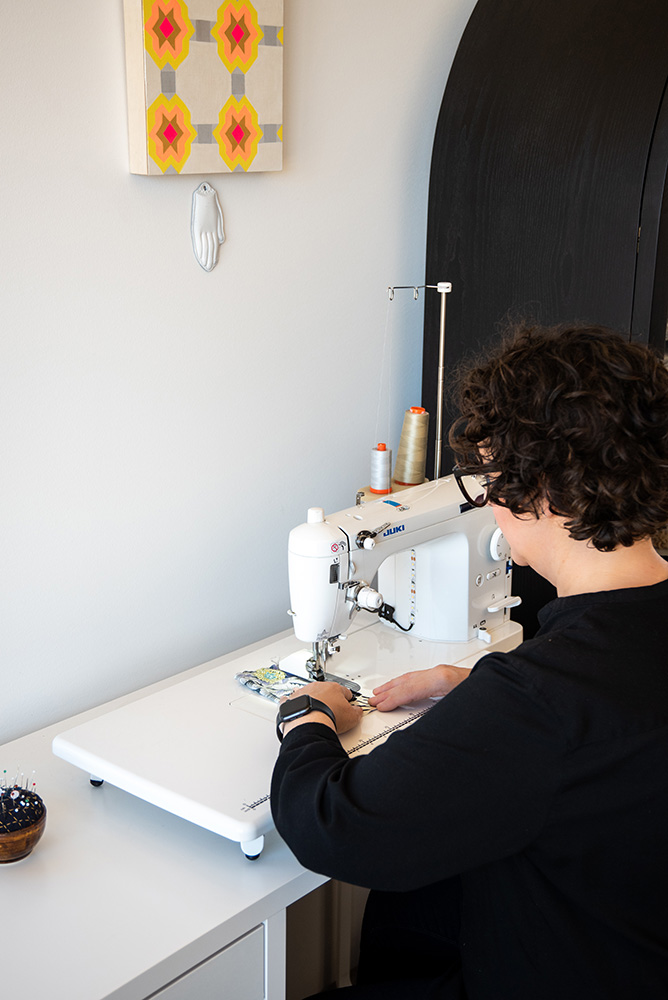
Working at the Juki, named “The Dear One”
I have 2 white IKEA work desks, one for each of my sewing machines, also purchased during that road trip to the Denver IKEA. This is where I work most of the time, but I keep both machines covered when not in use because of the incredible amount of dust here in the desert.
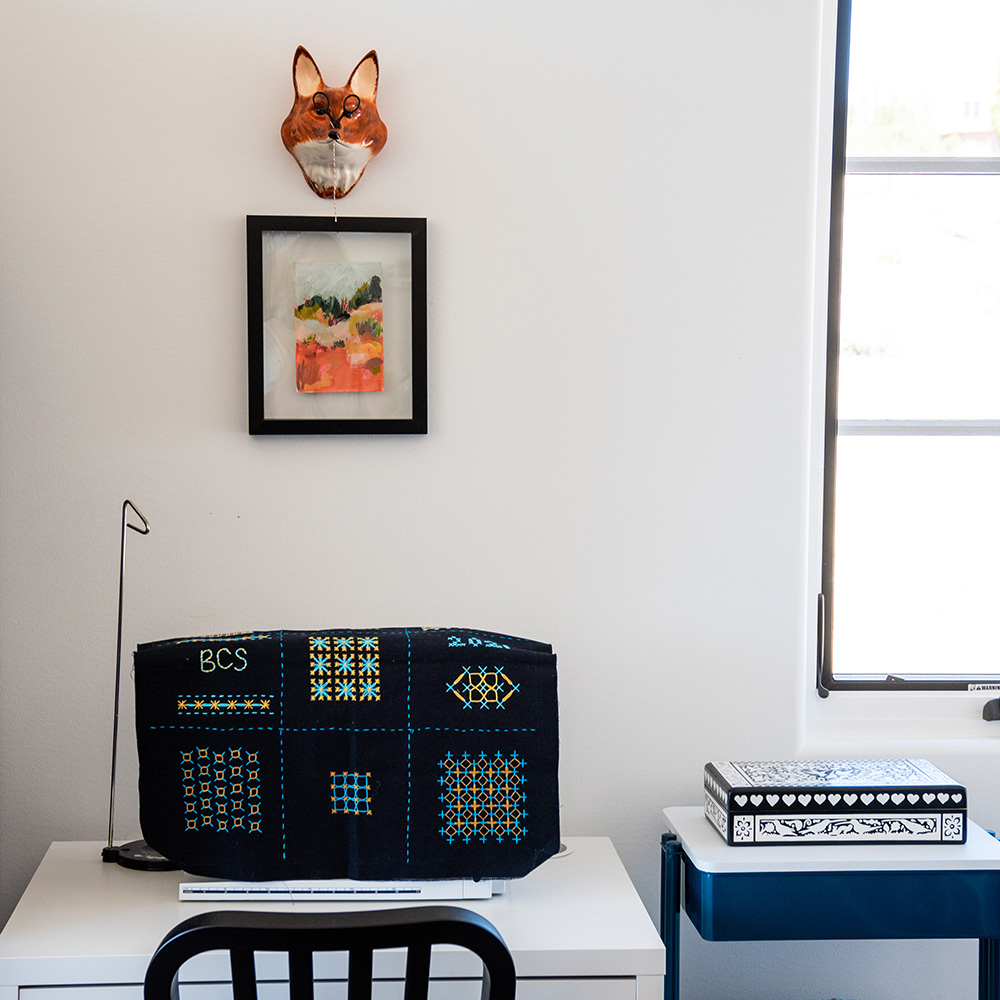
sewing table with my Bernina, named Mary Ruth after my grandmother
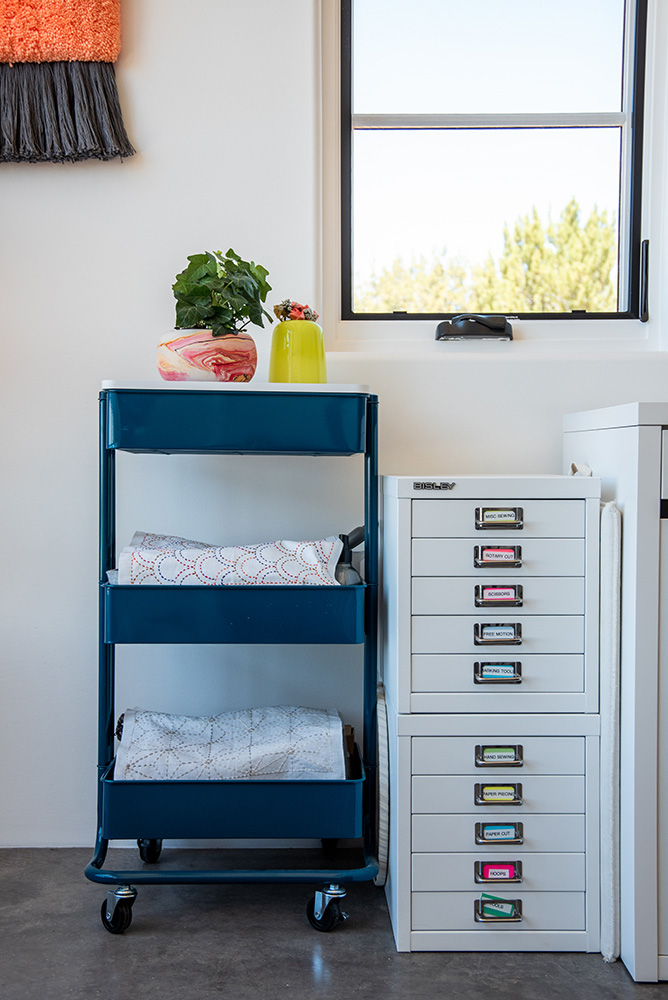
The blue rolling carts are from The Container Store. I keep an awful lot of useful things in them. To keep them neat, I cover what’s on the shelves with sample sashiko cloths I stitched up years ago. The Bisley drawer sets, above right, are also from The Container Store, and hold most of my sewing notions. Everything in these drawers and on these carts are used daily. It was important to me to just not keep a lot of things I don’t use.
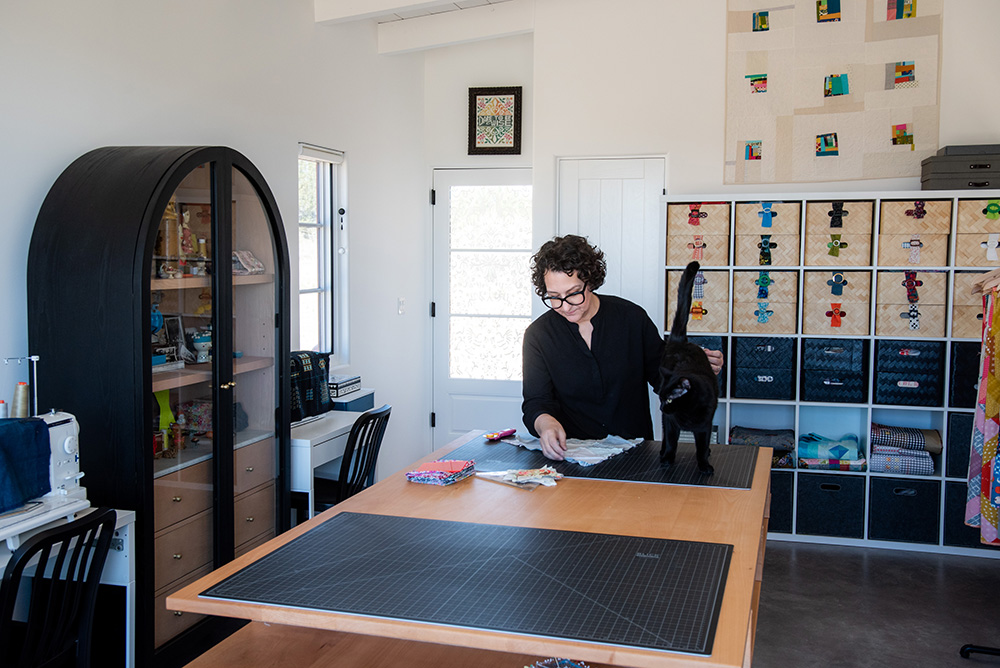
Here is a view of the full studio from the west. Many of you have asked about the cabinet, shown above on the left. The cabinet! My favorite thing in the whole world! It deserves its on post, or video. Coming up!
