(All the granny square assignments can be found on this page.) Okay, let’s join them!
In the original granny square sampler afghan, there was a visually distinct inner rectangle in the center. Here’s the original-

That’s the part we’re going to work on this week, the inside rectangle. Starting here will allow us to get used to the joining technique and decide if we have enough squares to continue on.
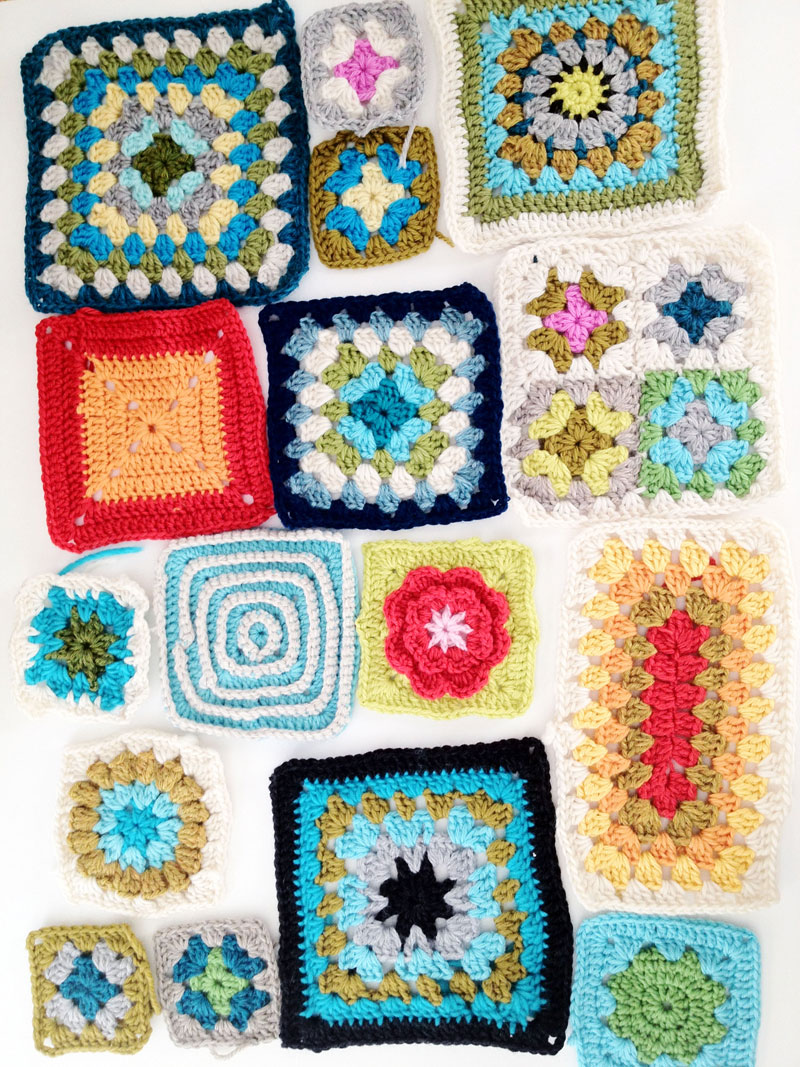
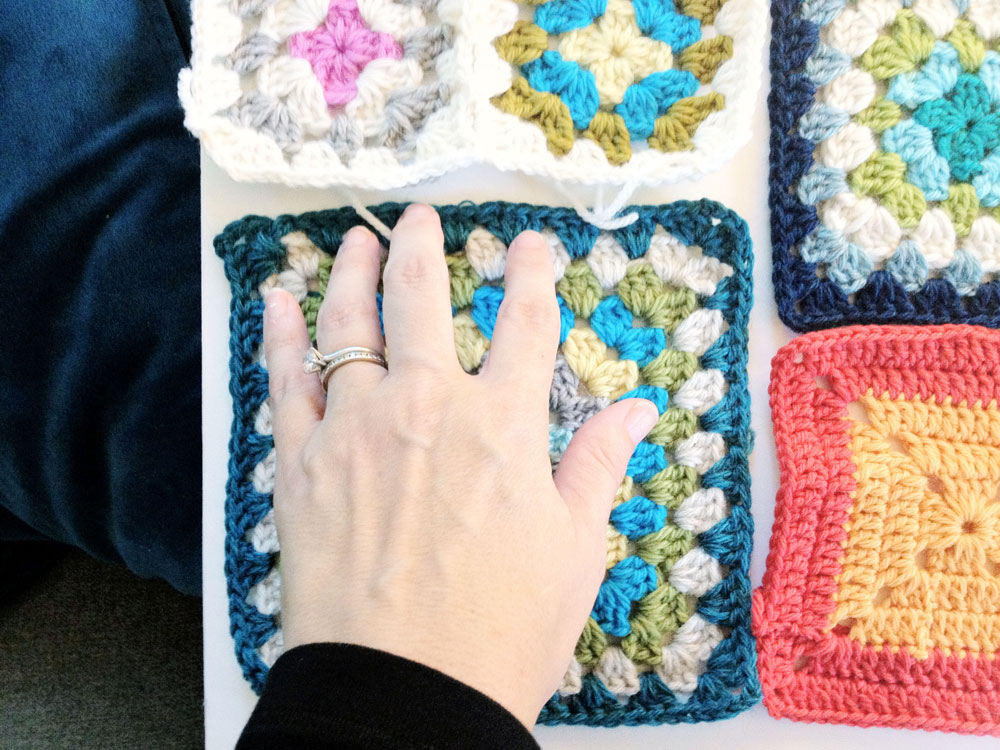
First you should place your squares into a rough rectangle shape. The size of my rectangle is roughly the size of 3 squares across by 4 squares long (using the average sized square in our sampler, but this is only a rough guideline.) My goals were to distribute my more dominant colors and squares throughout, to select squares that were similar in size to be beside each other, and, when that wasn’t possible, to fit squares together like a puzzle. The layout below was what I came up with. I found it very helpful to lay the squares out on a piece of 20″ x 30″ foamcore from our local office supply store, so I could play with placement and square choices, yet keep everything in tact if I needed to move it. Also helpful, once you have settled on your assortment and placement, take a picture of what you’ve come up with so you’ll have a reference to look back at.
When we gathered our yarn in the early weeks of this project, I designated cream as the yarn color I would be using most of borders around squares. If you’ve designated a color for borders, you’ll definitely need 2-3 skeins of it to get started (I’m using 3 different brands of cream wool yarn, slight color variations don’t matter). But you can also continue to use your stash if that’s what your plan is (the original afghan used several colors throughout the border and it looks great that way). I plan to mix in a few colors besides the cream myself, so I can keep using up my stash.
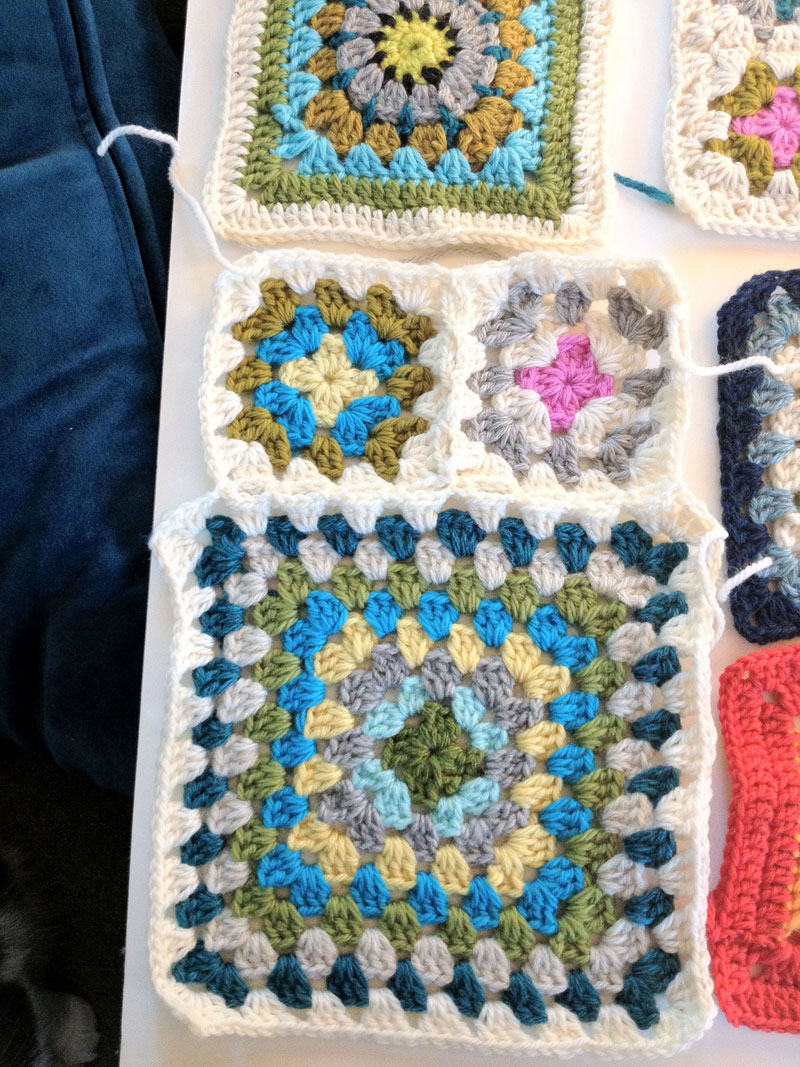
First, I started joining the “top” squares in the photo above.
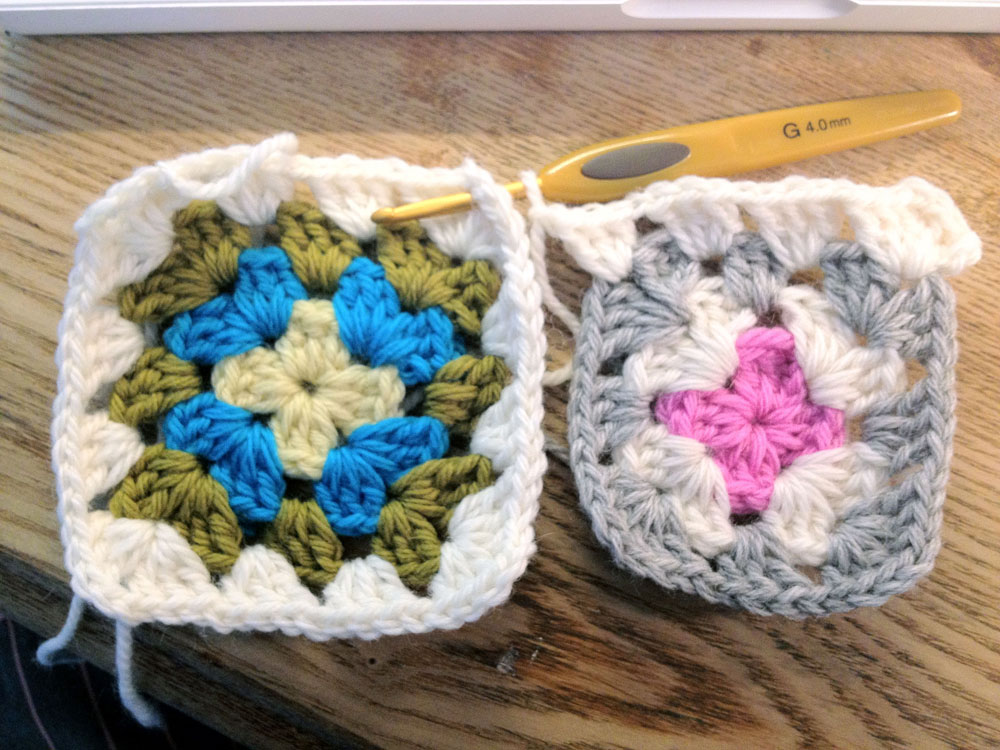
I joined the two small 3-rnd granny squares (in the center of the row) together first, then joined them to the larger granny squares on either side of them. To do this, I used the “join as you go” method, written up in easy to follow pictures, by Sarah London. A photo tutorial on how to do this is available in her Flickr stream here. (Keep in mine she uses UK stitch terms, so when she says “treble crochet” it means “double crochet/dc” to those of us in the US.)
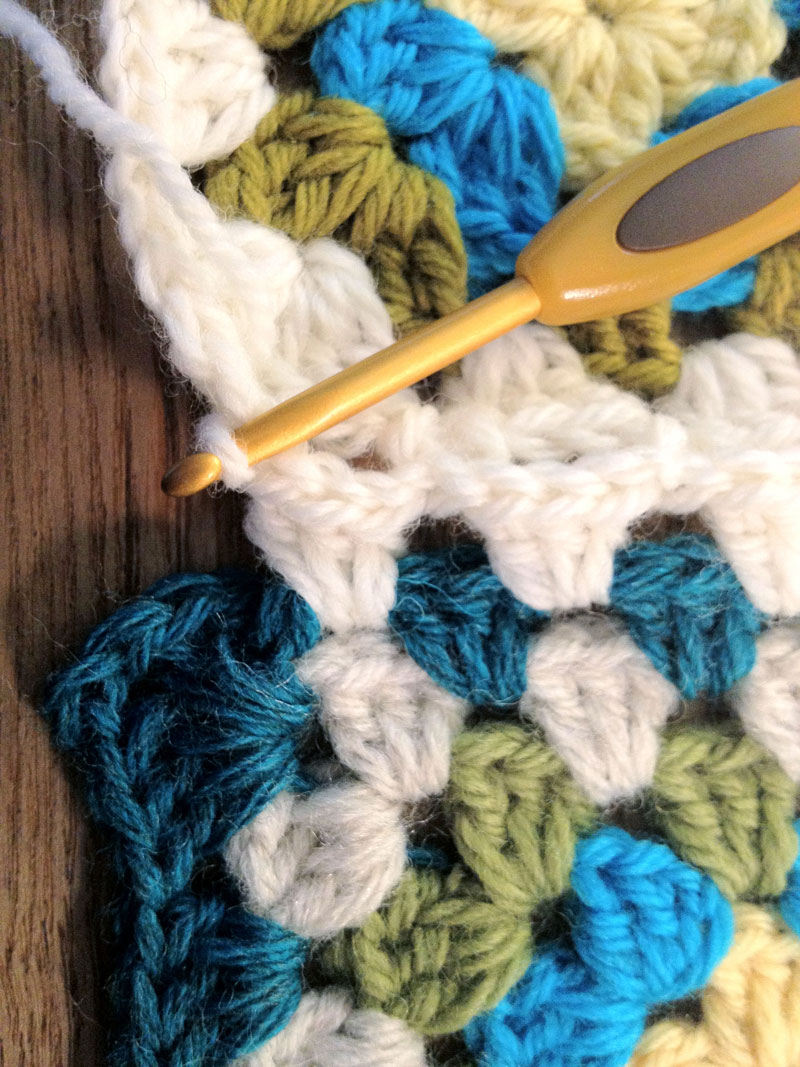
Here I crocheted a cream border around one square, and am now following joining the second one-
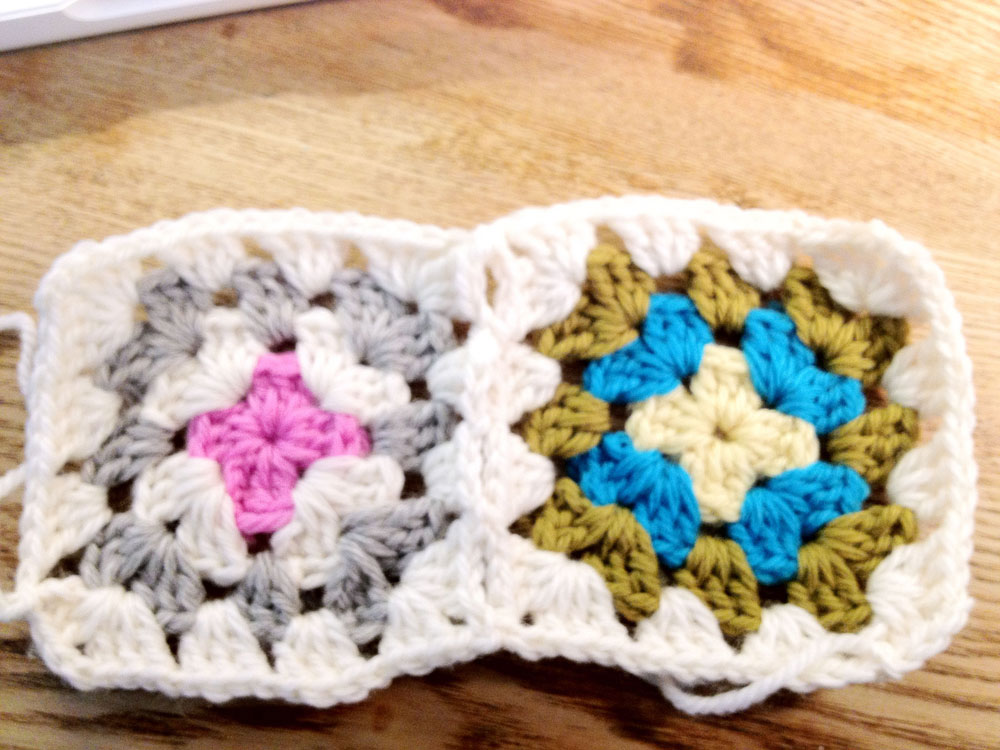
And here they are joined, using Sarah’s method-
Now, this pair of grannies has the cream border I want them to have, and it will fit a little better with the larger grannies on either side of them.
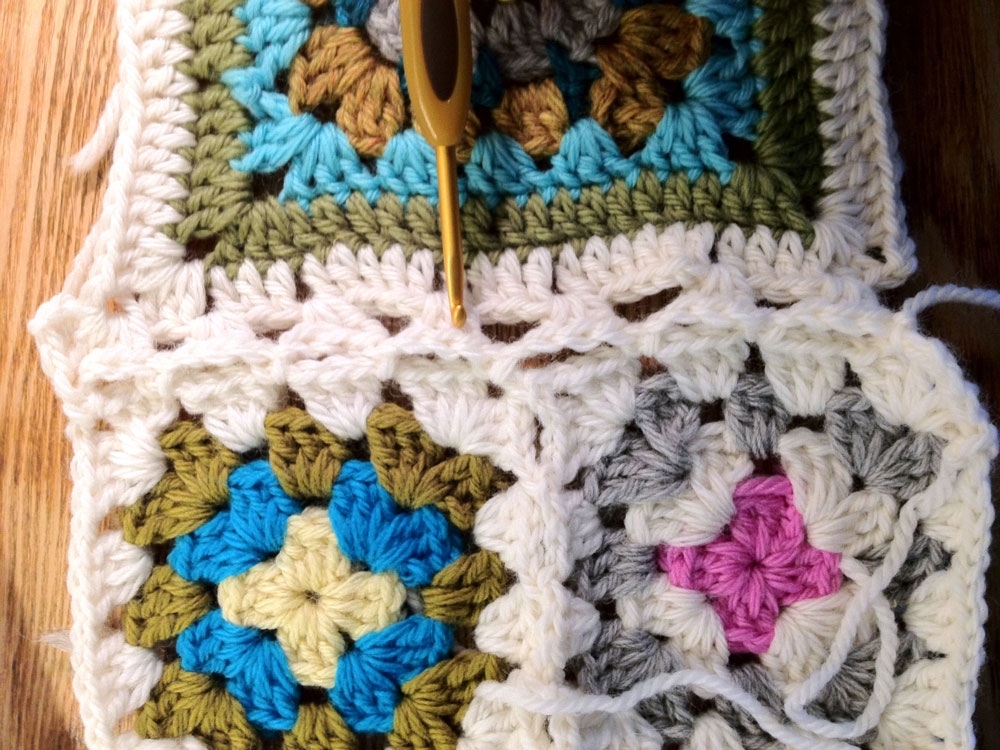
Next I will join these to the one to the left of them, crocheting the cream border around that square, and joining-as-I-go to the pair I just did.
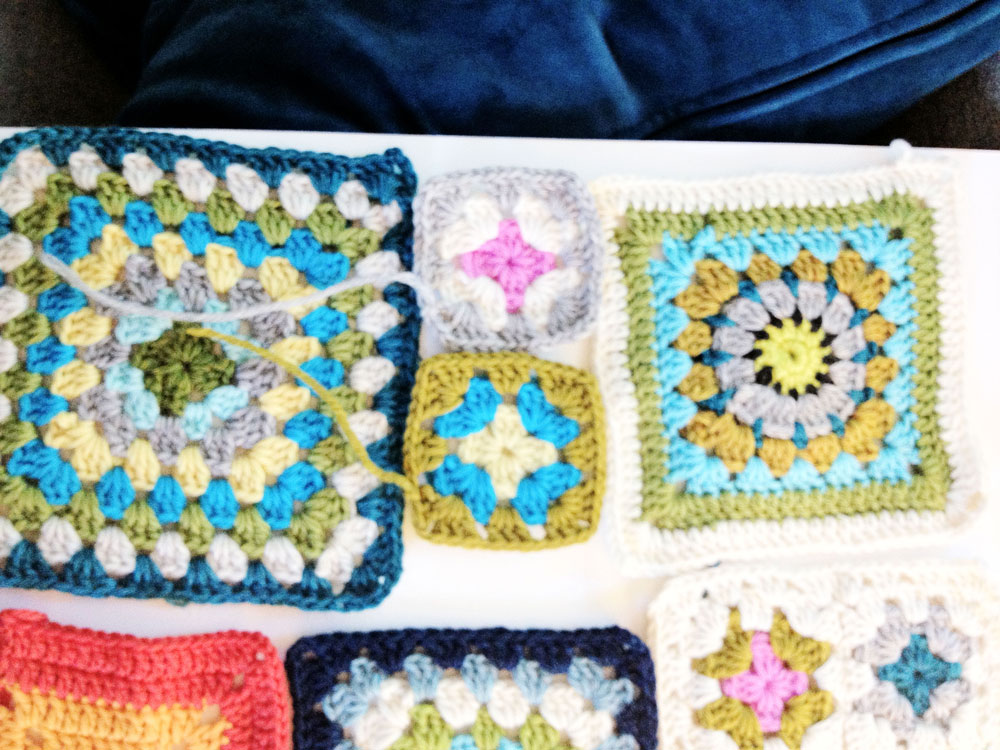
Follow the same idea… joining as we go… remembering that everything won’t fit perfectly because it was never meant to.
Keep in mind that you don’t always have to join as you go with the 3 dc clusters. You can vary the stitches you do when you join as long as you’re joining the two squares together.
When you finish your inner rectangle, you may want to add a few extra border rows going all the way around in a few colors to help define the shape, as in the original.
I am continuing to join mine today and will post photos as I complete this inner rectangle.
Another very helpful link-
– Adaiha at Things To Make And Do has made this same granny square afghan project and explains how she joined her differently shaped squares here. Its the same method I’m using, but just another way of explaining it, (and she is adding in the math).