Zapped


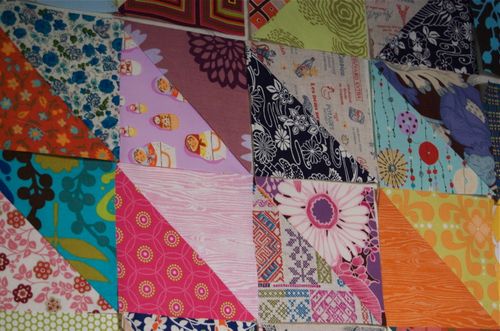
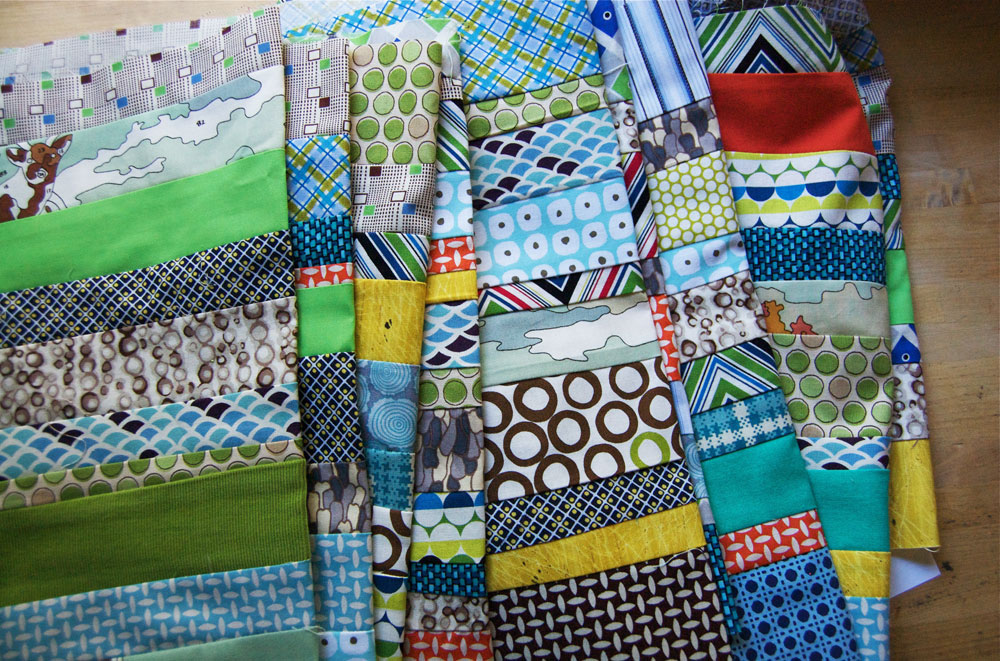
I made some progress on Ian’s marquee quilt. I’m liking the selection of fabrics I finally settled on (with a little help from a surprise package from Erin back when I started). Very gender neutral is what I was hoping for. He’s just feeling too old these days for hedgehogs and robots (which, at the ripe old age of almost 8, is sad, but true). READ MORE

Removable Quilt Design Wall

removeablequiltdesignwall1

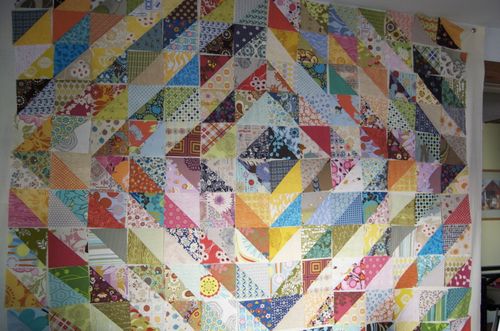
Our slowish week’s end continued into the weekend, I’m happy to say. I got a chance to work on the value quilt, which I am also calling my stash quilt, because I’ve dug through every bit of it for this one. As I was beginning to put the quilt top together, it was clear that I was going to have a tough time making sure I was placing all the squares the correct way. There is no room in my small studio to lay out the squares, and the dining room table would be too temporary, making me feel rushed. I have always wished I had the room for a full sized quilt design wall, but there is no real wall space in our house to make that happen. But necessity being the mother of invention, I came up with the idea to make a temporary design wall, one that can be easily put up when needed, and easily taken down when not. (For those unaware of what a quilt design wall even is, it is essentially a wall of solid flannel or a similar fabric. Quilting fabric sticks to it temporarily. As you complete a quilt square, you can place it up on the design wall, and the flannel just sort of grabs it and hangs on. Its great to piece quilt squares together, move them around, etc. Here’s a large one in Denyse Schmidt’s studio to give you an idea.)
I bought 4 yards of 45″ cream flannel, cut it into four 1yd pieces. I sewed two of the pieces together, selvege to selvege, then did the same with the other 2 yards, then I sewed those 2 larger pieces together length wise, forming a large rectangle of flannel measuring approximately 88″ x 72″. (These dimensions fit my wall well, if you have the luxury of working with a bigger wall, you may want to add more fabric.) On one of the 72″ pieces, I folded and pressed a 1/4″ towards the wrong side, then folded and pressed a 2″ hem, which I then stitched close to the fold’s edge all the way across. I then applied 10 evenly spaced grommets (I used large ones because that’s what I had, but you could use a small size, these kits are sold at sewing stores, I’m sure mine came from Joann’s). The part to realize is that you will have to hammer in small tacks (could be tiny, because what they are supporting is not heavy) across the very top of the wall you’ll plan to hang this from (you could paint them to match your wall color if you wanted to, so that aren’t as visible, but if you’re planning to use this design wall in a basement or workroom, it wouldn’t matter so much). Use the grommets to hang the flannel on the tacks, against the wall, and you’re done. Now you have a space to play with your quilt squares, and you won’t have to clean the floor or clear table dishes to do it.
removeablequiltdesignwall2
Things make so much more sense when you can stand back and look at them fully, don’t they? Once I had all these squares up, it was easy to see where the color values of the lights and darks were working best and where I needed to move things around. I don’t think I could have seen this easily on the floor. Since this picture was taken, the blocks have been all pieced together and my quilt design wall has been taken down, folded, and put away until next time.
I don’t know why I chose summer to work on a quilt. Well, I don’t think I chose it, I went with being inspired and just decided to do it, not giving much thought to it being summer (and all the steam ironing I would be doing). If you’ve never made a quilt, but have thought about trying it, I hope you do. There is a “zone” I get into when I’m in the midst of seeing a quilt come together. Each part of the process (picking the fabrics, planning the squares, finding the backing, sandwiching the layers, basting, quilting, binding, etc) brings such an escape for me. As I sew each piece to the other makes it feel more solid, more real. I am planning to machine quilt this one myself, so the next steps are to choose the backing fabric (solid? not solid?), then baste the layers together. My goal is to not let this one sit idle too long. I usually have one quilt in me a year, I’m really hoping this year I have two.
I should get busy.

Bits of Our Wednesday

 
wednesday
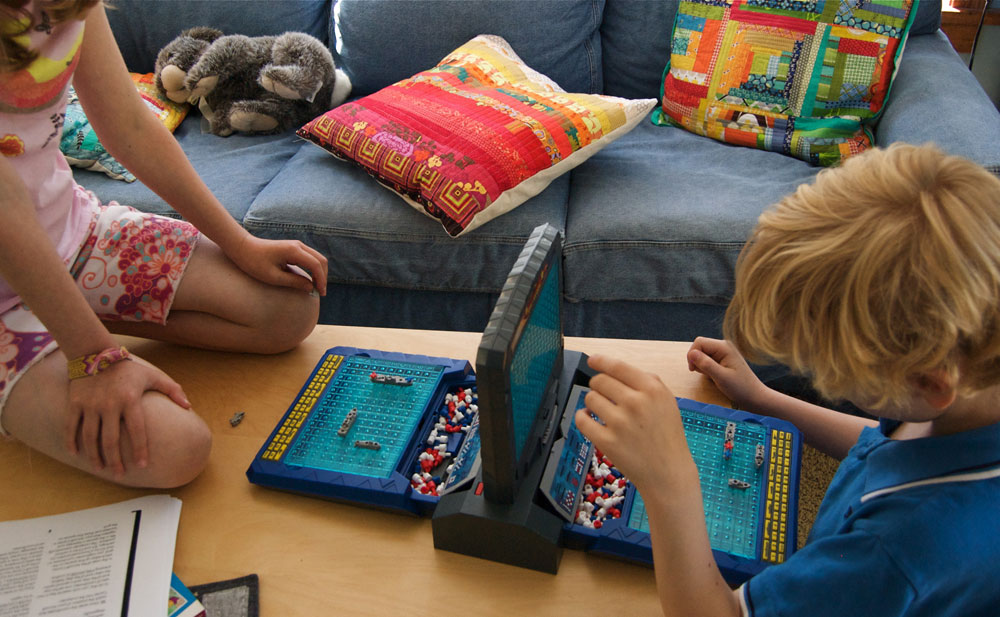
Today is first quiet day we’ve had in a while. I took the kids with me for a quick visit to our accountant’s office, which meant a stop on the way home at the really large Goodwill nearby. My kids zero’d in on an electronic Battleship game, then found a treasure trove of 79 cent paperback books. I, myself was browsing through the other shelves and hit the jackpot on a back wall.READ MORE

Planted…


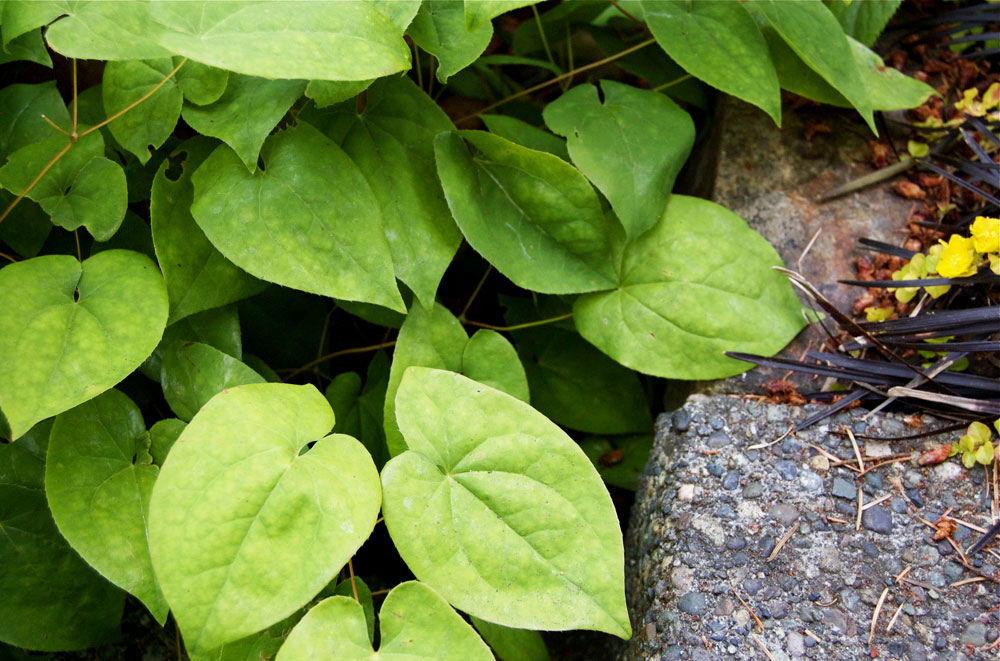
We did some agressive tidying and planting in the front yard over the weekend. We need to do so so much more, but time is short, so we take it in baby steps and try not to make ourselves crazy with the list of what remains undone. Lucky for us, there are many plants in our yard that are well established, like this epimedium, and really don’t need much from us. I love their heart-shaped leaves.READ MORE

Patchwork Pillow Color Study

patchwork pillow
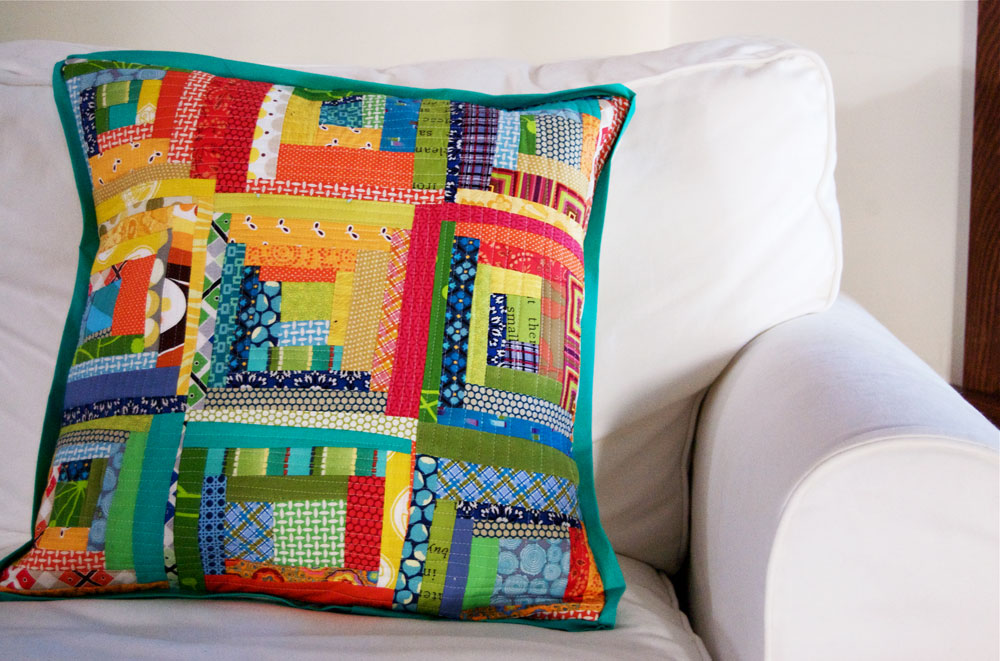
I had temporarily forgotten how much I love patchwork and patchwork pillows. Much like Goddess dressing to my food, I think everything sewn can be made just a little better with patchwork. Patchwork can satisfy my need to buy smallish cuts of pretty fabric, and it creates a brand new piece of fabric that I never get tired of. Fabric that I only like a little bit on its own is suddenly so much better when grouped into patchwork.READ MORE

Letters from Camp


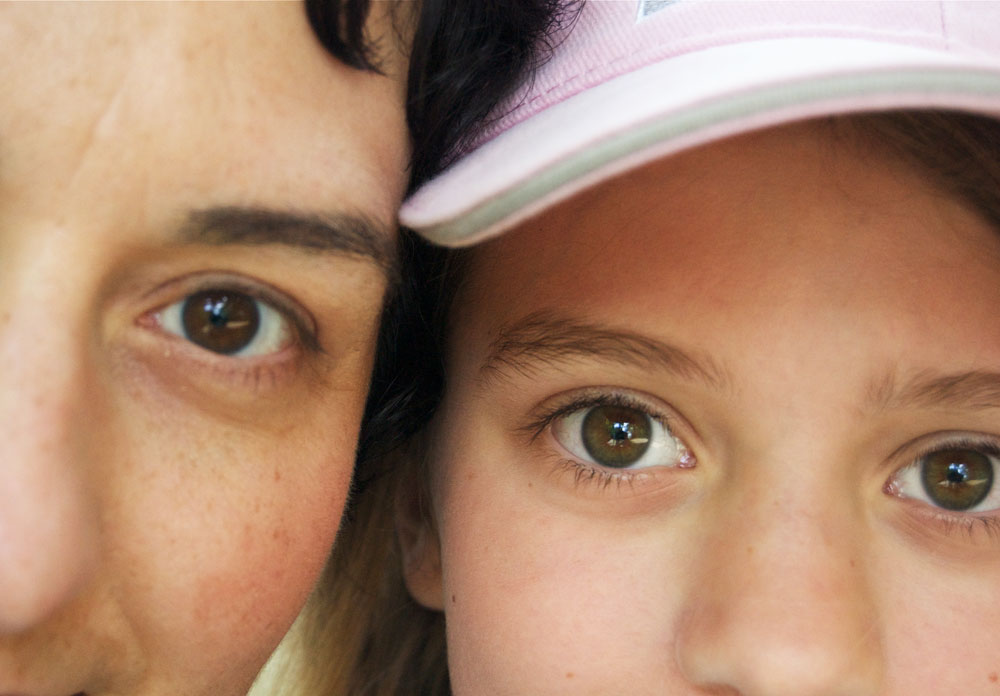
I know it happens. They grow…they spread wings…they gain independence…yes, yes I know every bit of that, I always have. But experiencing it as a parent is both thrilling and tugging at my heart. The endless push and pull of little ones, growing.READ MORE

Brownstone Front Cake

 
Brownstone Front Cake
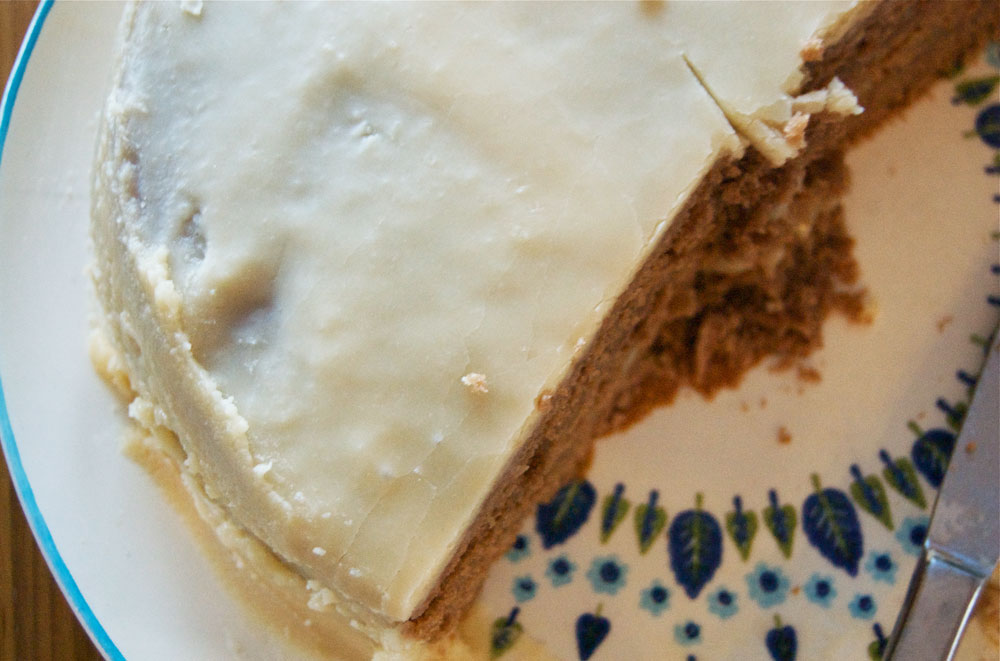
You folks are special. You should know that, because I would not give this coveted family recipe to just anyone. All clever, pun-filled catchy blog titles aside, this is a cake worthy of its own post.READ MORE

Bloomed Skirt, Alabama Chanin


Alabama Chanin
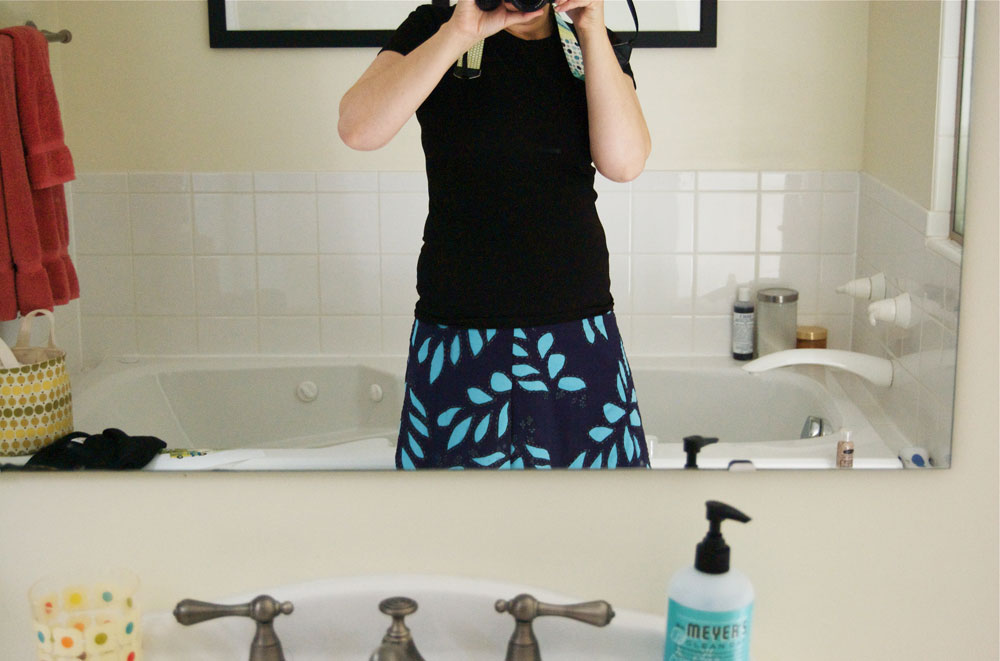
Longtime readers might remember when I started this skirt, from the Alabama Stitch Book. I put it away for almost a year during a time when I had no luck making anything I could wear… nothing fit, nothing hung right (lots of disasters I won’t waste time sharing). But it was such an enjoyable project to make, all it took was me cleaning out the studio shelf it was on to remember how much I loved it.READ MORE

Summer Camp Pillow

 
Summer Camp Pillow
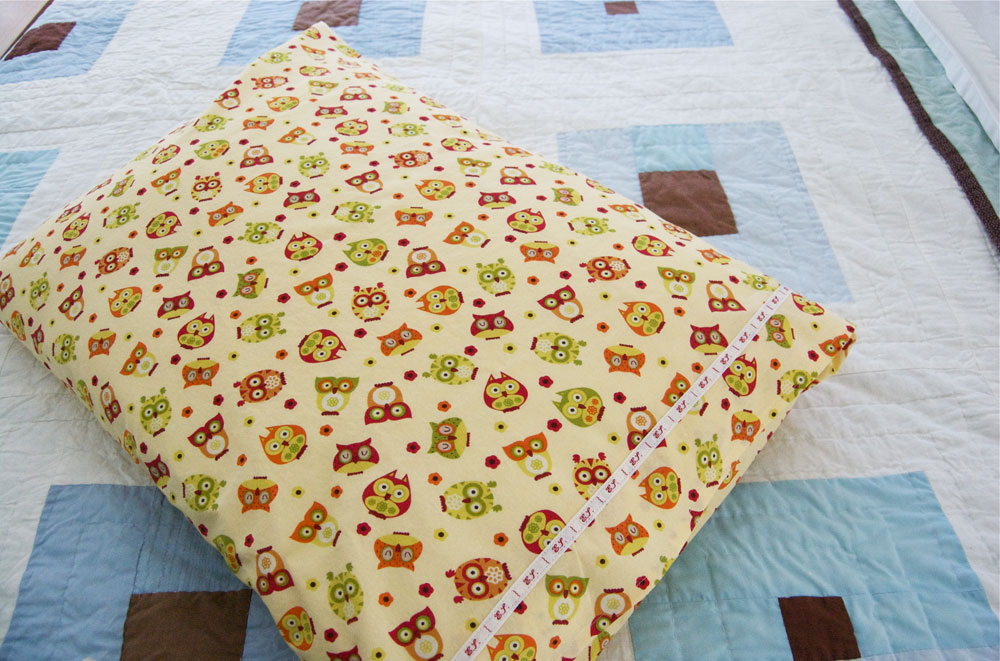
Emma leaves for summer camp on Sunday. Her first time, if you don’t count the two camping trips she’s gone on with her school, which were short and heavily chaperoned by parent friends who were a cell phone call away. This one is 4 days, and about an hour away. A perfect starter one (for me as much as for her).READ MORE

Follow Wise Craft Handmade


Join Waitlist We can notify you by email when this product is back in stock if you'd like, please leave us your email address below.